SmartUse App Profile Icon Menu
- Imprimir
- OscuroClaro
- DF
SmartUse App Profile Icon Menu
- Imprimir
- OscuroClaro
- DF
The content is currently unavailable in Spanish (Mexico). You are viewing the default English version.
Resumen del artículo
¿Te ha resultado útil este resumen?
Gracias por tus comentarios
What to Know
- The SmartUse App profile icon is where you manage your account information and access other information unrelated to the displayed projects.
- The Profile menu can be accessed by tapping your profile icon initials in the upper right corner.
- When opened, it displays your current version of the SmartUse App at the top, and access to other information and settings.
See below for instructions to:
My Profile
.gif)
- Tap your profile icon initials.
- Tap on your user name.
- If required, apply any changes to the following fields:
- First name
- Last name
- Language
- English
- French
- Change Time Zone: Select a Time Zone for the area where you are located.
- Change password:
- Password: Enter your current password.
- New password: Enter a new password.
- Confirm new password: Re-enter your new password.
- Tap Save.
- Delete account: If you delete your account, it will be permanently deleted and you will be unsubscribed from SmartUse emails. Tap DELETE ACCOUNT to confirm.
- Tap Done.
Preferences
.gif)
- Tap your profile icon initials.
- Tap Preferences.
- Adjust any of the following settings:
- My new markups are public: Make all your new markups public by default.
- My new layers are public: Make all newly created layers public by default.
- Show markup sidebar: When opening a plan, enable showing the toolbar.
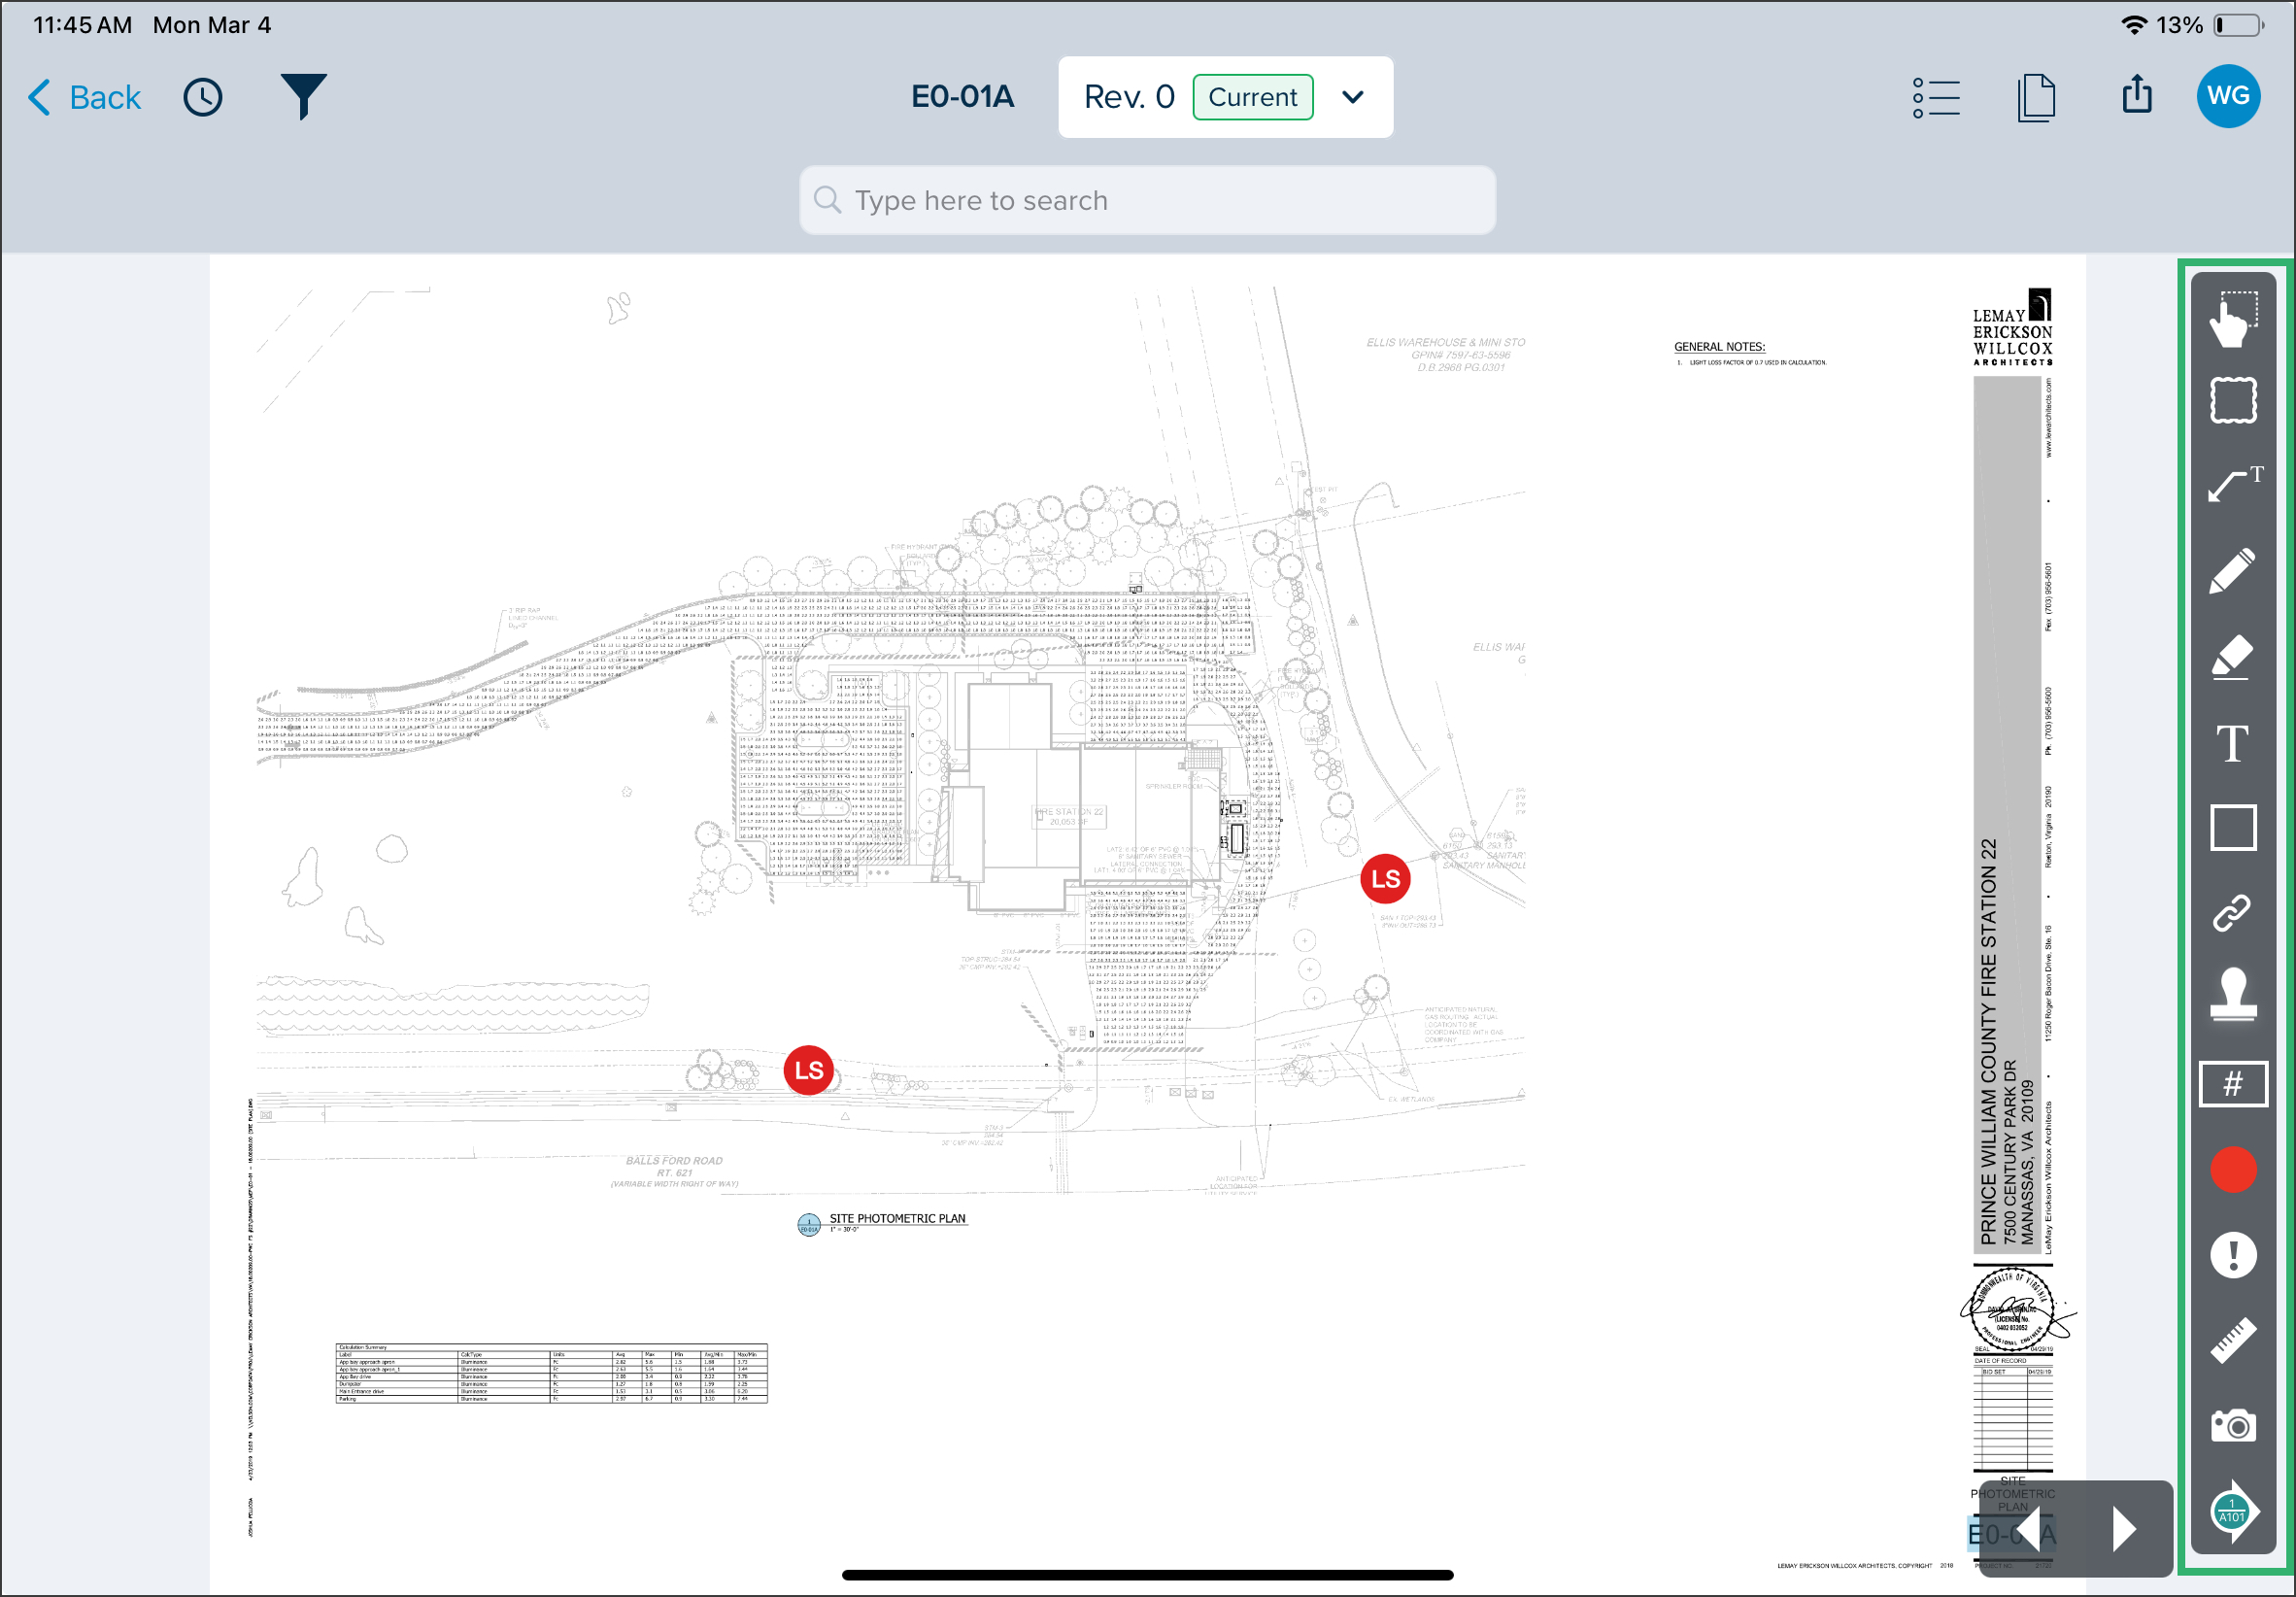
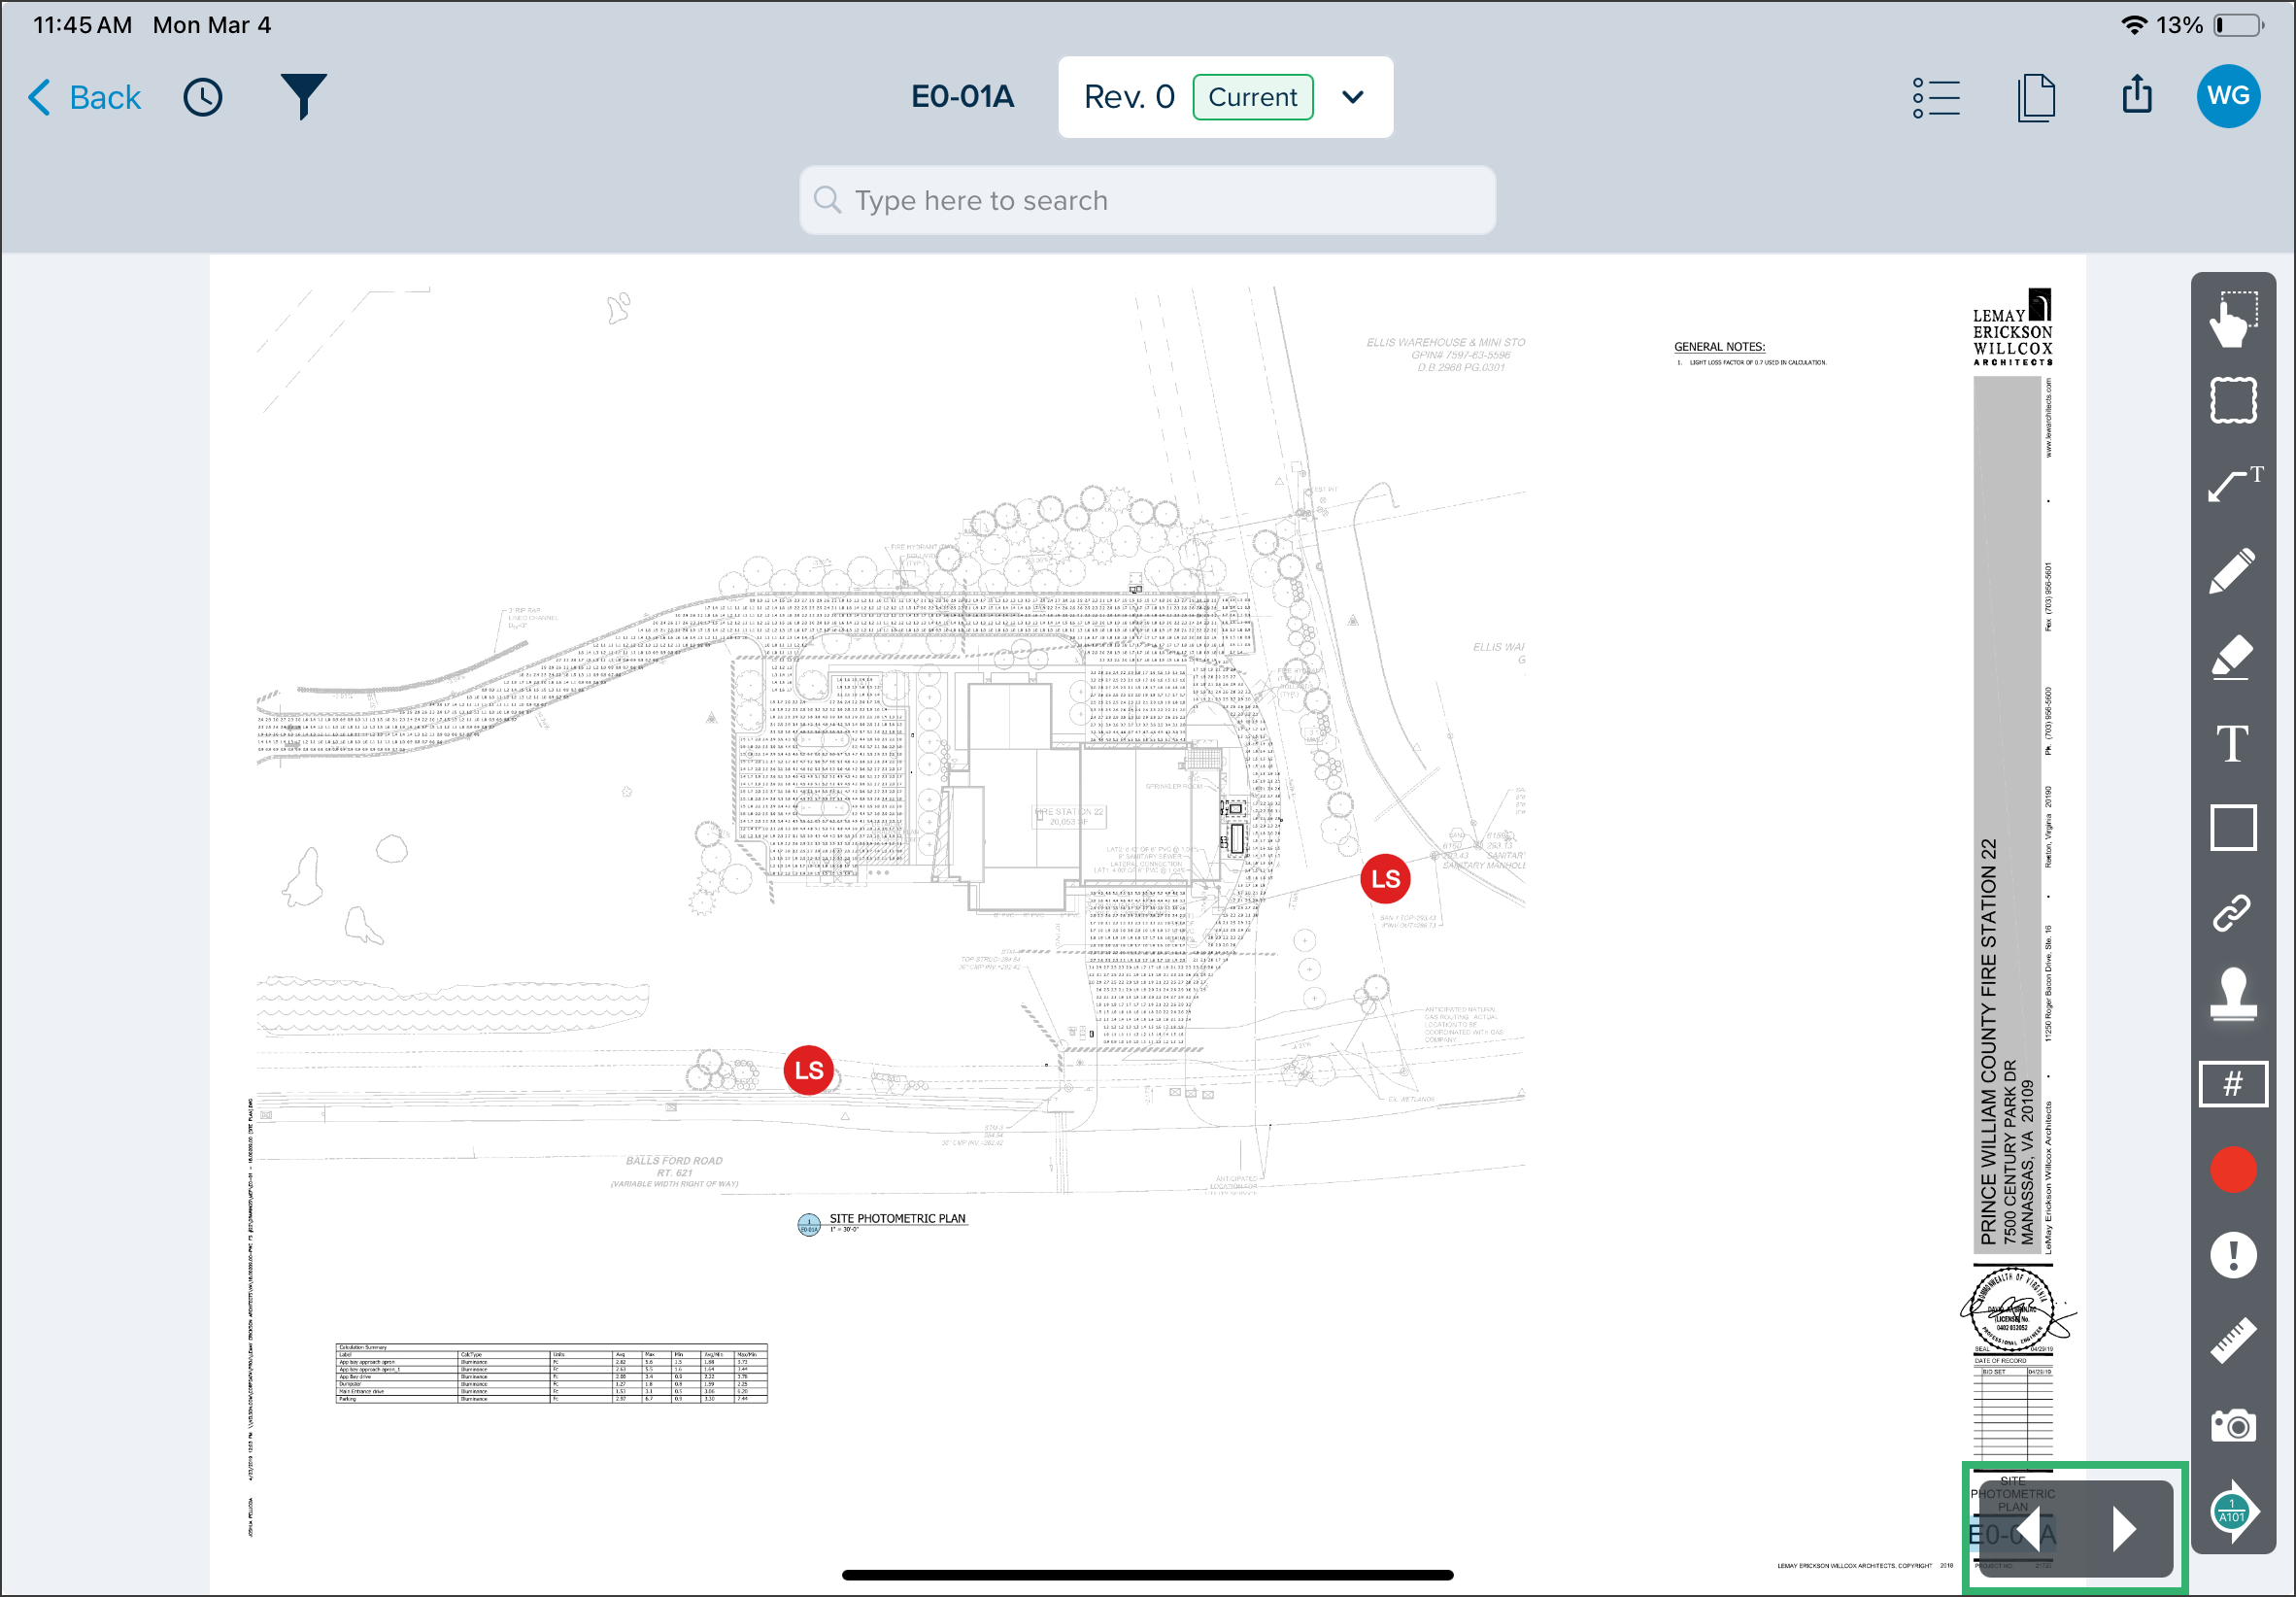
- Show document navigation arrows: When opening a plan, show the navigation arrow at the bottom right to navigate from one document to another.
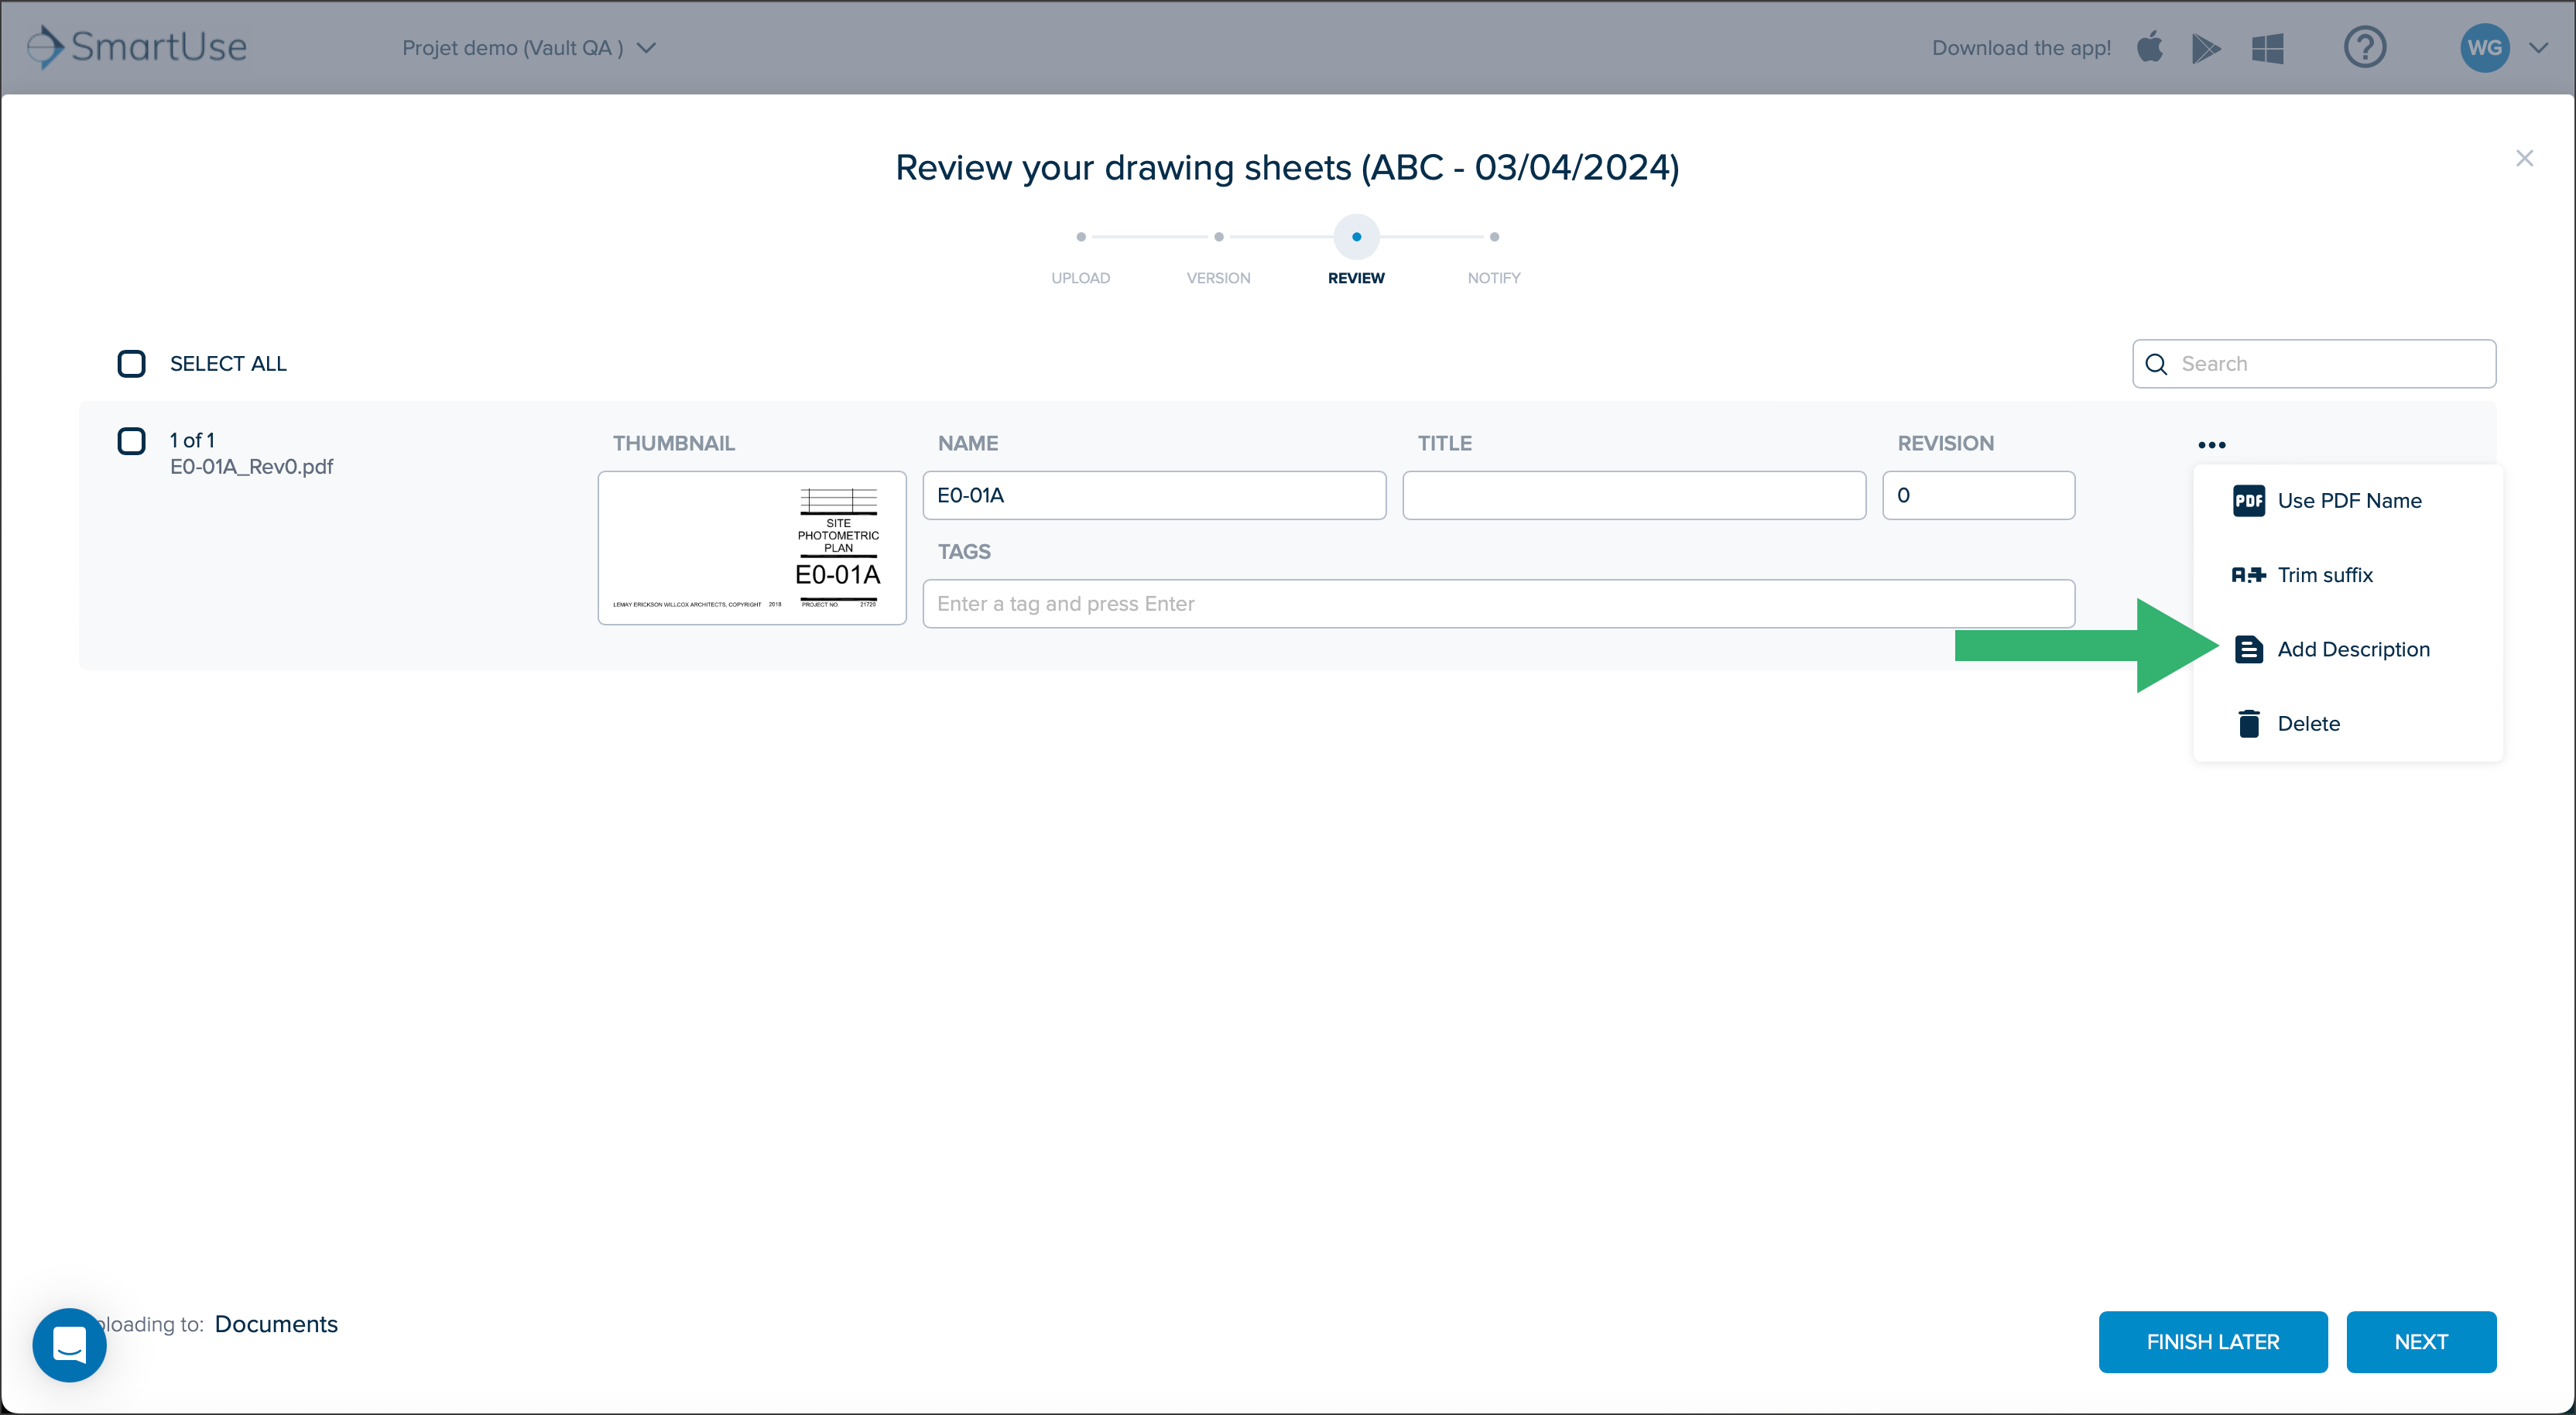
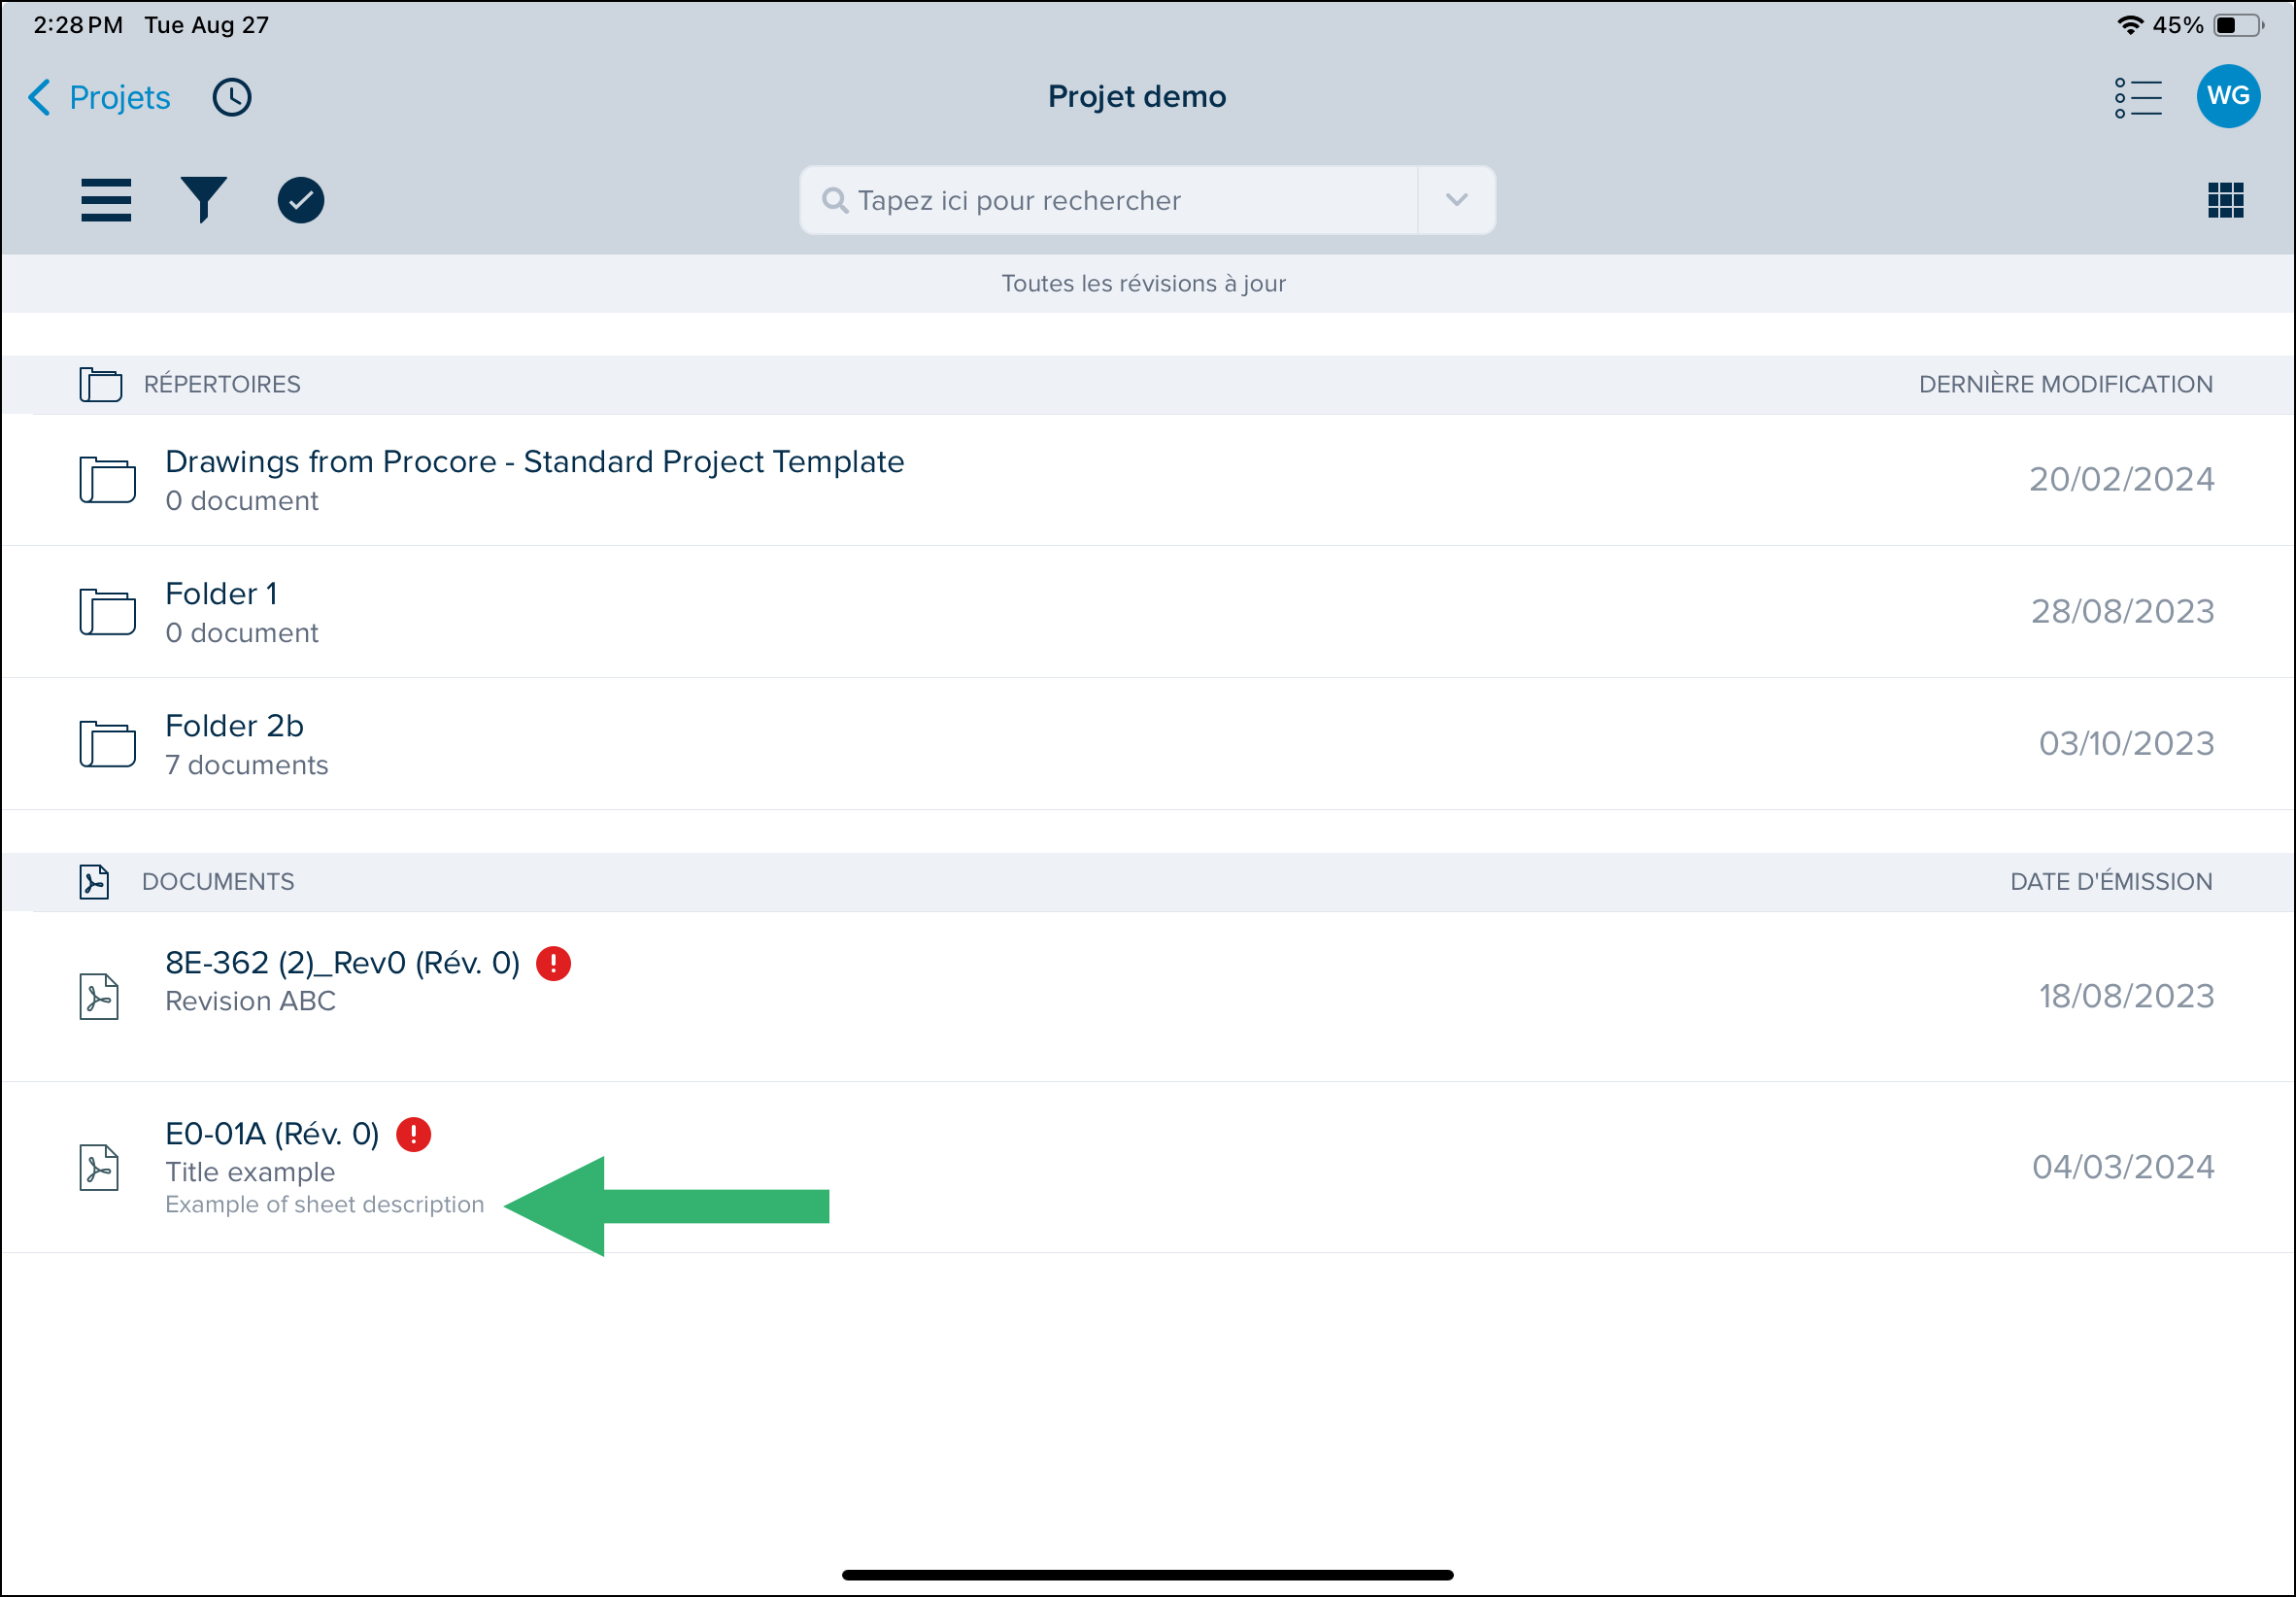
- Display sheet descriptions in List View mode: In the list view, enable the display of the description that was entered, if any, when the document was uploaded.
- Use Cellular Data to sync data: Enable to sync drawings with the cloud using cellular data. If not enabled, data will sync only when connected to WIFI.
- Use Touch ID: Enable touch ID to login.
- Deviation index to convert a stroke to a straight line: When tracing a stroke with the line or highlight markup tool, select a deviation index which will convert your stroke to a straight line. If the line traced deviates more than the index given, it will remain a curve.
- Max cache size: Allows clearing your SmartUse cache. It should be cleared regularly so that SmartUse can function optimally.
- Tap Done.


Online Help Guide
This is a link to bring you this present Online help website.

- Tap your profile icon initials.
- Tap Online Help Guide.
- You will be brought to the SmartUse Help Documentation website.
Newly Released

- Tap your profile icon initials.
- Tap Newly Released.
- You will be brought to the Newly Release article collection, divided by year of publication.
Send Logs to Support
If you are having issues in SmartUse, the support team may ask you to send your logs so they can help you resolve them.

- Tap your profile icon initials.
- Tap Send logs to support.
- A message will appear letting you know that the logs have been sent to Support.
- Tap OK.
Send Database to Support
If you are having issues in SmartUse, the support team may ask you to send your database so they can help you resolve them.
The support team will give you a code which you will need to enter to send the database to them.

- Tap your profile icon initials.
- Tap Send database to support.
- A message will appear asking you to Enter the code provided by support to begin the upload.
- Tap OK.
Terms and Conditions
The Terms and conditions link brings you to the SmartUse website where you can read the SmartUse Terms and Conditions.

- Tap your profile icon initials.
- Tap Terms and conditions.
- You will be brought to the SmartUse Terms and Conditions web page.
Privacy Policy
The Privacy policy link brings you to the SmartUse website where you can read the SmartUse Privacy Policy.

- Tap your profile icon initials.
- Tap Privacy policy.
- You will be brought to the SmartUse Privacy Policy web page.
Open Source Licenses
The Open Source Licenses link brings you to a window which gives credit to all the open source licenses that are involved in the making of SmartUse.

- Tap your profile icon initials.
- Tap Open Source Licenses.
- This opens a window displaying all the open source licenses.
Logout

- Tap your profile icon initials.
- Tap Logout.
- This will bring you back to the login page.
Related Articles
If you need additional assistance, please Contact Us.
¿Fue útil este artículo?