Daily Reports in the STACK Field App
- Print
- DarkLight
- PDF
Daily Reports in the STACK Field App
- Print
- DarkLight
- PDF
Article summary
Did you find this summary helpful?
Thank you for your feedback!
Key Information
The Daily Report in the STACK Field App can be accessed on iPad and on iPhone.
It possible to create, submit, review, edit, and delete a Daily Report in the STACK Field App.
Changes applied to the Daily Reports in the STACK Field App will be reflected in the Web Portal, an vice versa.
Navigating the Daily Reports in the STACK Field App
Daily Reports Calendar
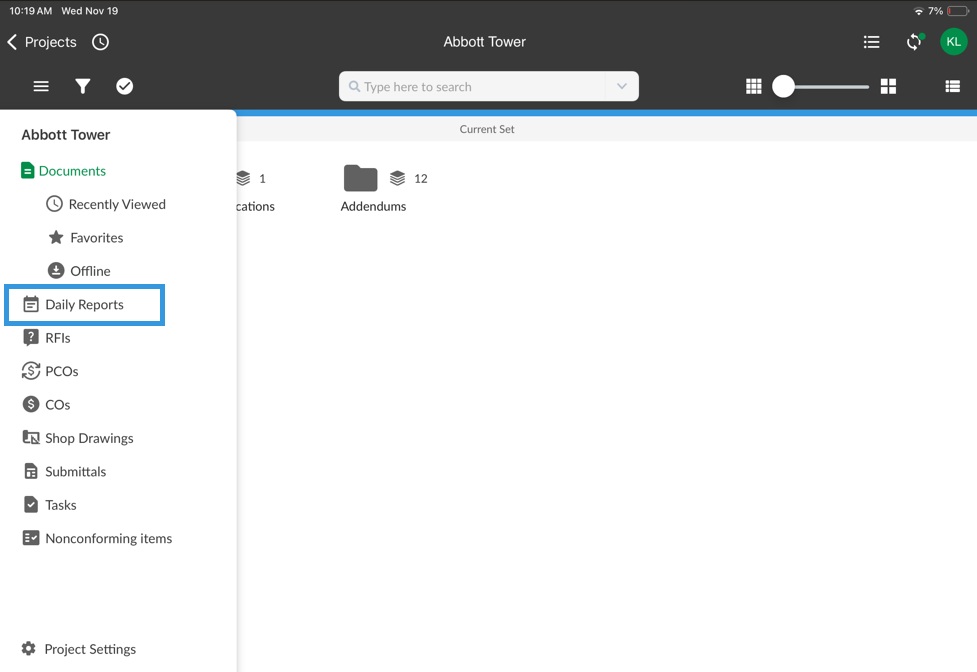
When you tap the hamburger menu on the Projects page and select Daily Reports, you will land on the Daily Reports Calendar.
Calendar Items
Hamburger menu: Access to the left navigation menu
Today: Brings you back to today's date
+: Create a new Daily Report
Colored dots:
Blue: In Progress
Green: Approved or Completed
Orange: In review
Grey: Unassigned
# daily report(s): Number of daily reports for that day
Dark circle on the date number: Today's date
Flags:
Black: Project start date
Checkered: Project end date
Darker dates: The complete dates of the month that is appearing into the present view of the calendar. The month appearing at the top will automatically update as you scroll.
.jpg)
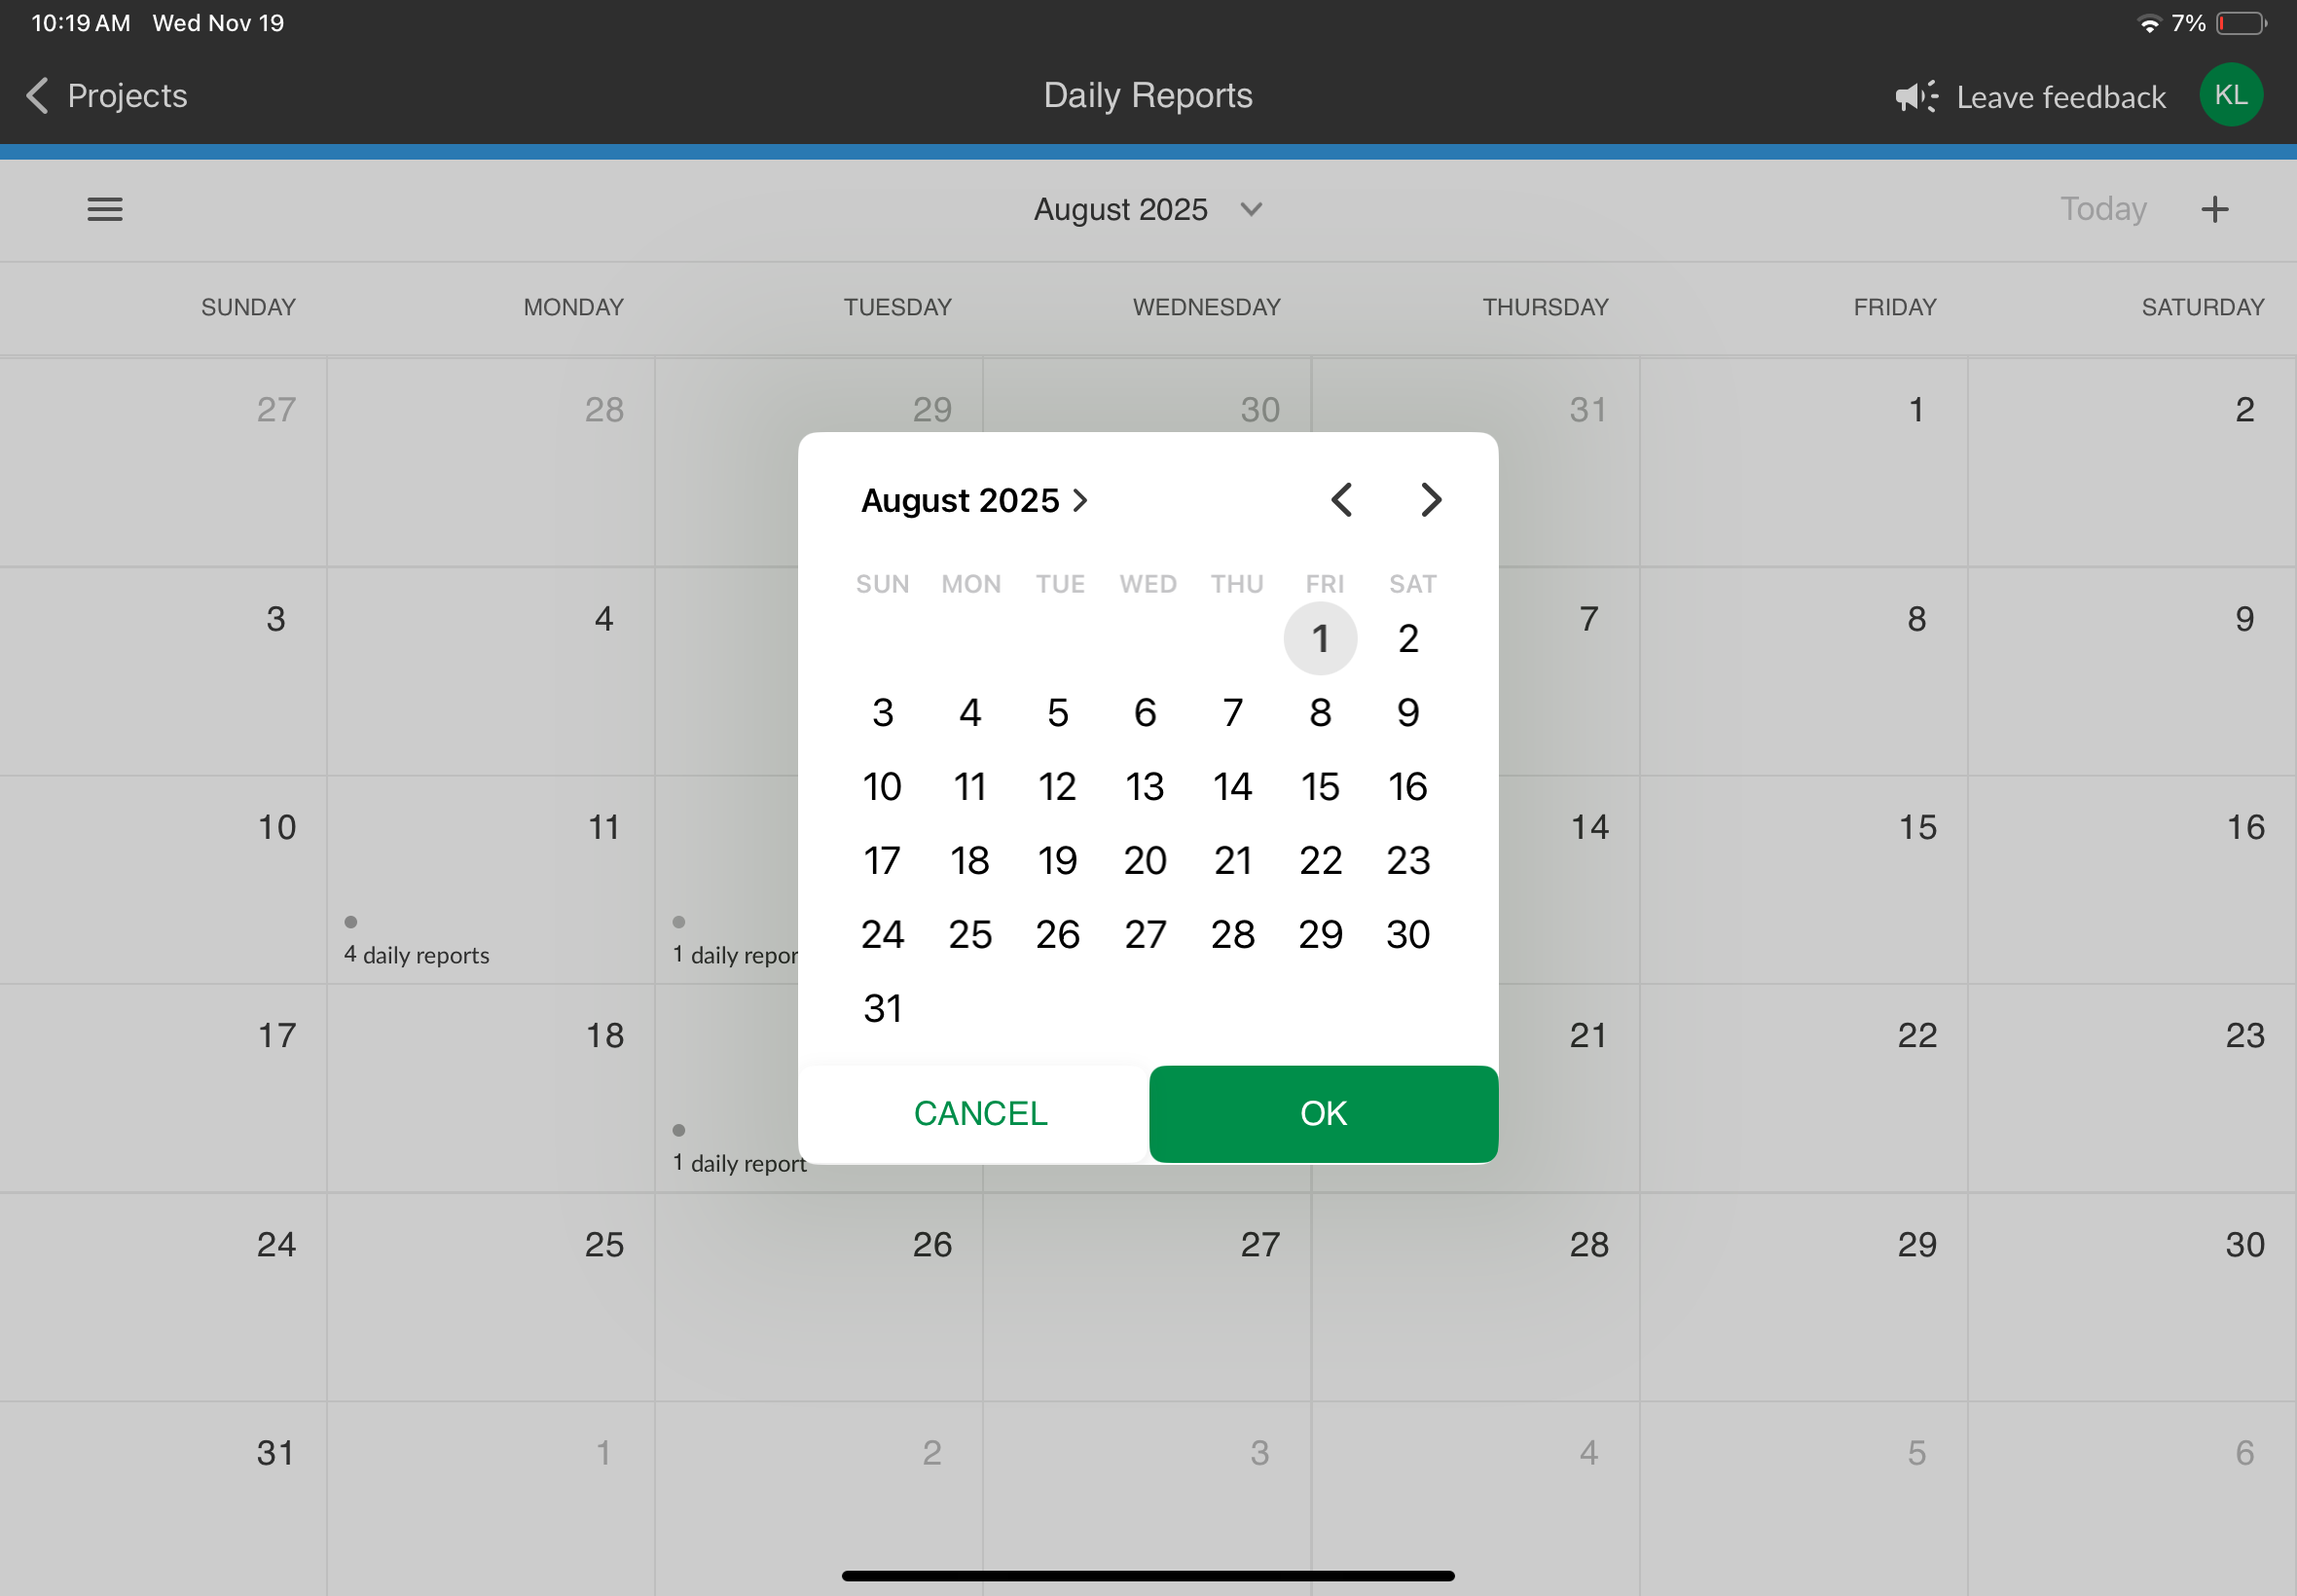
Calendar Date Drop-down
Tapping the calendar date at the top of the window opens a calendar that allows you to navigate to earlier and future months and dates more quickly.
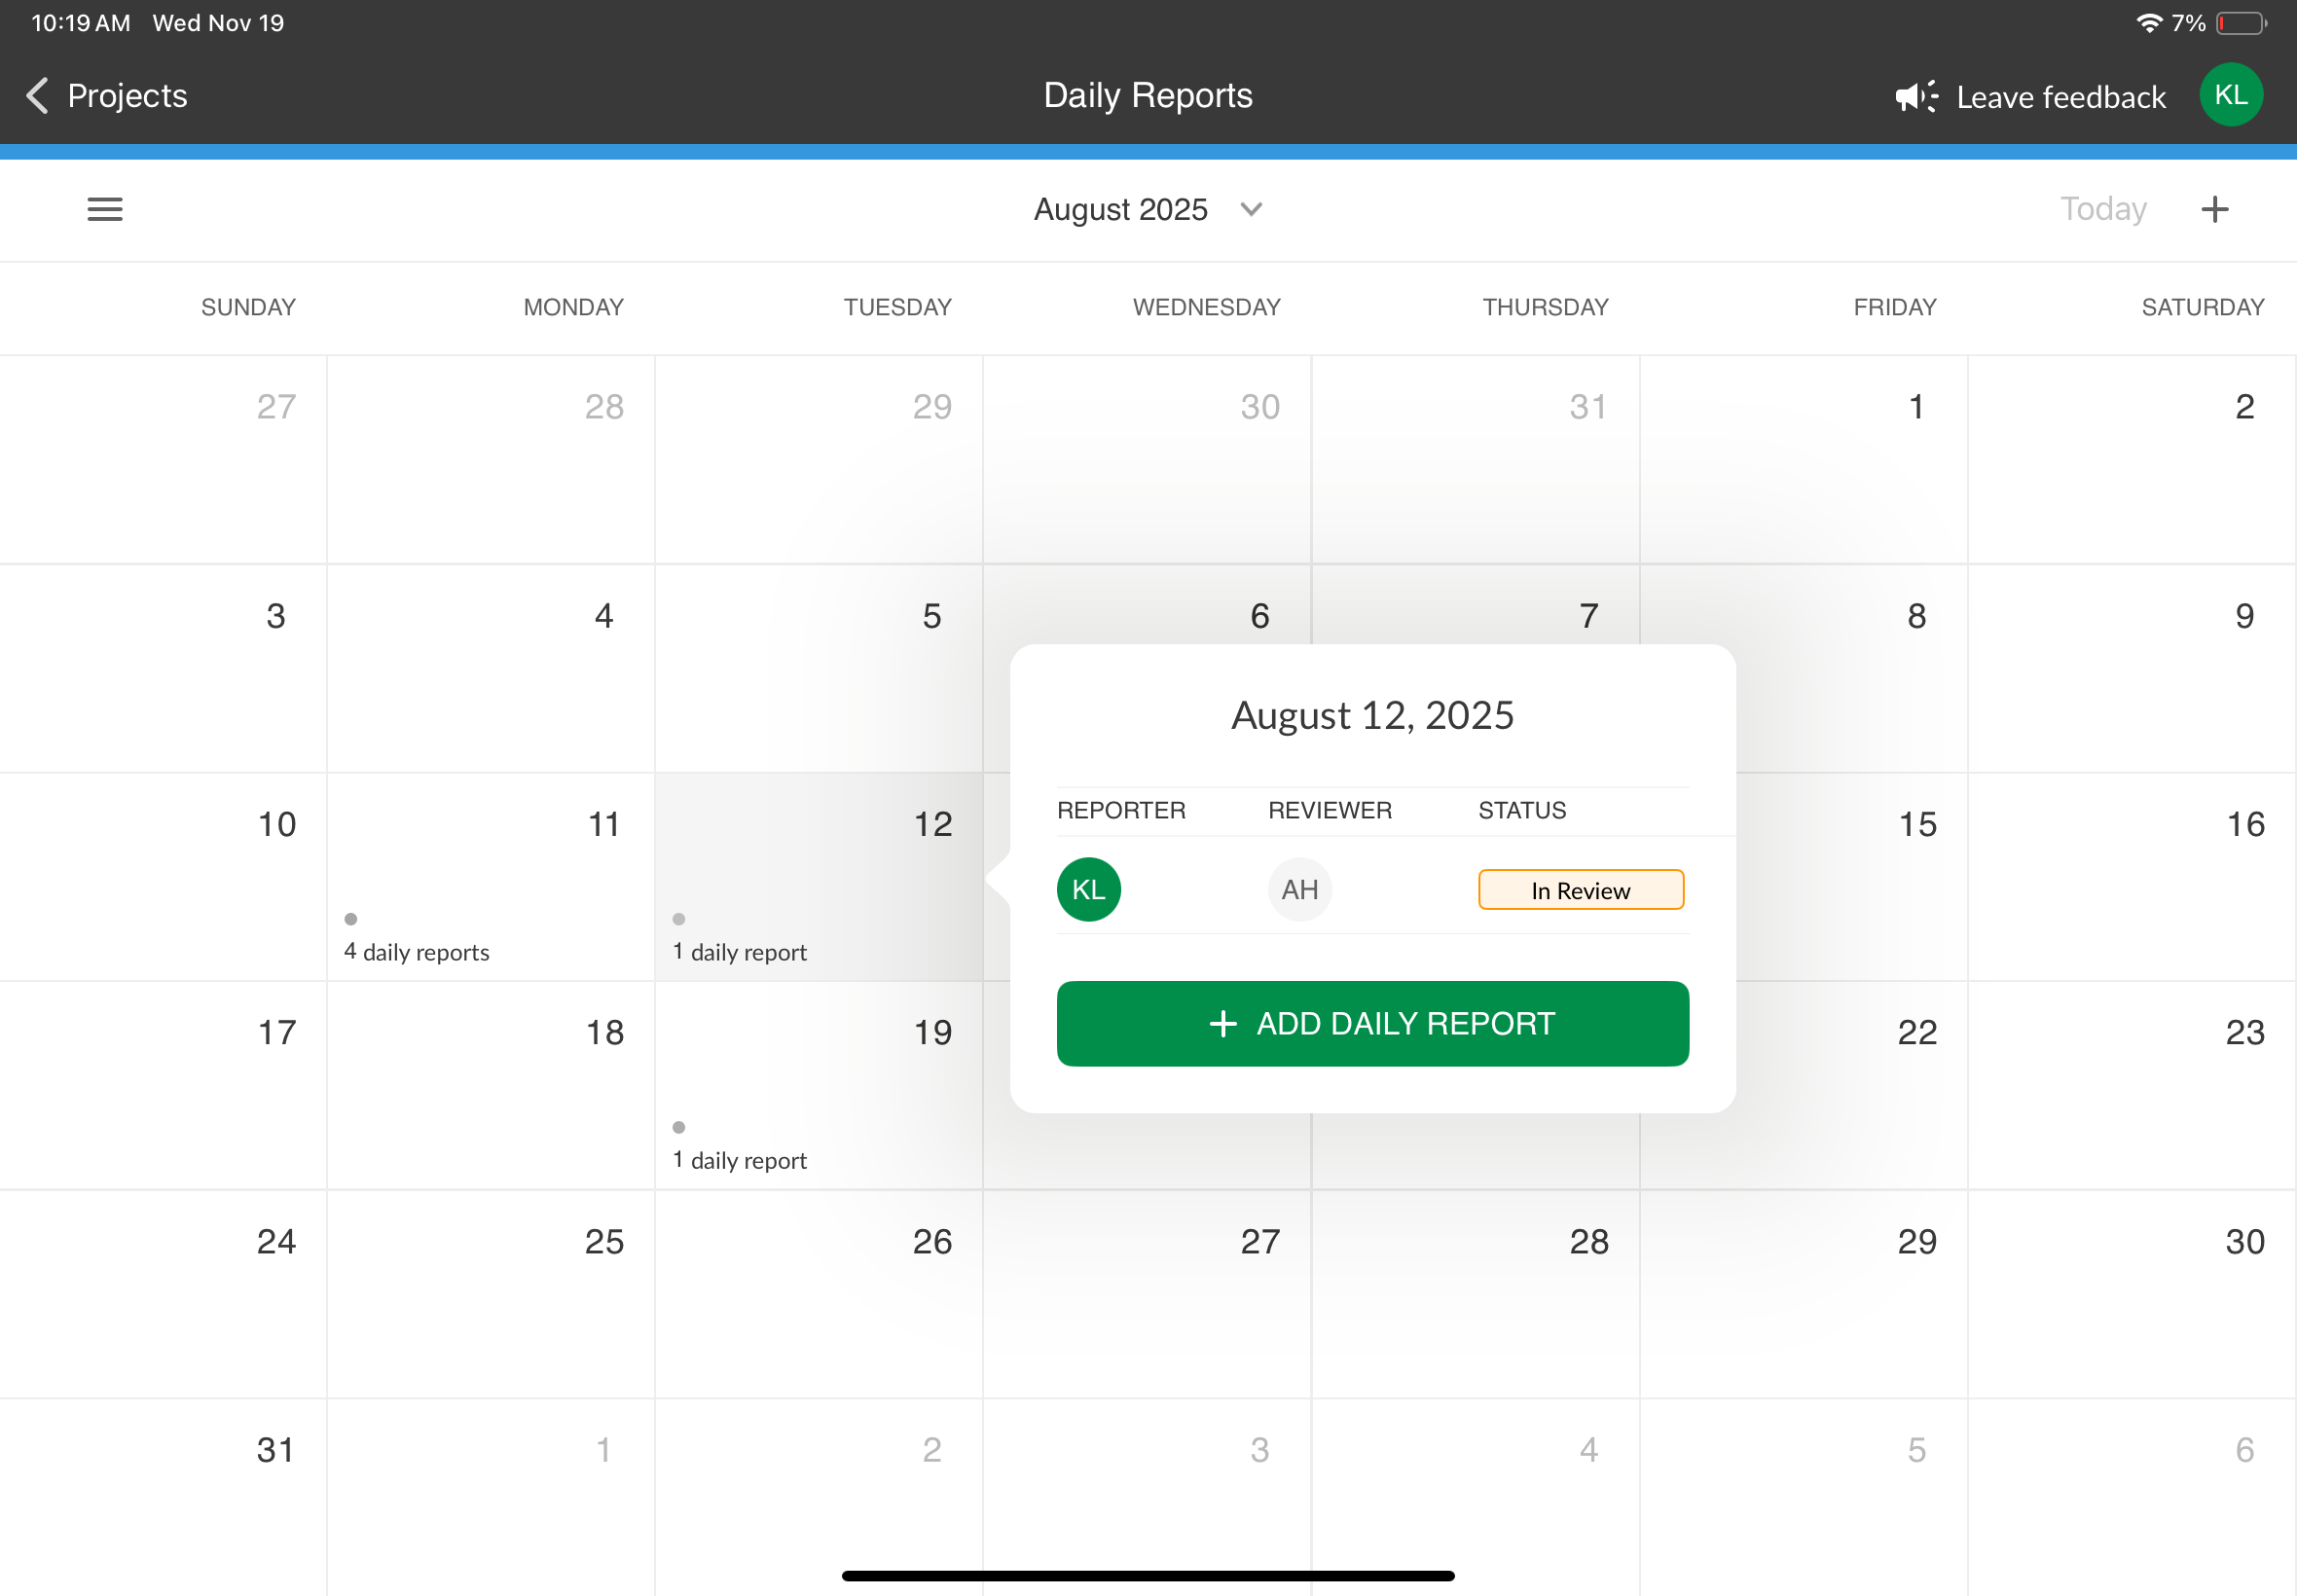
Date Cell Popover
Tapping a date cell opens a popover containing the list of reports for that day, including the reporters, reviewers and statuses, and the +ADD DAILY REPORT button, allowing you to create a new report for that day.
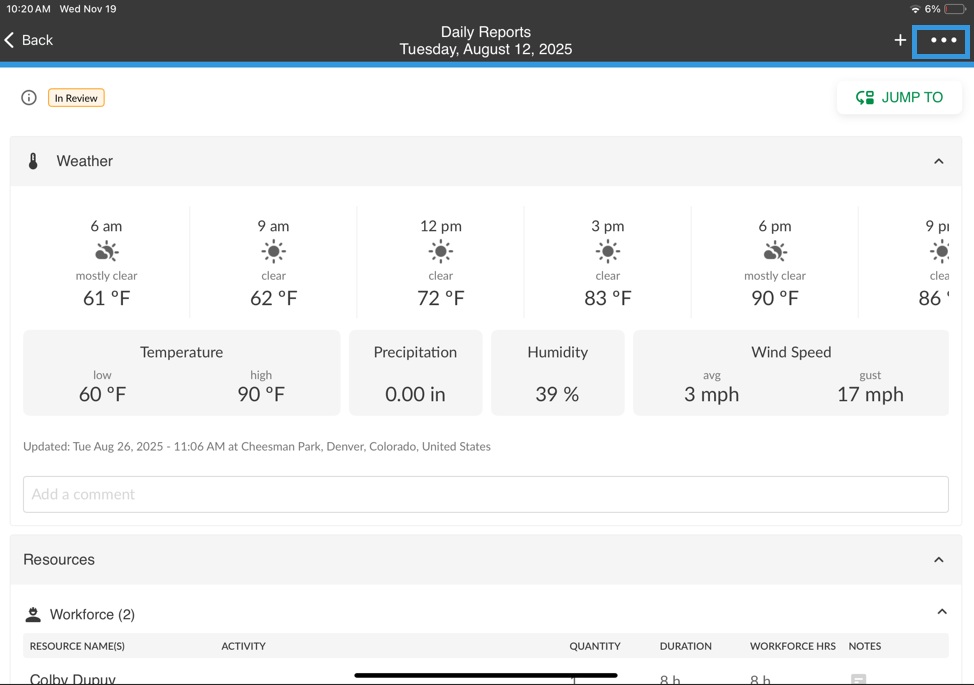
Inside the Daily Report
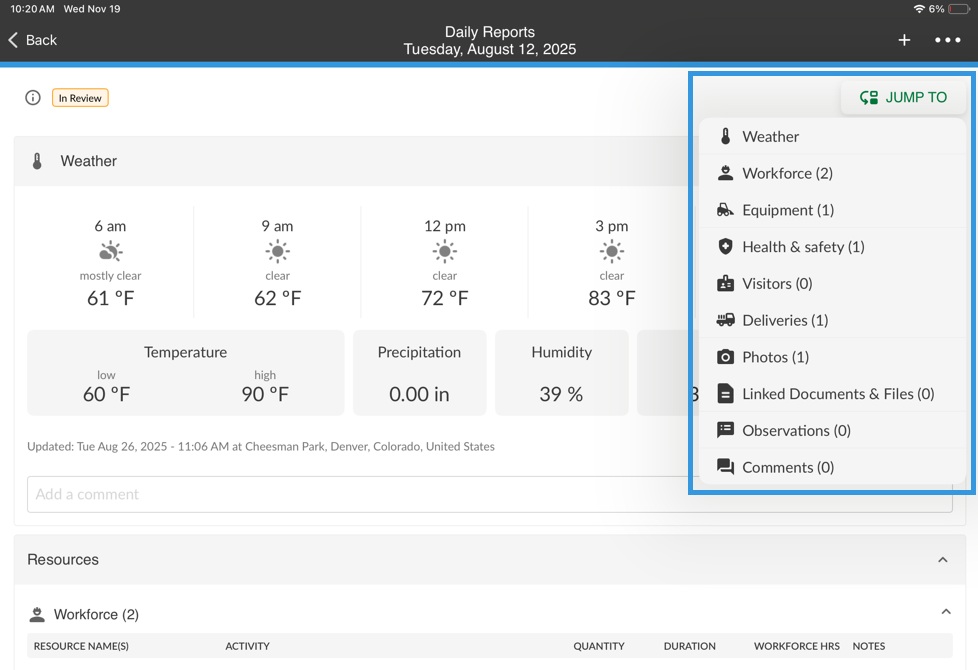
Daily Report Sections
Inside the Daily Report you will see the sections to fill out in order to be able to submit the report. (See the Daily Report Sections article for more details)
Weather
Resources
Workforce
Related Items
Photos
Observations
Comments
Three Dots Popover
Tapping your profile icon opens a popover allowing you to perform actions:
Submit: Quickly submit the report without having to scroll down.
Edit Report Details: Opens the Daily Report details.
Copy Report Link: Copies the report link so you can forward it to someone else.
Generate PDF Report: Allows generating a PDF copy of the report which will be sent to you email.
Generate XLS Report: Allows generating a XLS copy of the report which will be sent to you email.
Collapse All: Collapses all the daily report sections.
Expand All: Expands all of the report's sections.
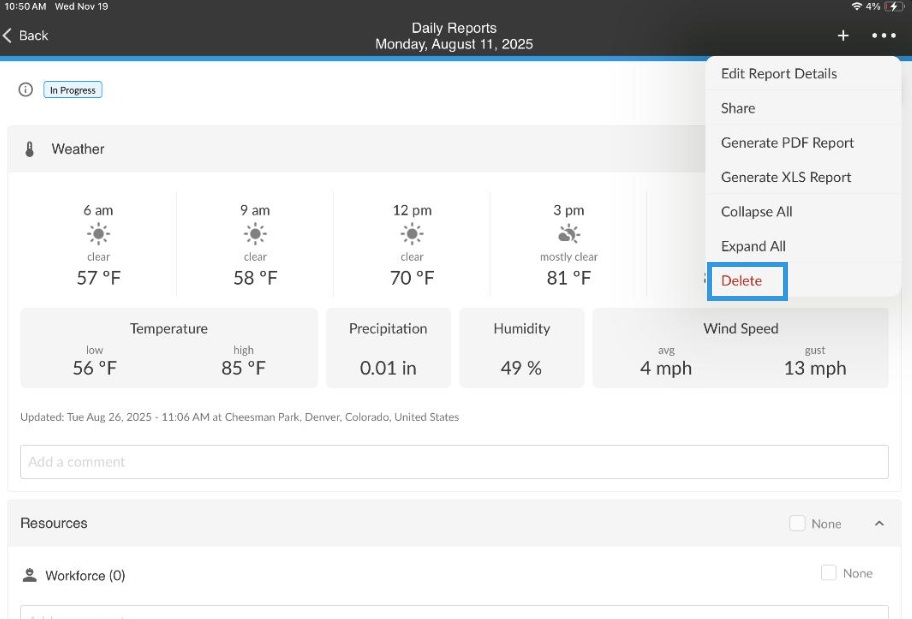
Delete: Allows deleting a report while it is still In Progress or of Completed status. When tapping Delete, you will be asked to confirm that you want to delete the report.
Action Buttons
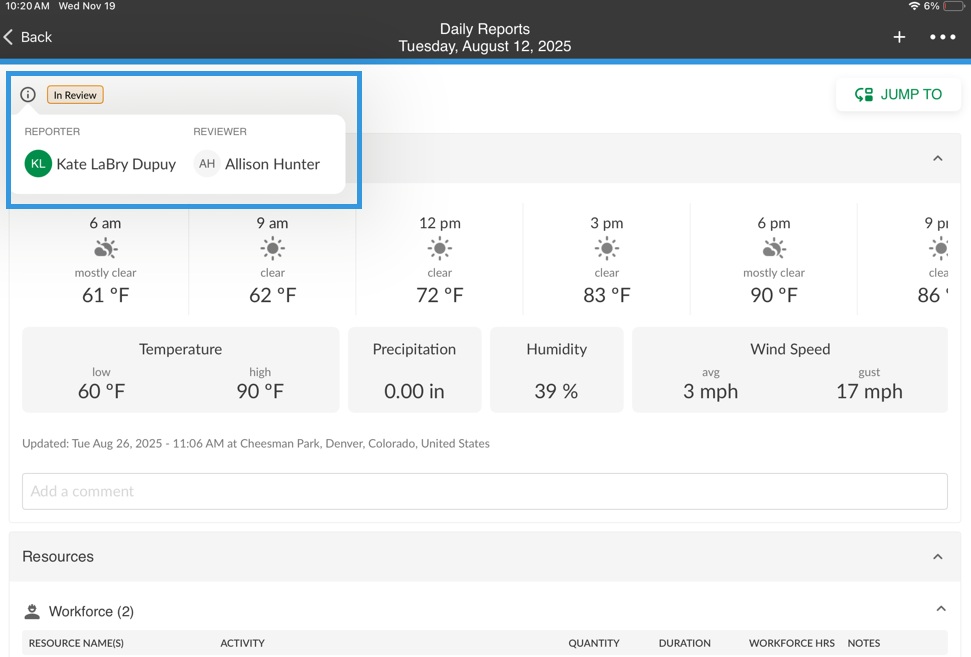
Information popover: Reporter and Reviewer user names
+: Add an item to a section
JUMP TO: Jump to a specific section
Circles:
Blue with check: Submit or Commit
Green with check: Approve
Red with X: Reject
Daily Reports on Phone
Daily Reports are accessible on iPhone. The STACK Field App on phone features all the same functions as on the iPad although they will differ slightly in appearance. Similarly to the iPad, all reports will sync with the Web Portal once connected to data or wifi.
The following video is only to give you a visual idea of how the Daily Reports look on phone. Please refer to the present article for more detailed instructions.

Creating a New Report
Tap the hamburger menu in the upper left and select Daily Reports.
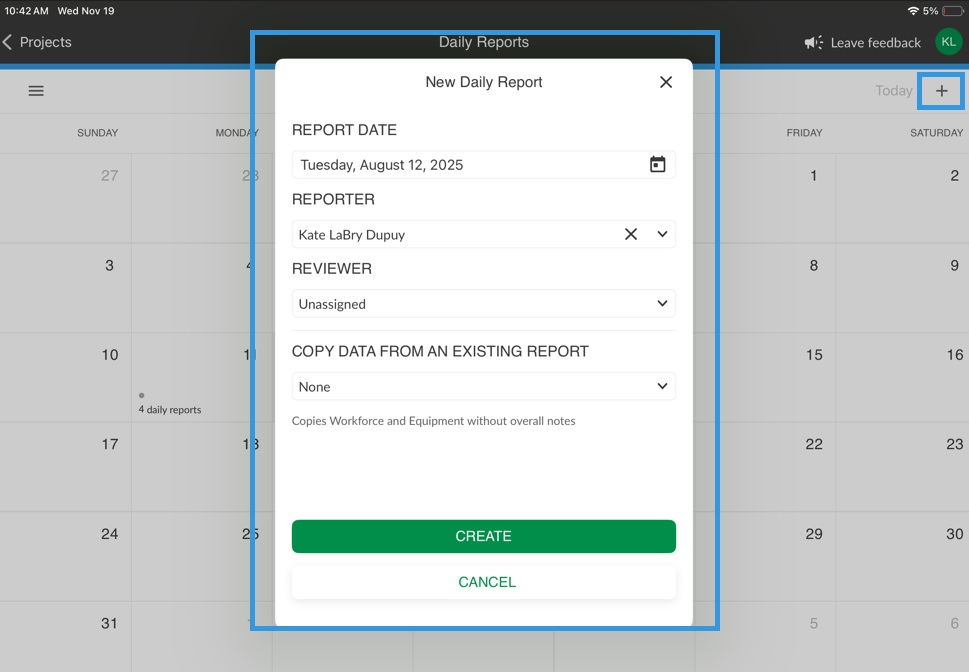
Tap the date for which you want to create a Daily Report and tap +ADD DAILY REPORT or tap the + sigh in the upper right which will create a report for today's date.
Fill in the required information:
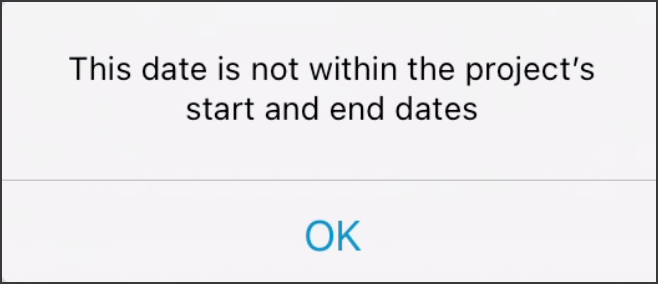
REPORT DATE: Select the date for the report. By default, the selected date will be today's date. You can either enter the date manually or navigate the calendar to select a date. (NOTE: If you select a date outside of the project's dates, a message will appear.)
REPORTER: Select the name of the person who will be filling out the report from the drop-down or use the search bar to search for a user.
REVIEWER: Select the name of the person who will be reviewing the report in order to validate that all the information is correct. The search bar may be used as well to find a specific user. (NOTE: If no Reviewer is selected, the report will be committed only. (See Committing a Report) The Reviewer should not be the same user as the Reporter. If the same name is selected, a warning message will appear.)
COPY DATA FROM AN EXISTING REPORT: It is possible to use the data from a previous report to not have to fill in all the details manually. Only the data from the workforce gets copied. The report can then be edited in accordance with the specific data for the current report. Select the report to copy from the drop-down.
Tap CREATE.
This will bring you to the Report Sections page. Refer to the Daily Report Sections articles for details on how to fill out the report. (NOTE: On the date for which you created the report, a blue dot will appear, showing the report is in progress.)
Submitting a Report
NOTE: A Daily Report must have the In Progress status in order to Submit it.
If you have just created a Daily Report, you will land on the Daily Report sections (skip to step 3). However, if you are on the Daily Reports calendar, tap the date where the report you wish to submit is located.
From the list of reports on that date, select the report you want to submit.
Fill in each of the sections of the report. Refer to the Daily Reports Sections article for more details. All sections of the Daily Report must be filled out. A warning message will appear when a section is missing. Check the None checkbox when no information needs to be filled in.
Once all the Daily Report is filled out, tap the blue circle with a check at the bottom right.
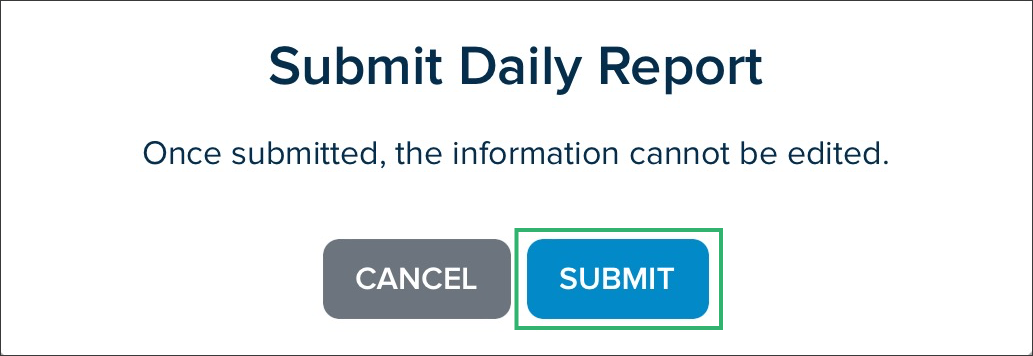
A message will appear letting you know that once the report is submitted, the information cannot be edited. Click SUBMIT to proceed.
The report will then pass to In Review status.
Committing a Report
The Commit function can be used when you want to create a report without assigning a Reviewer. The Report can still be filled out, but there just won't be a review process.
If you have just created a Daily Report, you will land on the Daily Report sections (skip to step 3). However, if you are on the Daily Reports calendar, tap the date where the report you wish to commit is located.
From the list of reports on that date, select the report you want to commit.
Fill in each of the sections of the report. Refer to the Daily Reports Sections article for more details. All sections of the Daily Report must be filled out. A warning message will appear when a section is missing.
Once all the Daily Report is filled out, tap the blue circle with a check at the bottom right.
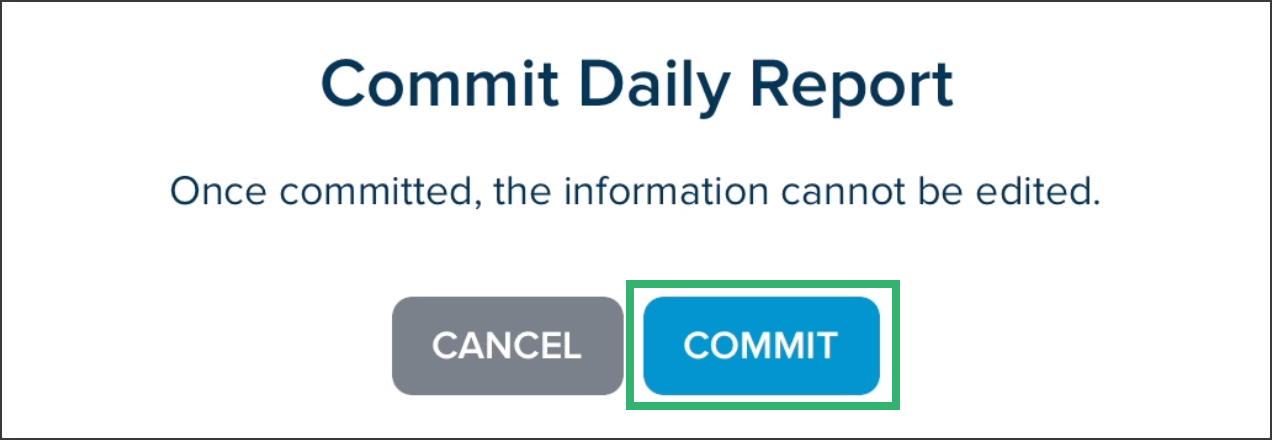
You will be asked to confirm that you want to commit the report and that once committed, the data cannot be edited. Click Commit to proceed.
The report will have the status of Completed.4
Reviewing a Report
Once a Daily Report has been created and submitted by a Reporter, it can be reviewed by the Reviewer. Only the assigned Reviewer has the permission to review the report.
NOTE: When a Reviewer opens a report that has In Review status, it opens it in review mode.
As the Reviewer, you will receive a notification letting you know that you need to review a Daily Report.
You can either Approve or Reject the Daily Report directly into the email or open it by clicking View in STACK.
If you click:
Approve - the report will have Approved status.
Reject - the report will go back to In Progress status and you will receive another email once it has been resubmitted by the Reporter.
View in STACK - it will bring you directly to the report. Go through all the report in order to validate if all the information entered is correct.
At the bottom of the window, click either the red circle with the X to reject or the green circle with the check to approve.
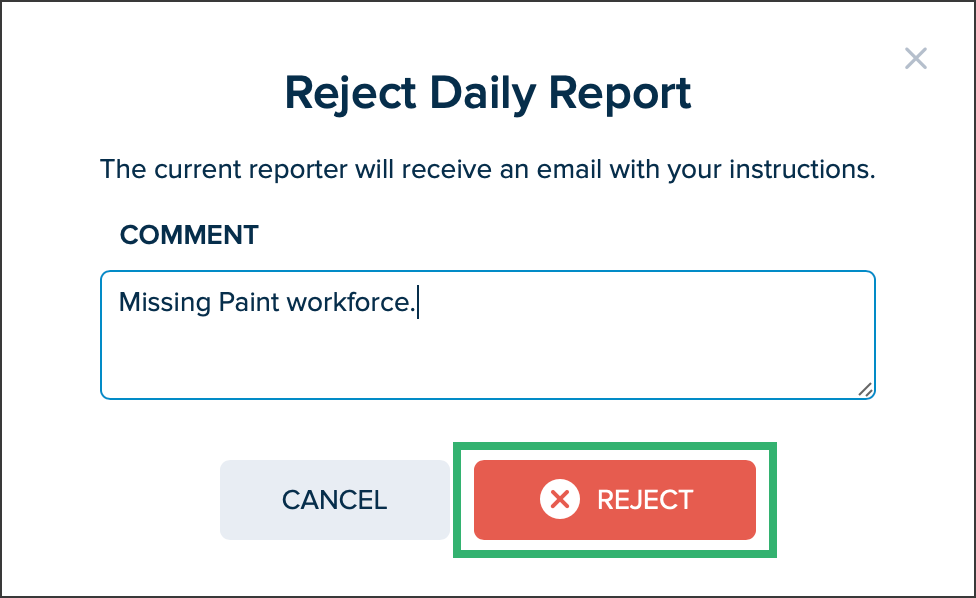
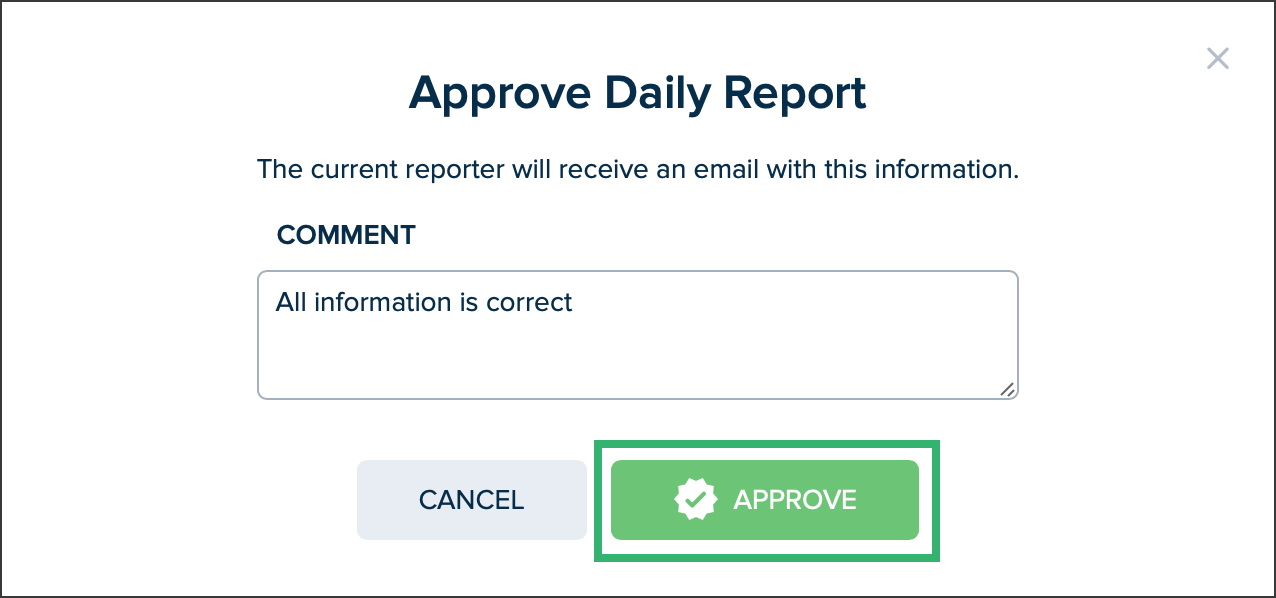
If you click reject, enter the reason you are rejecting the Daily Report into the comment section and click REJECT. The Daily Report will go back to In Progress status and your comment will be added to the Comments section. If you click approve, you can enter a comment (not requited) and click APPROVE. The Daily Report will have the Approved status. If you have added a comment, it will be added to the Comments section.
Editing a Report
Tap your profile icon in the upper right corner.
Select Edit Report Details.
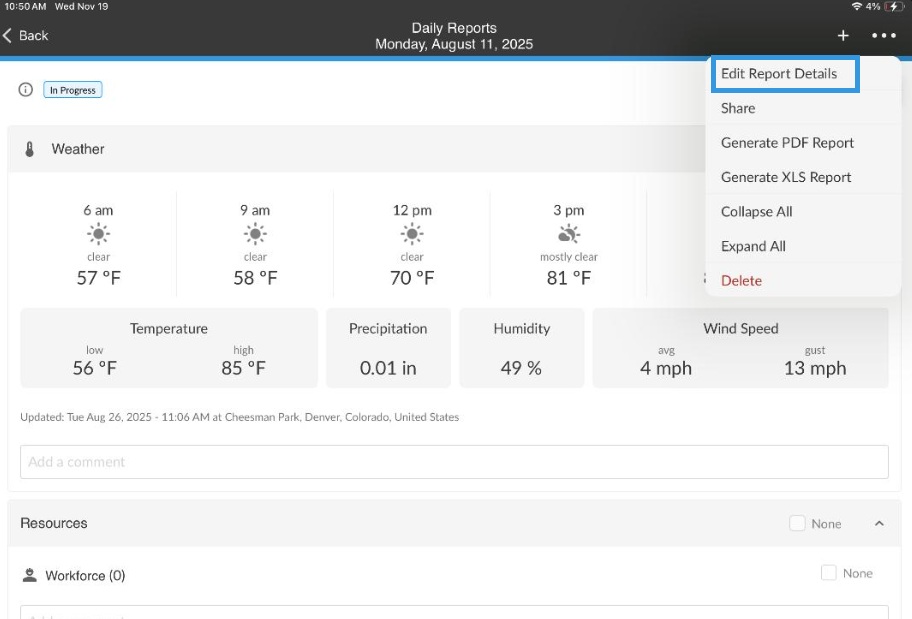
Apply any required changes and tap SAVE. (NOTE: the fields that are available to edit will depend on your role in STACK. (See the Daily Reports Permission by Role article) Changes can be applied to the following fields:
REPORT DATE
REPORTER
REVIEWER
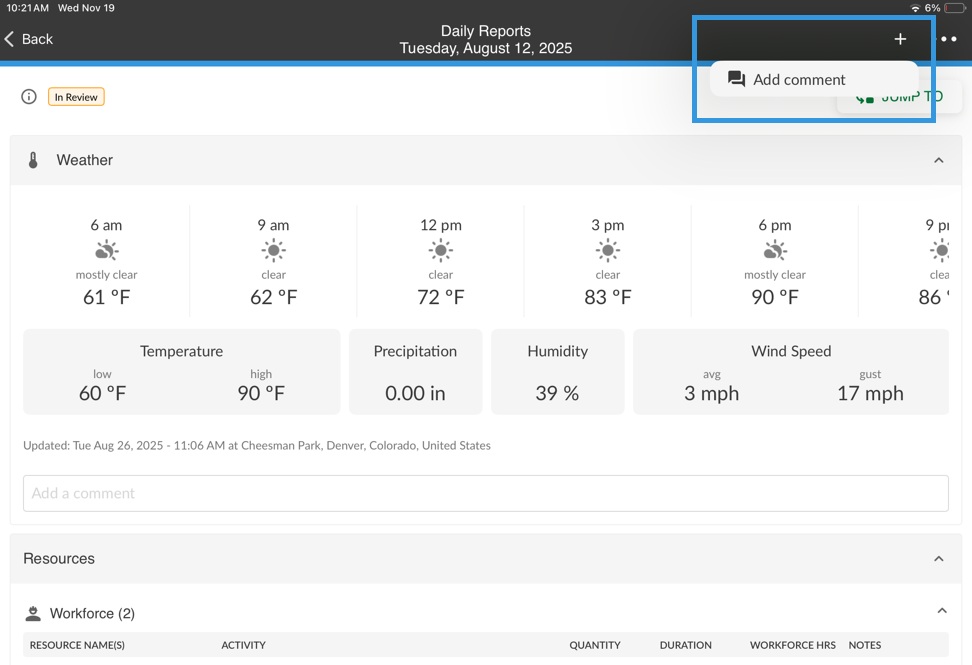
Add a comment (click the arrow to send)
Deleting a Report
NOTE: A report can be deleted only when they have In Progress status.
Tap your profile icon in the upper right corner.
Select Delete.
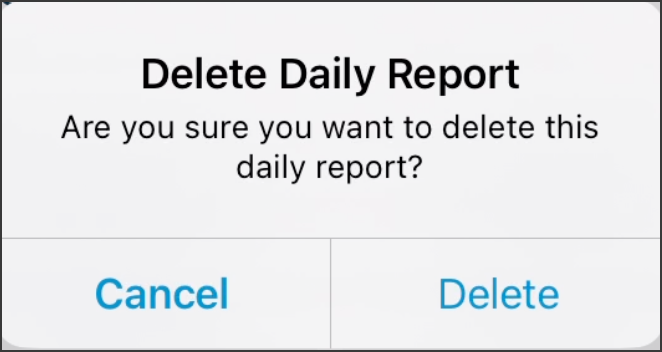
You will be asked to confirm that you want to delete the report. Tap Delete to proceed.
The report will no longer appear in the Daily Reports Calendar.
Deleting a Report with a Completed Status
Open the report you want to delete.
Tap the three dots at the top right of the right screen, opening a popup window.
Under REVIEWER, assign a reviewer.
Tap SAVE.
Have the reviewer go into the report and reject the review by tapping the red X.
Enter an explanation why the review is rejected and tap REJECT.
The report will then the In Progress status.
Follow the steps above to delete the report.
Related Articles
Daily Reports in the Web Portal
Daily Reports Permission by Role
Was this article helpful?