Issues (App)
- Imprimir
- OscuroClaro
- DF
Issues (App)
- Imprimir
- OscuroClaro
- DF
The content is currently unavailable in Spanish (Mexico). You are viewing the default English version.
Resumen del artículo
¿Te ha resultado útil este resumen?
Gracias por tus comentarios
Key Information
Issues are used in STACK to indicate on a plan that there is a problem that needs to be resolved.
Issues can be created and assigned to specific users so they can resolve them.
Issues occupy statuses so you can track the progress of the resolution of the problems.
Issues Overview
Creating an Issue
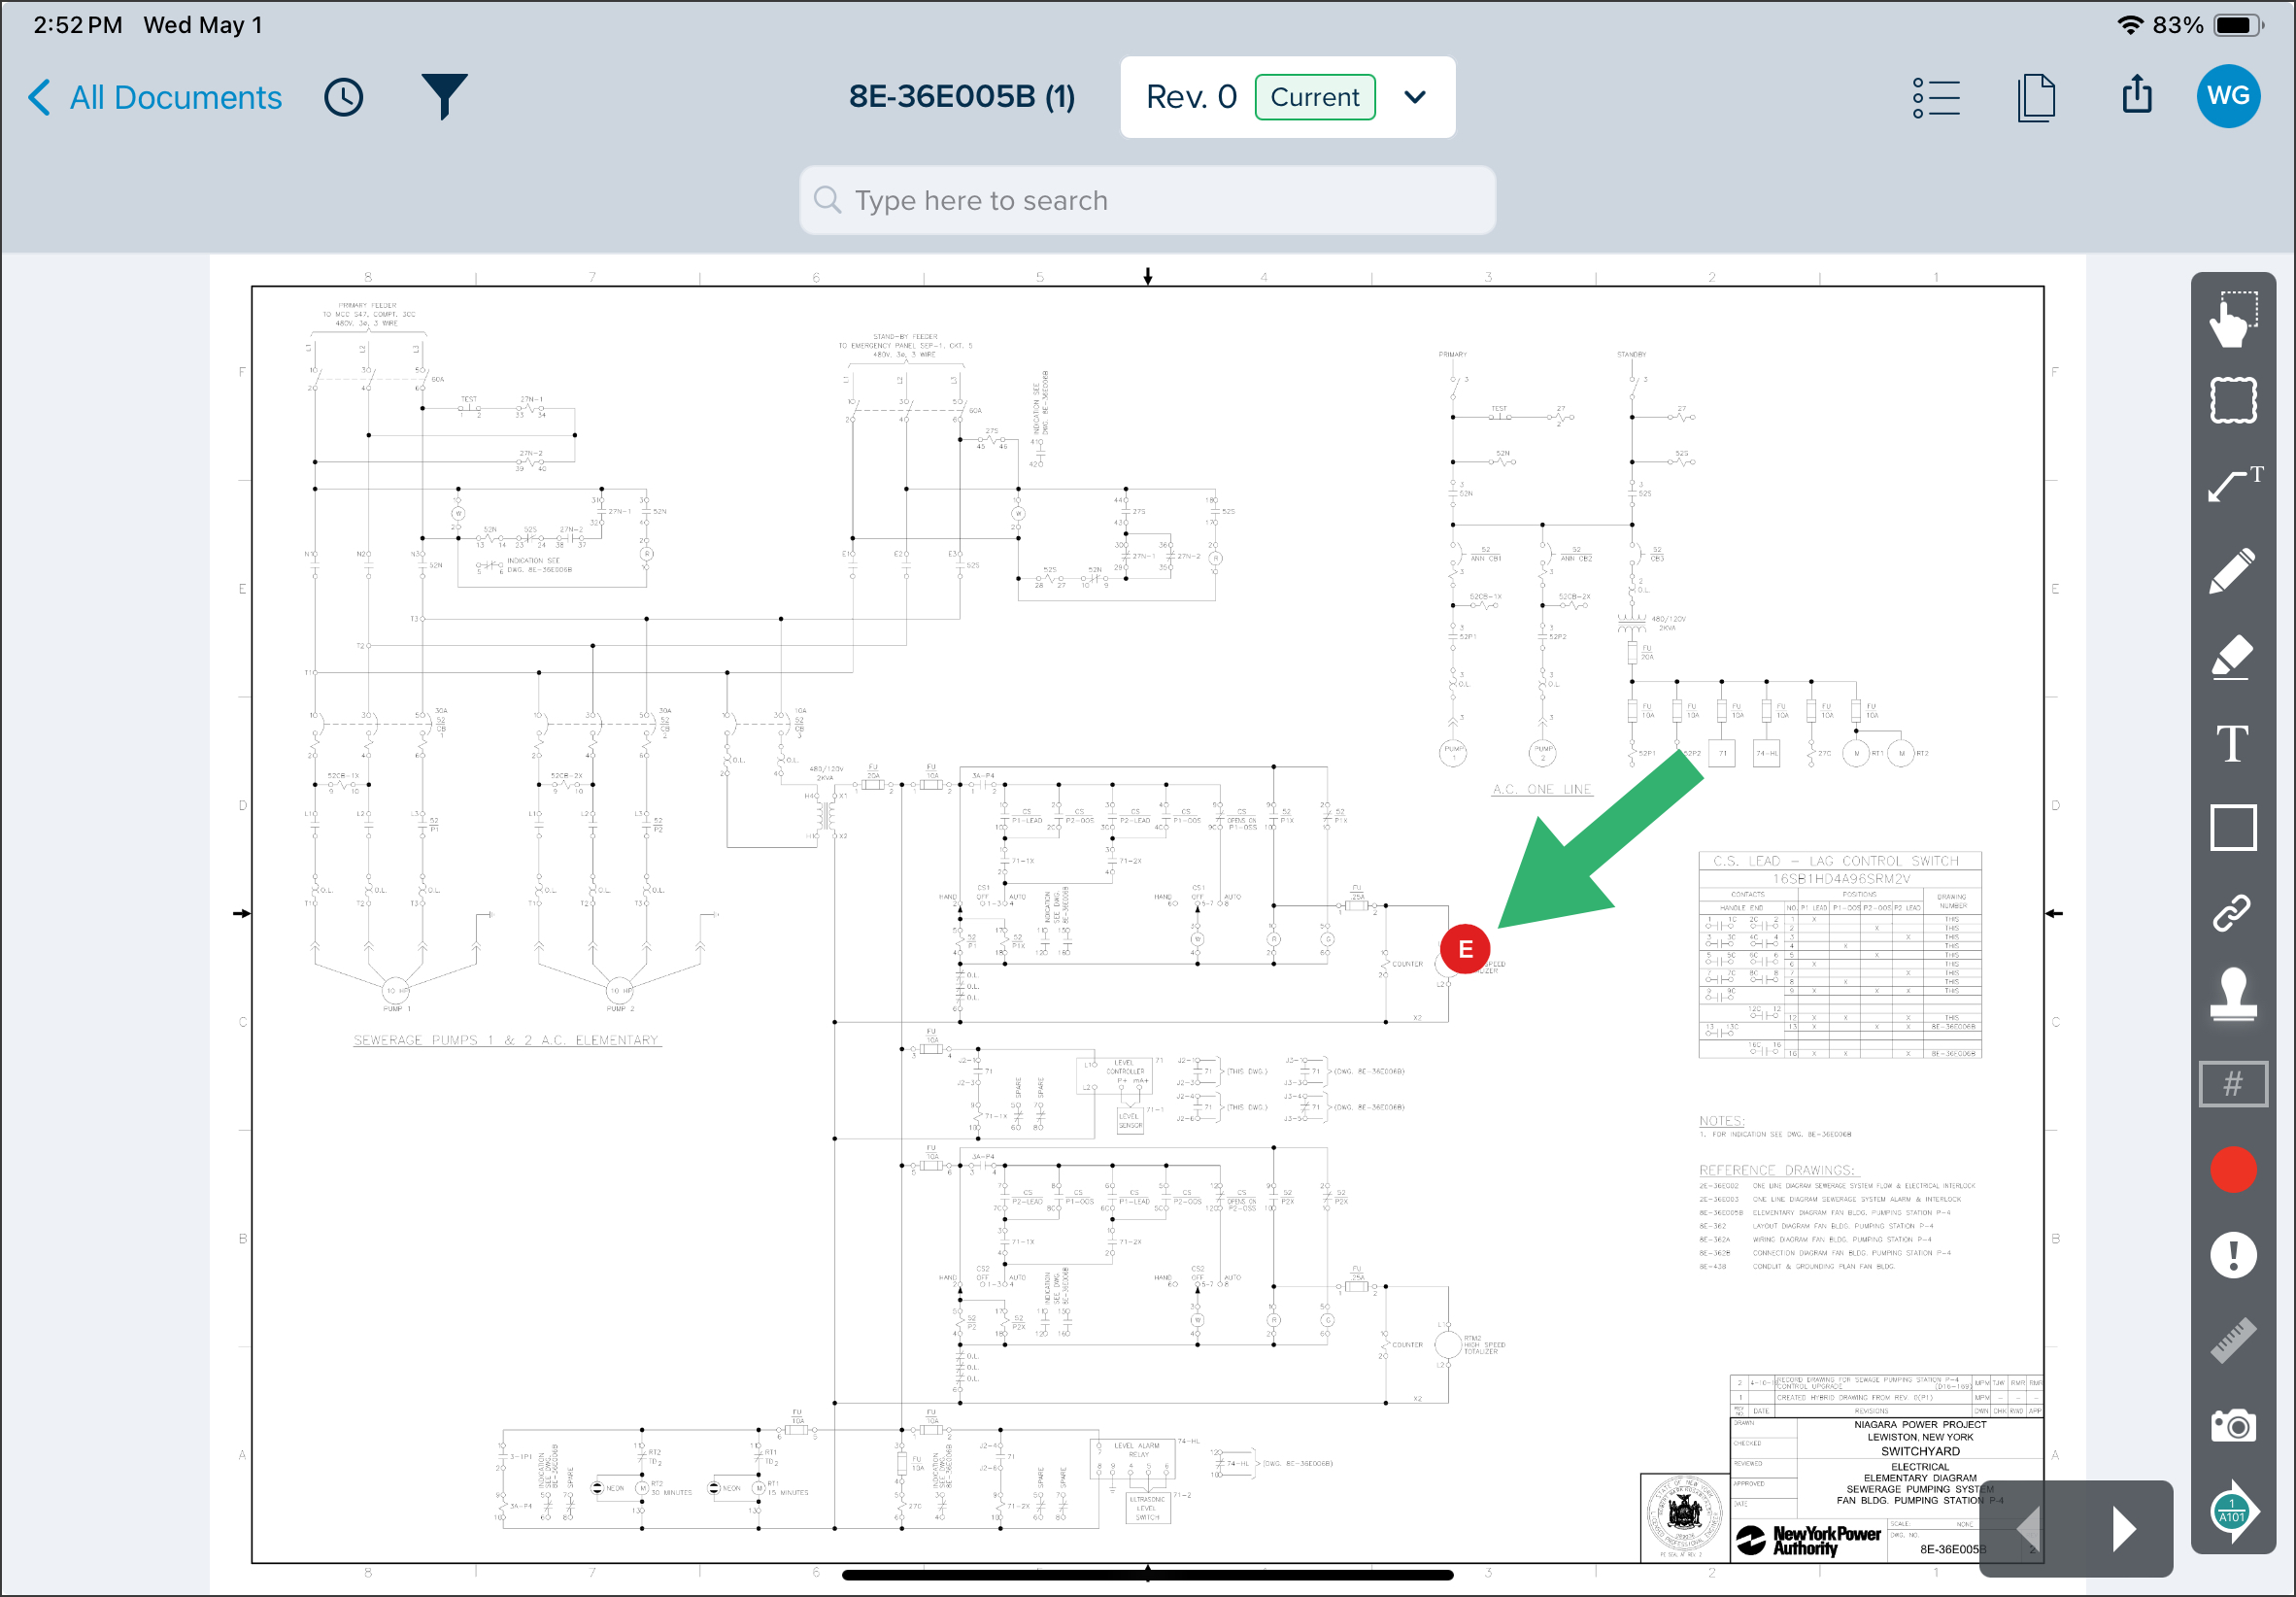
Open the plan for which you want to create an issue.
Tap the Issue icon.
Tap the location on the plan where you want to add the issue.
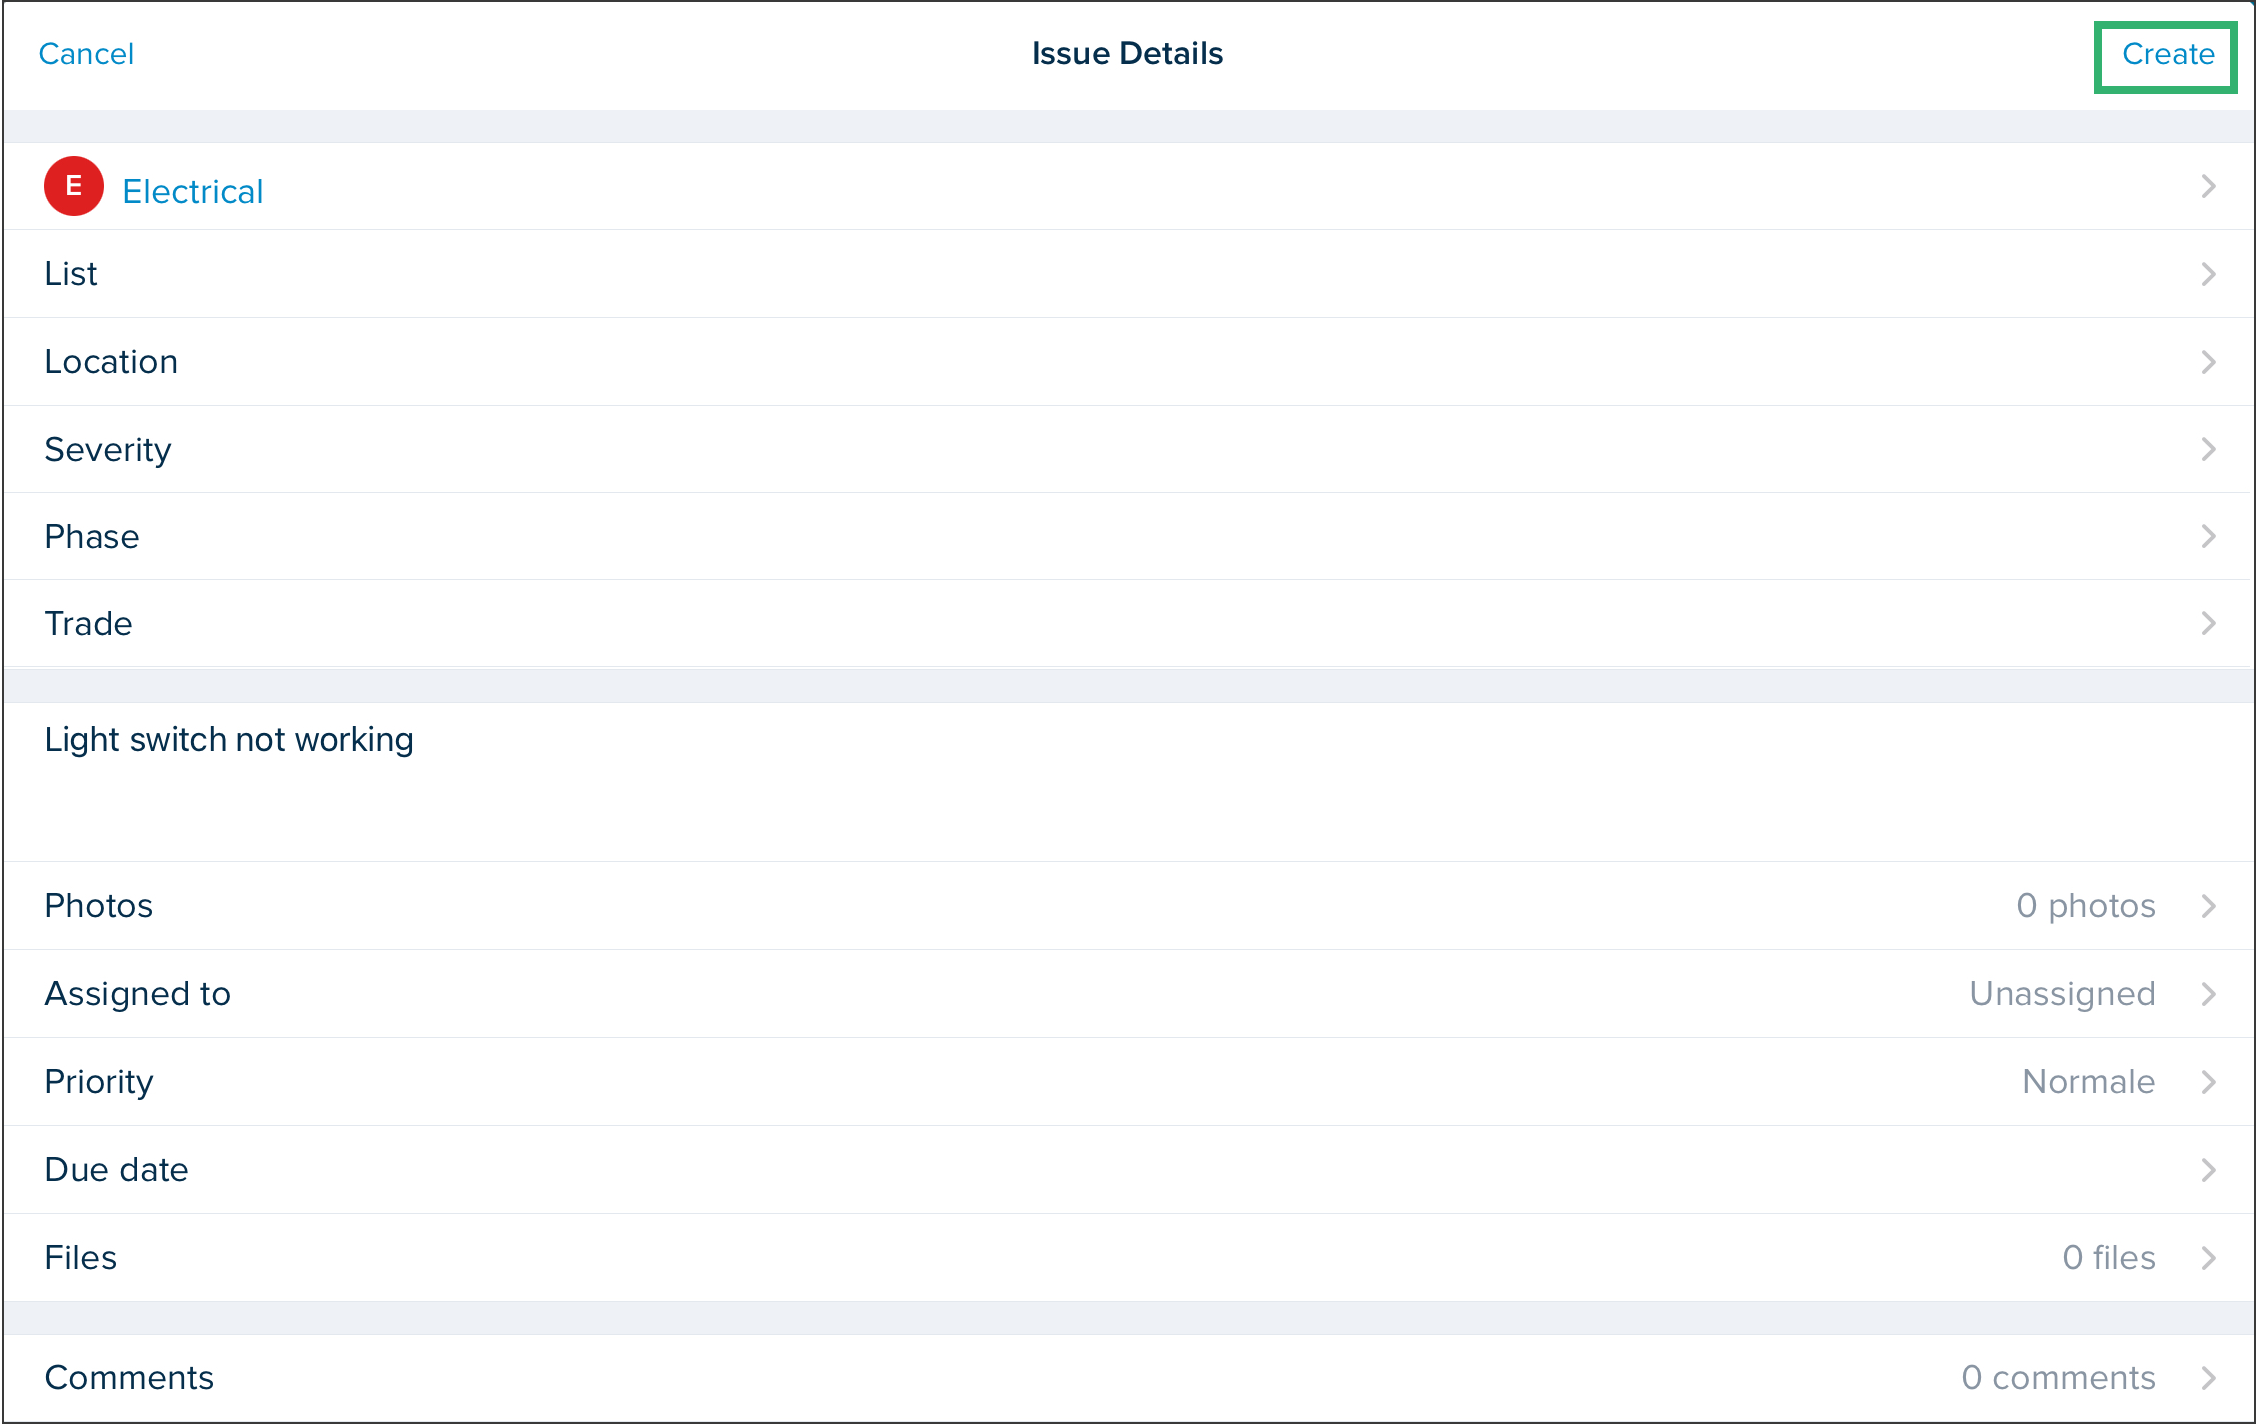
You can either Select a category of issue you want to add or Create a new Category.
If you Create a new Category, enter the Abbreviation and Title, and tap OK.
If you Select a category, tap an existing category from the list. You can use the search bar to find the category you are looking for.
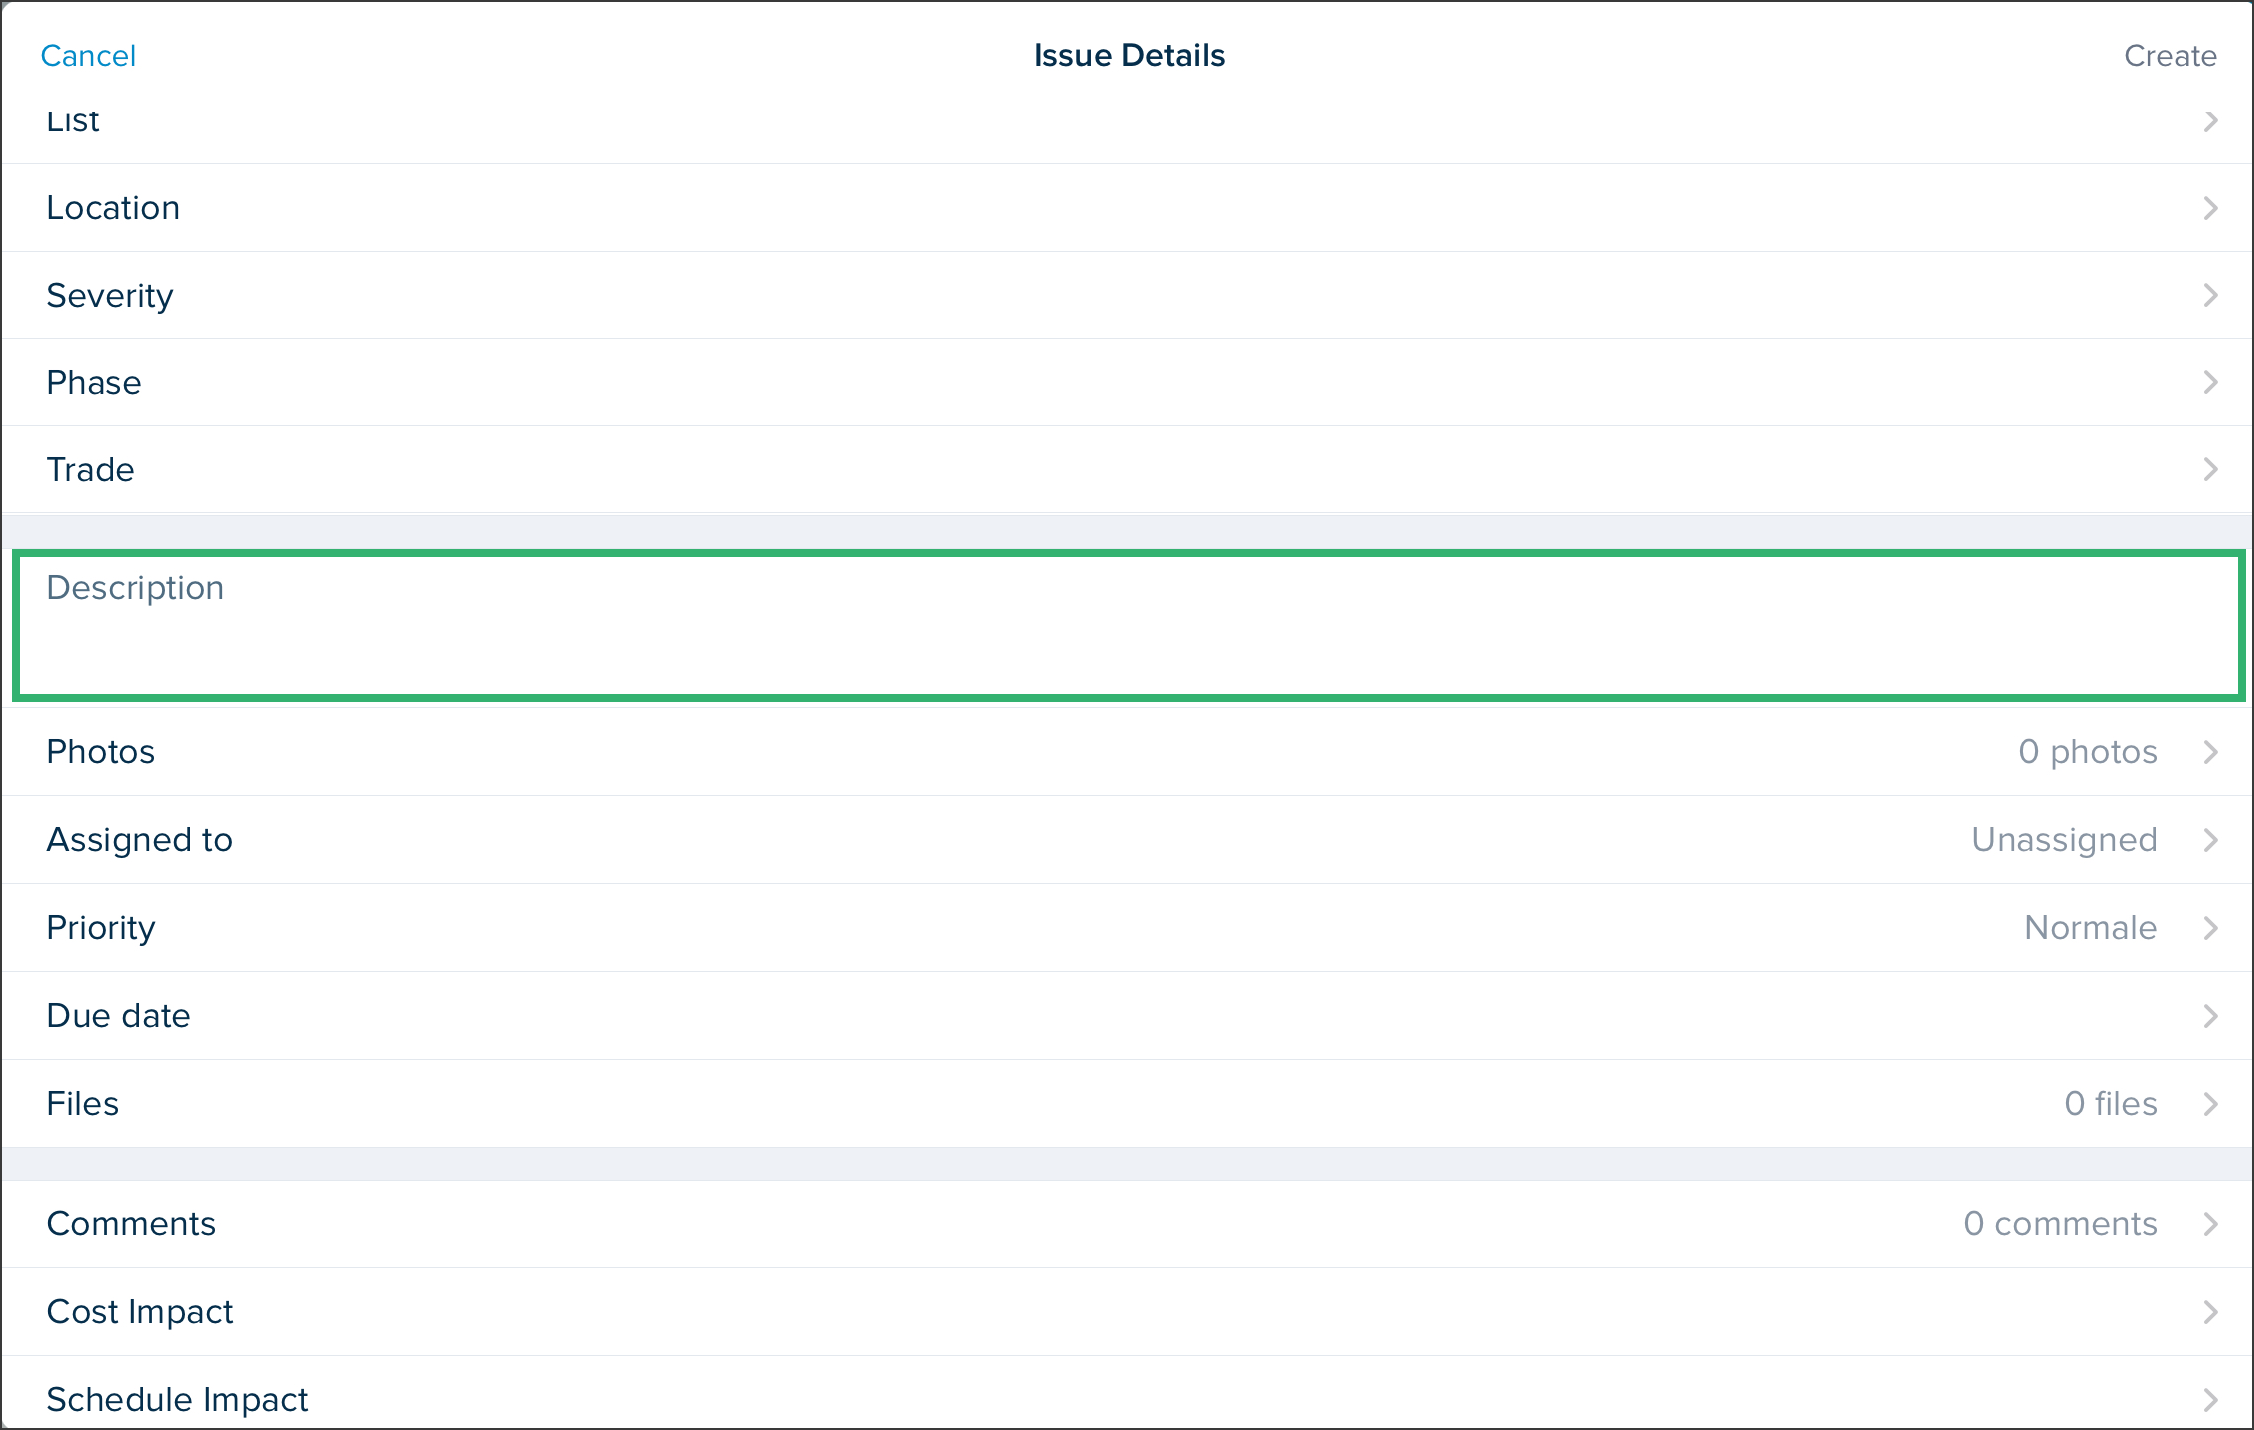
Enter the Issue details:
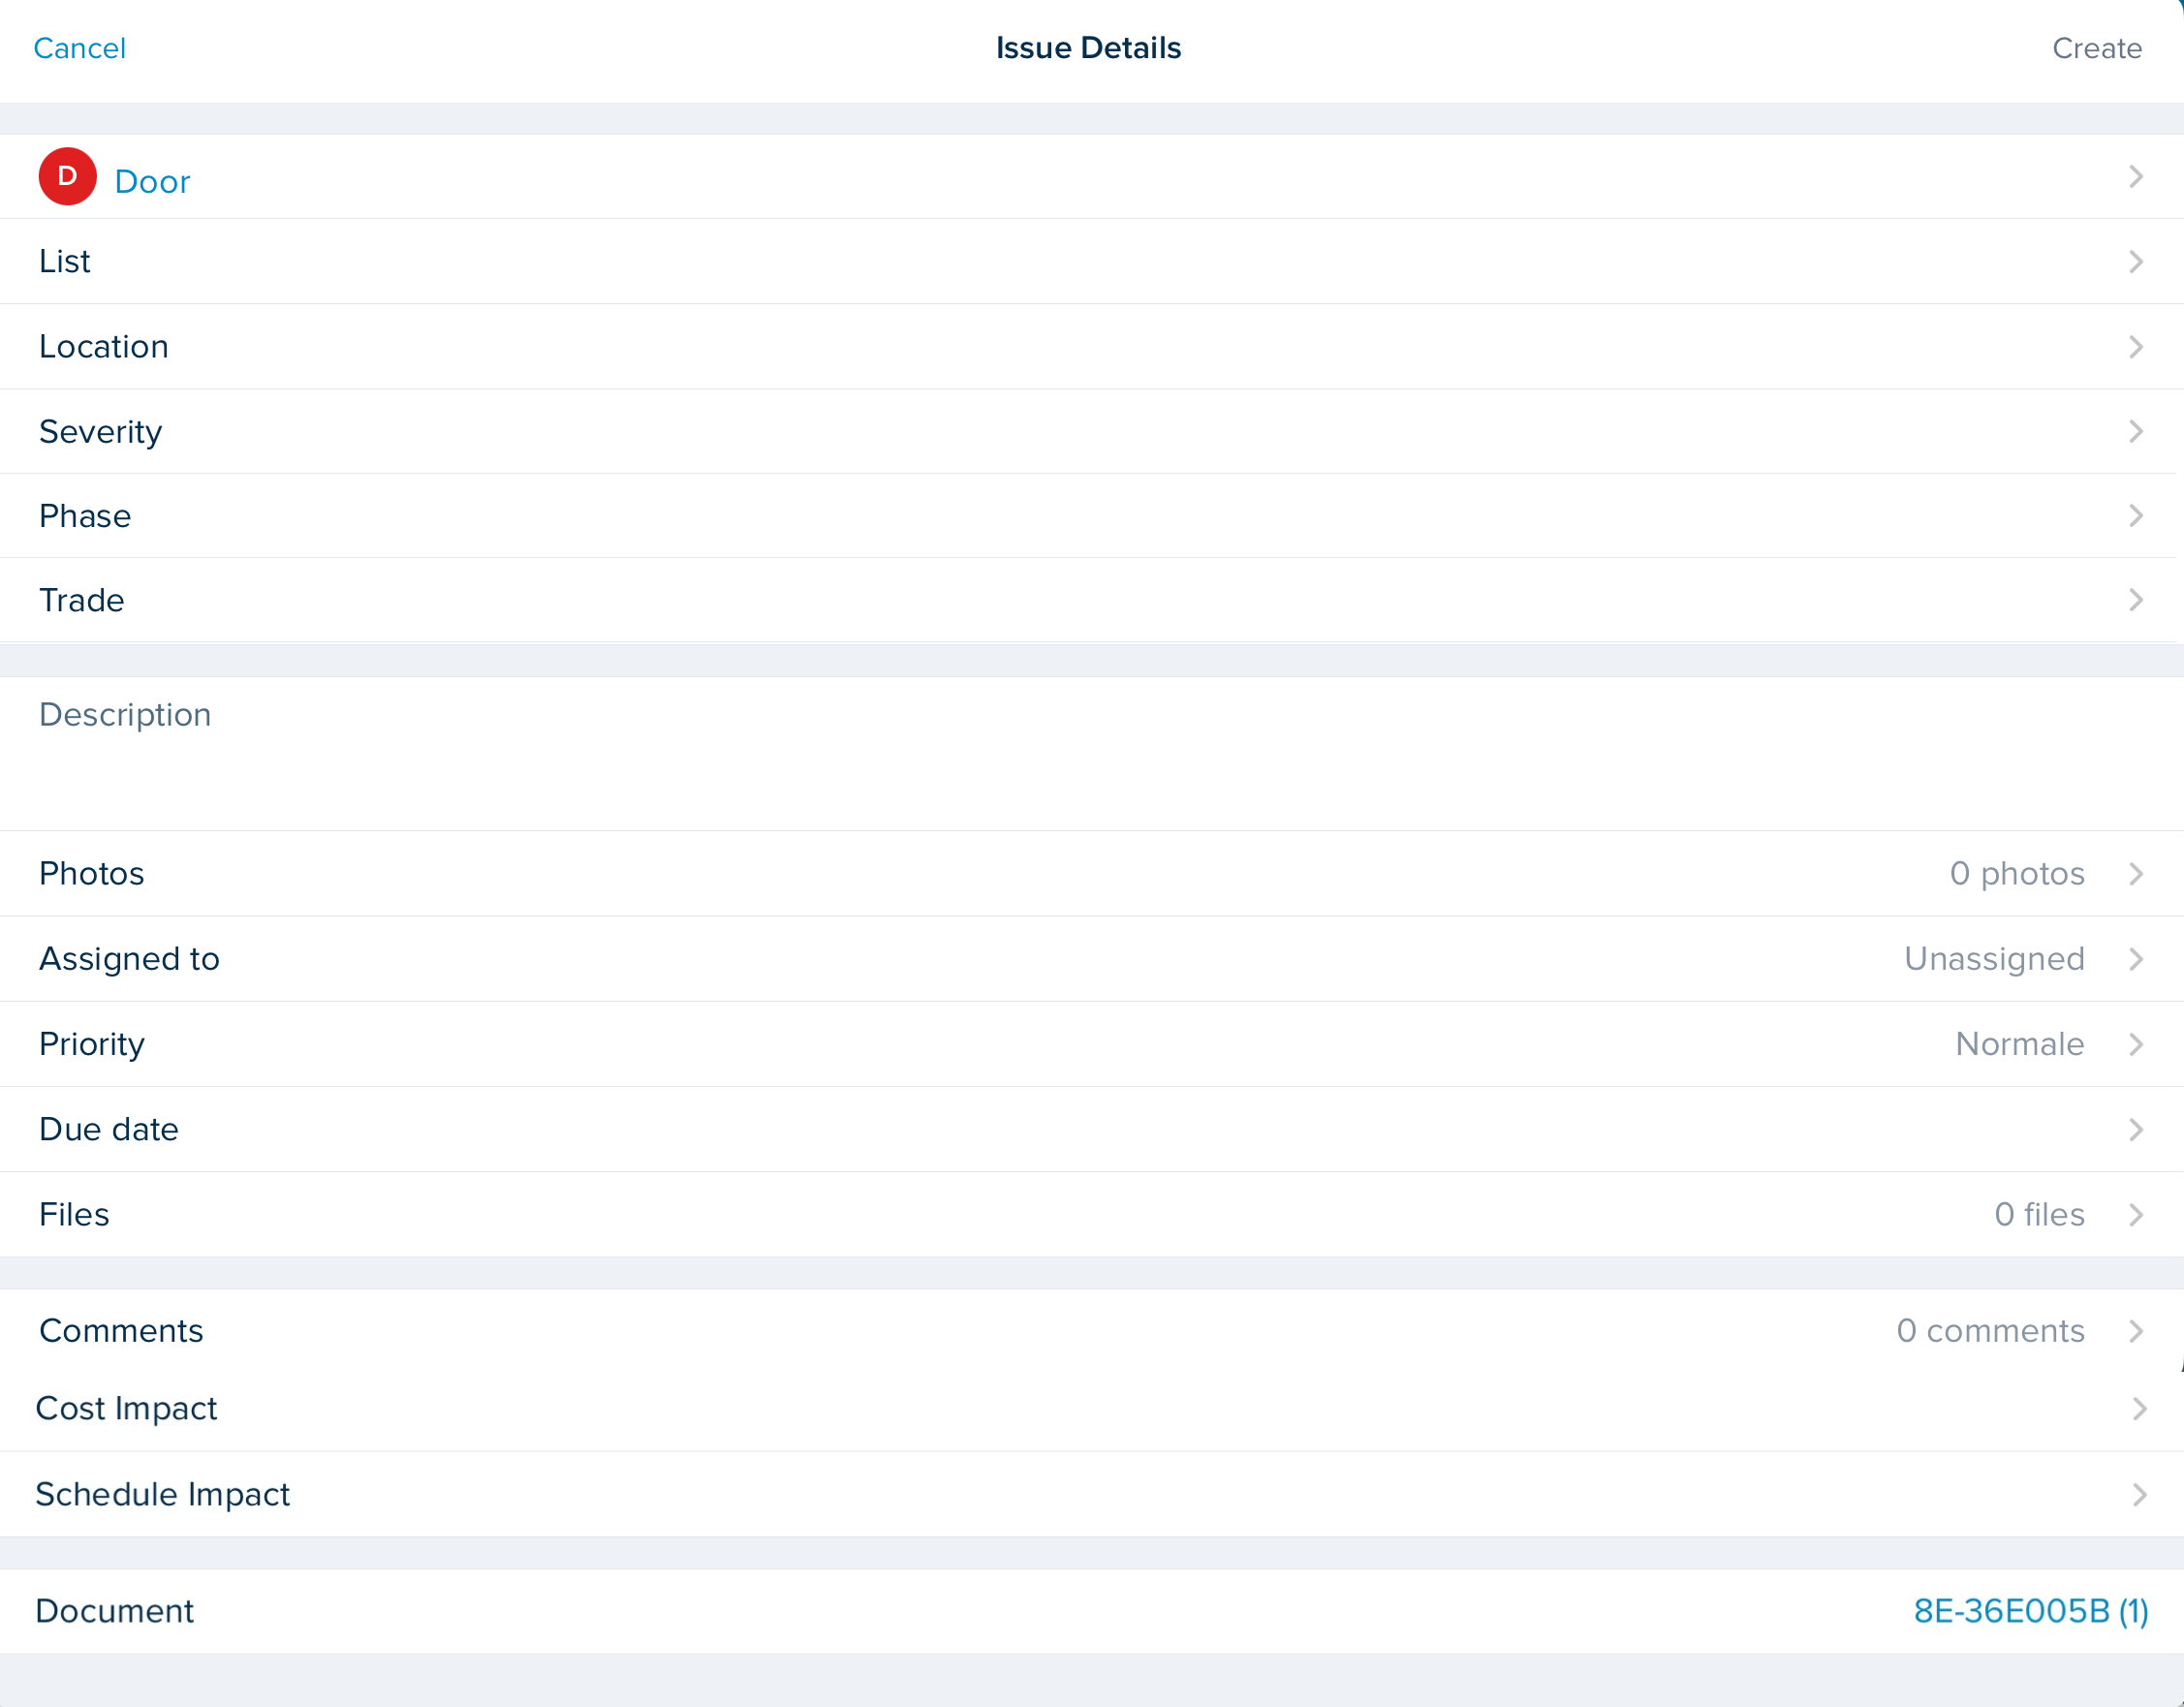
NOTES
For every item below where you create a new element, enter the Title and tap OK.
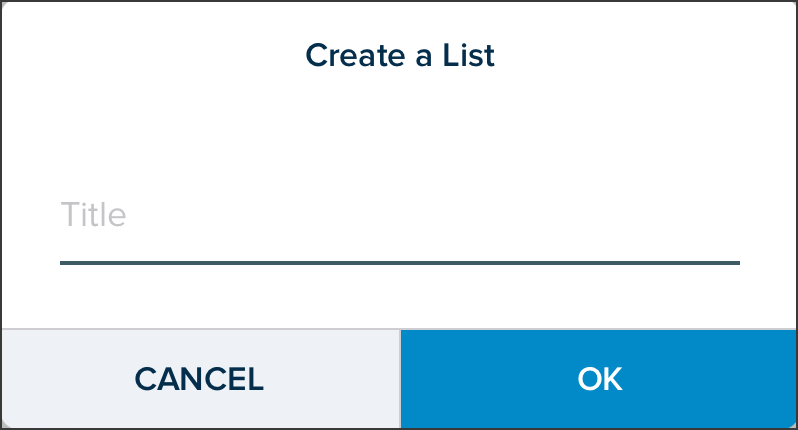
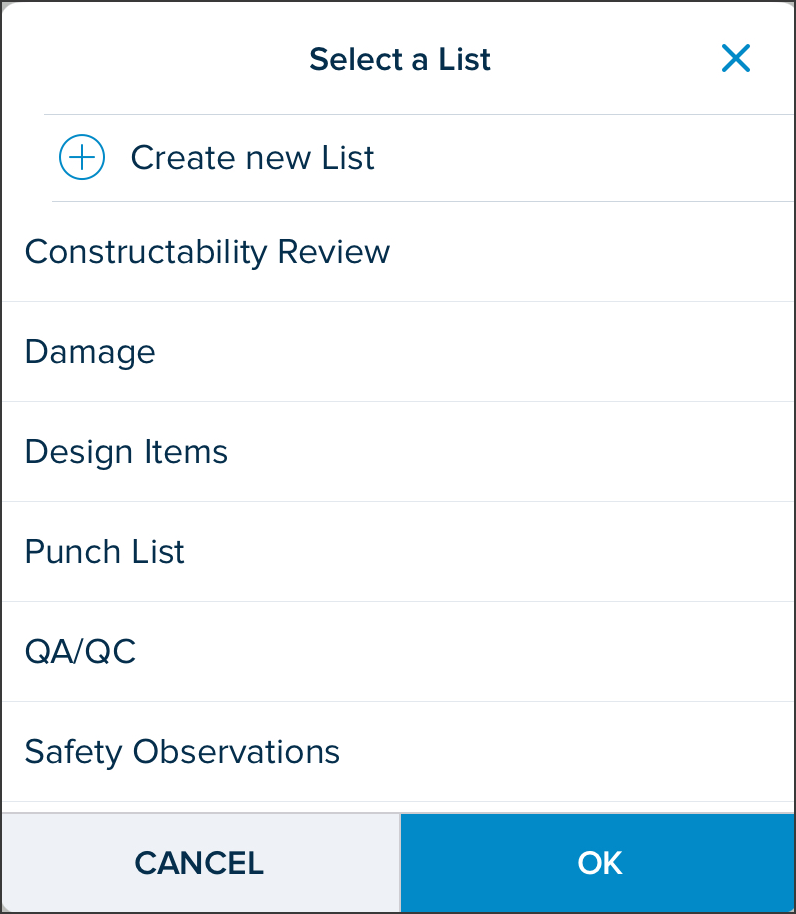
List: Select a List or Create a new List and tap OK.
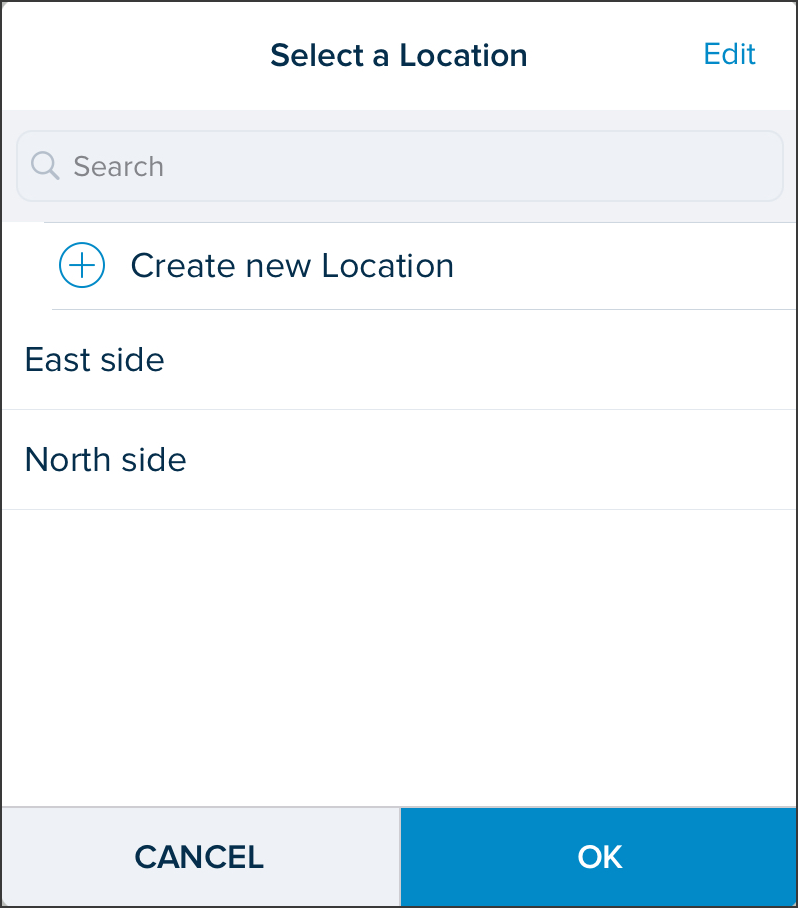
Location: Select a Location or Create a new Location and tap OK.
NOTE
If Custom Configurable Fields have been added in the Issues tab when the project was created, they will appear in the Issue Details window and may be filled in. (See Create a New Project)
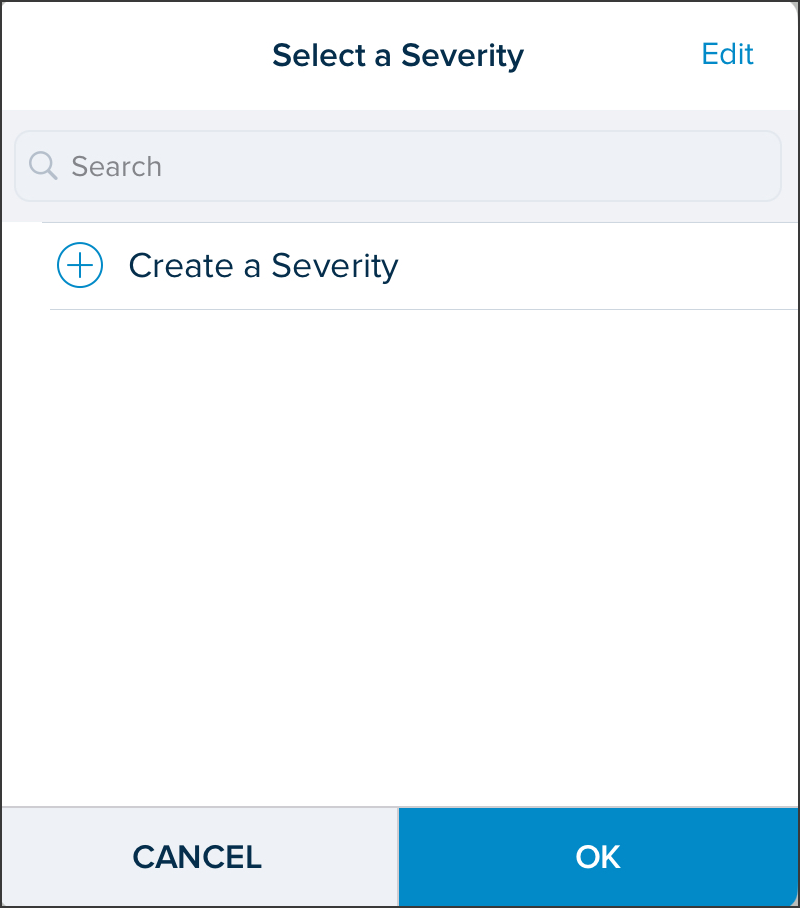
Severity: Select a Severity or Create a new Severity and tap OK.
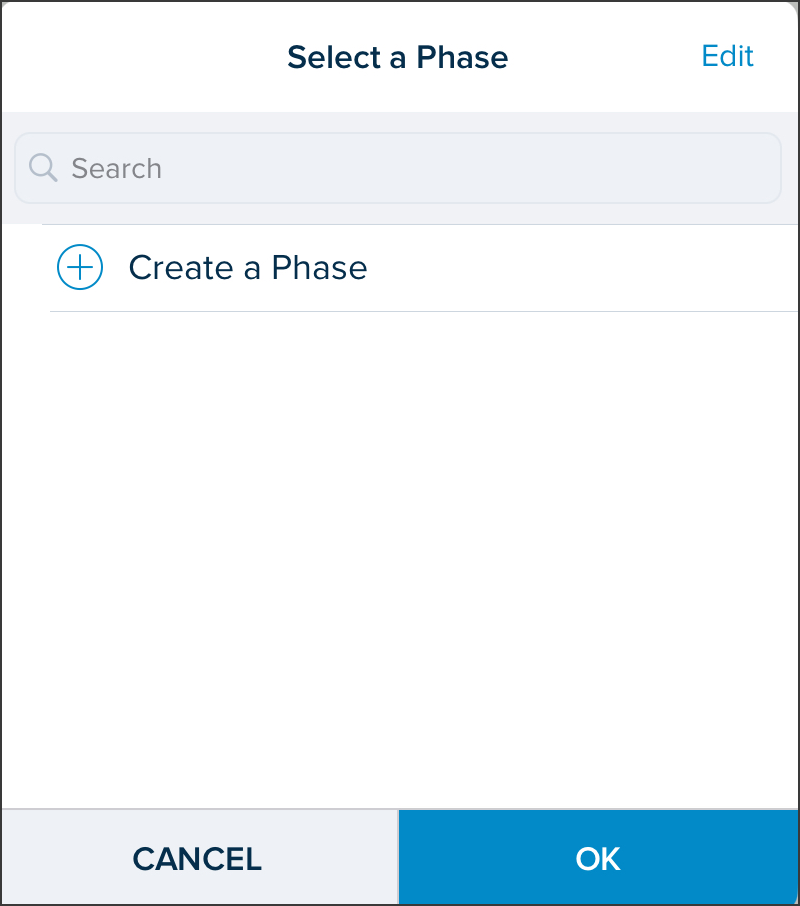
Phase: Select a Phase or Create a new Phase and tap OK.
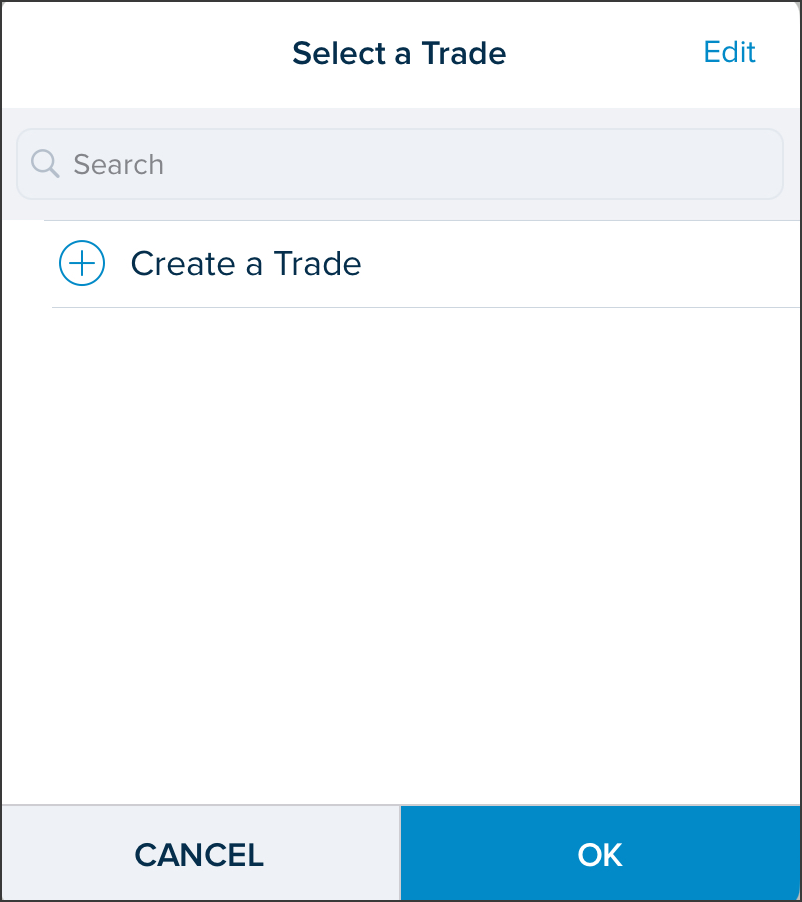
Trade: Select a Trade or Create a new Trade and tap OK.
Description: Enter a complete description.
NOTE
The Description field is the only required field to create an issue, all others are optional.
Photos: Tap +ADD, select from where you want to add a photo and tap the X to close.
Select from files
Select from photo library
Take a new photo
.png)
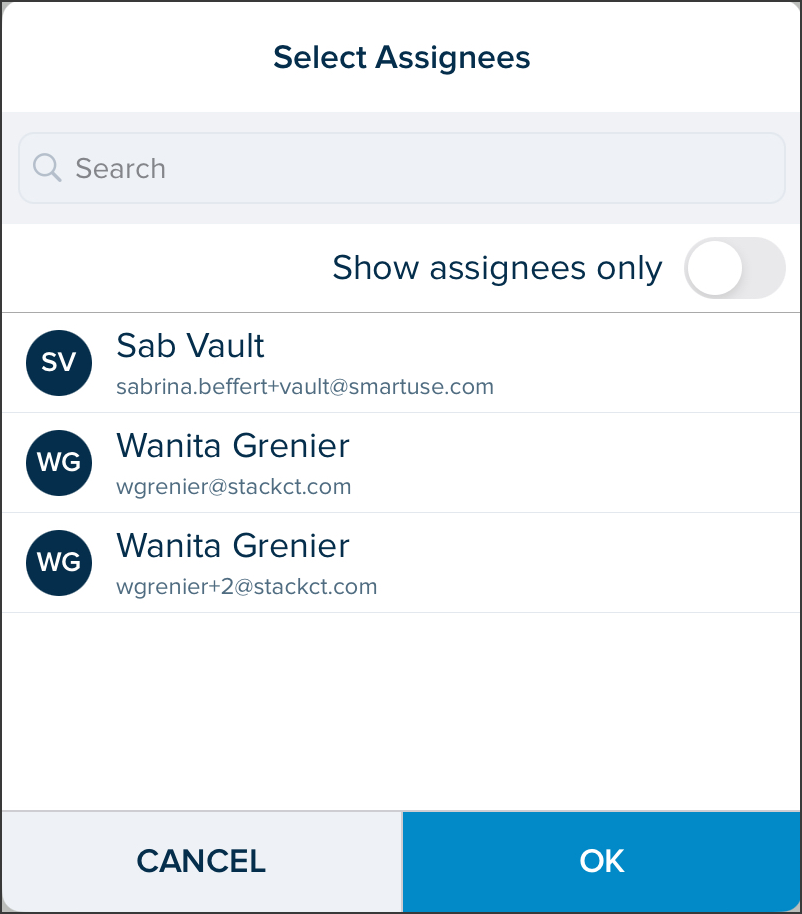
Assigned to: Tap each user you want to assign the issue to and tap OK.
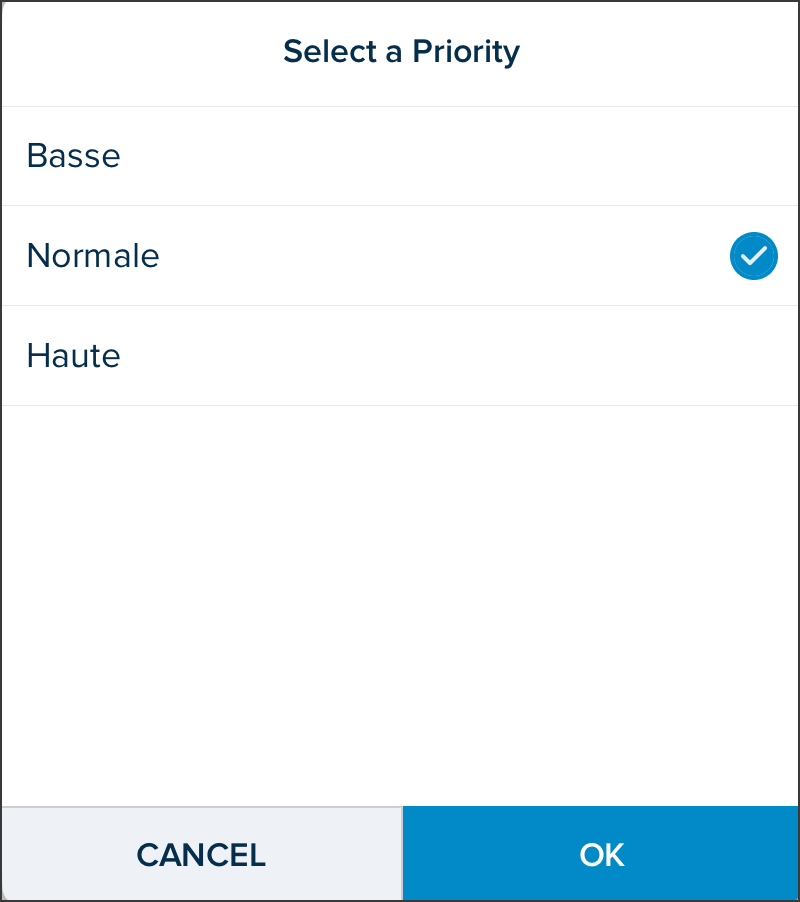
Priority: Tap the priority level you want to assign to the issue and tap OK.
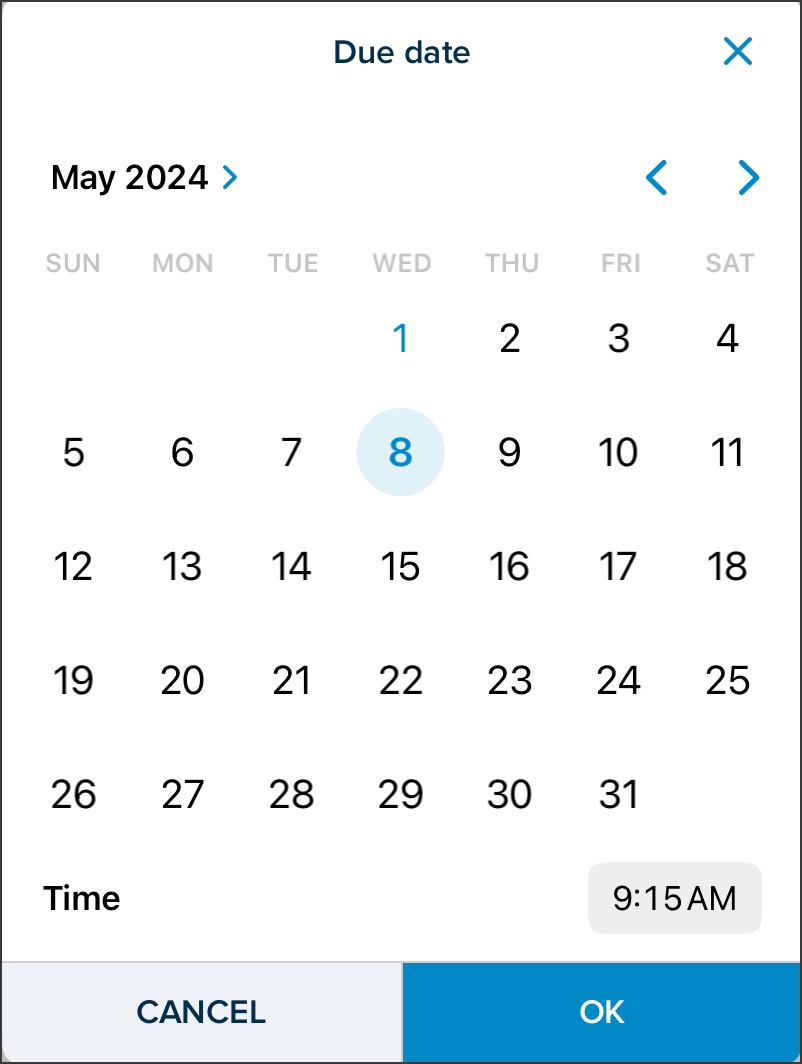
Due date: Navigate the calendar to select a due date and tap OK.
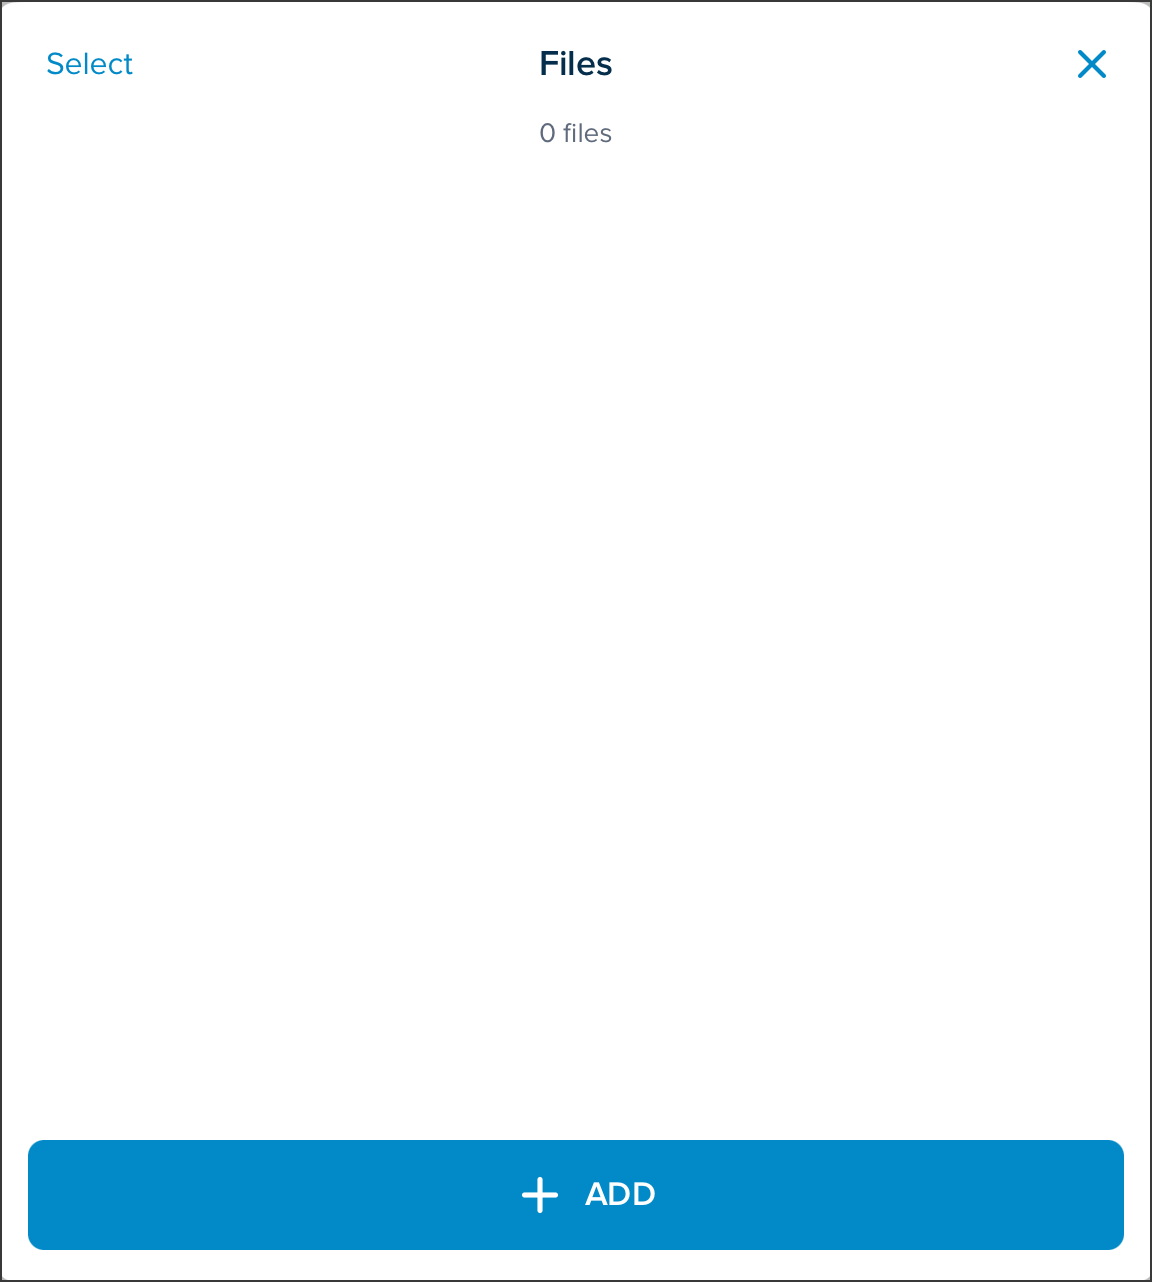
Files: Tap +ADD, navigate to select a file and tap the X to close. (For more information, see the Attaching a file to an Issue section)
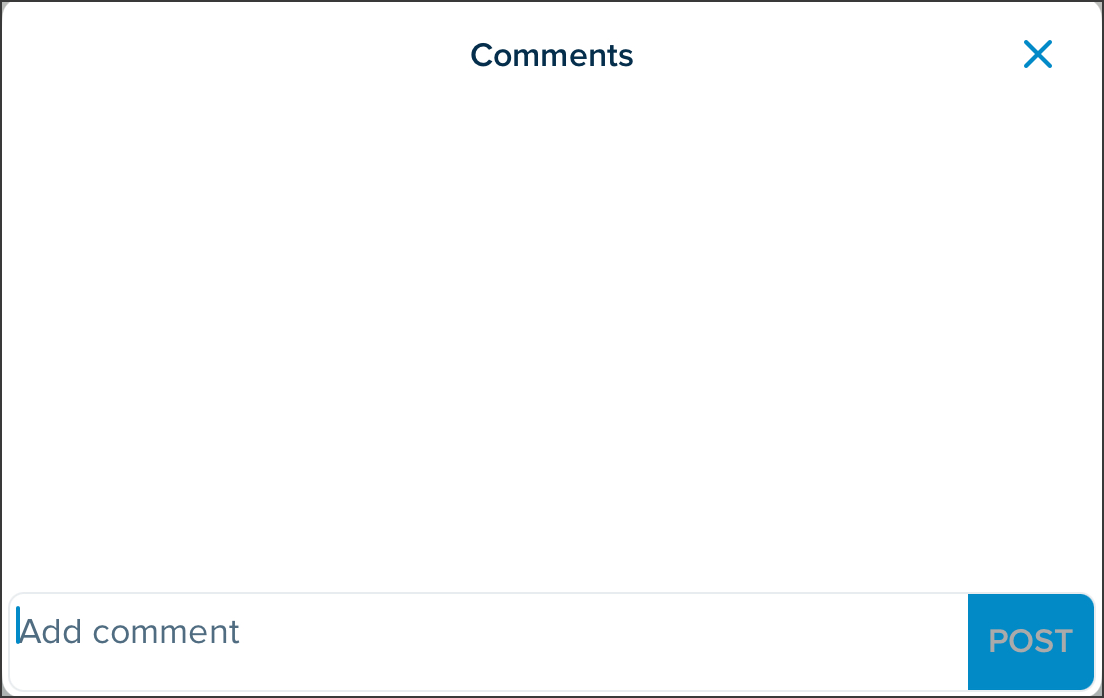
Comments: Add a comment and tap POST.
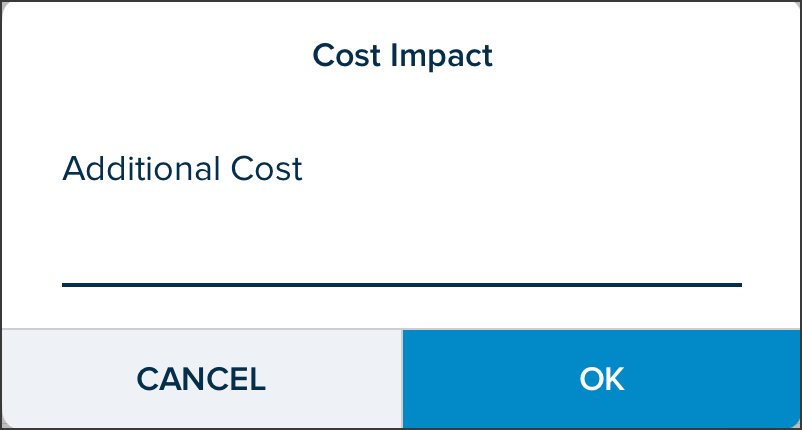
Cost Impact: Enter a Cost Impact in numerical value and tap OK.
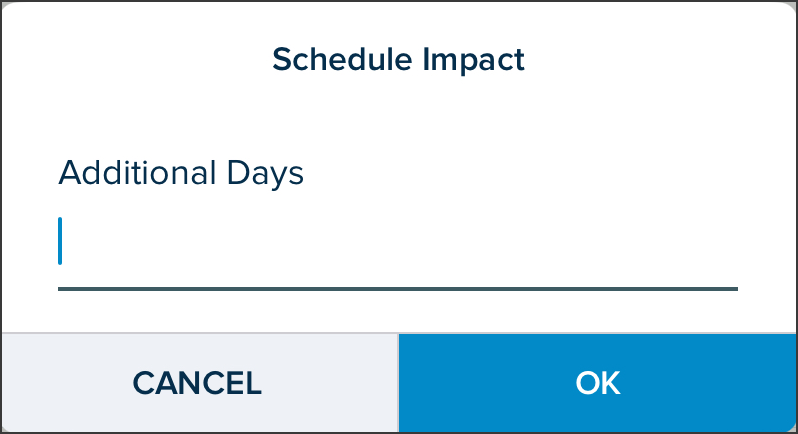
Schedule Impact: Enter an Additional Days Schedule Impact in numerical value and tap OK.
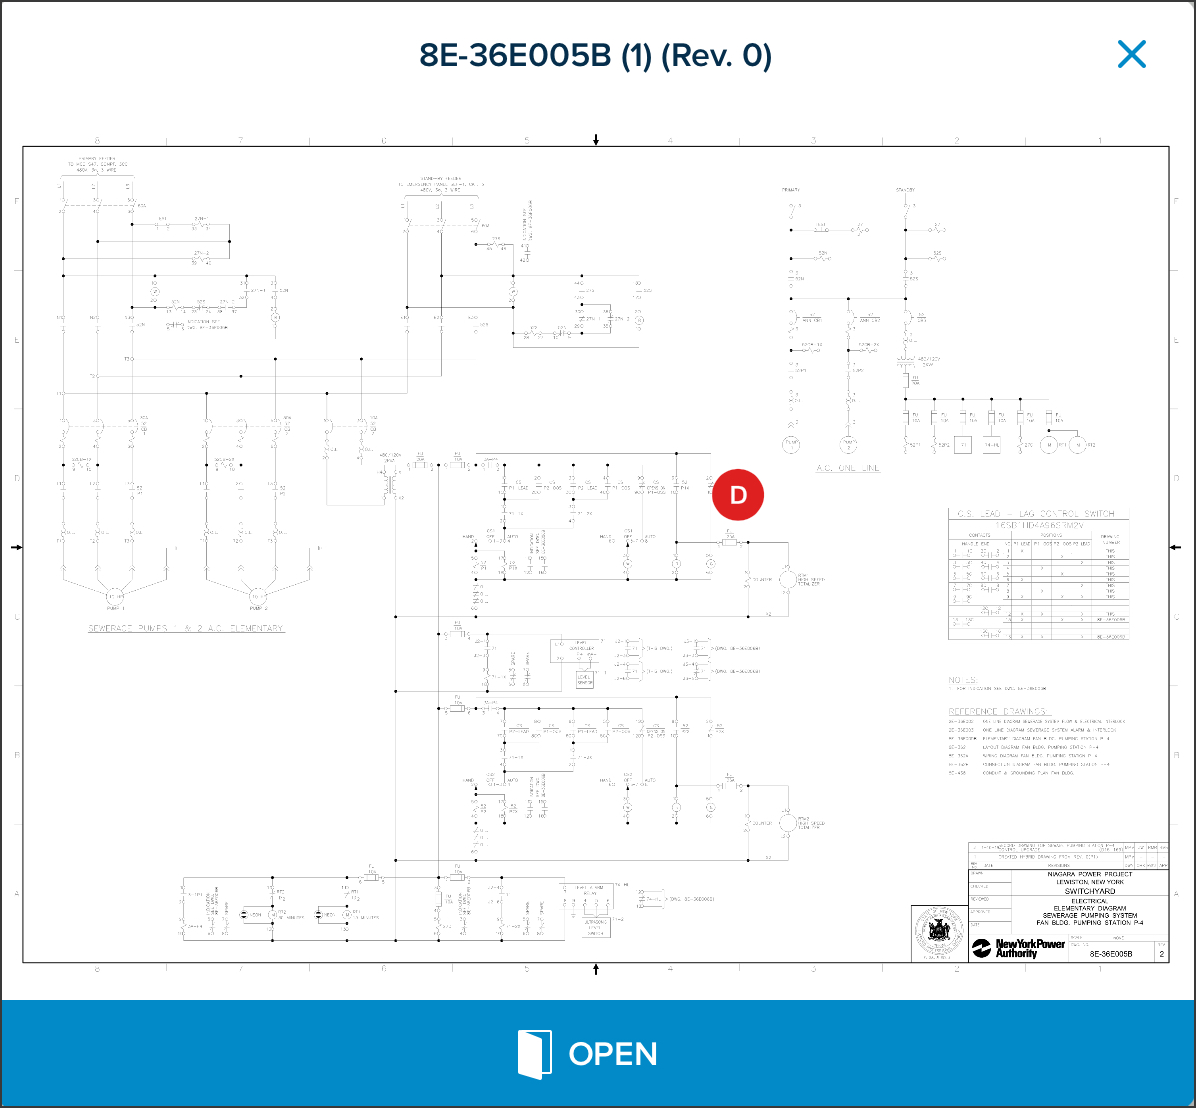
Document: Get a preview of the document where the issue is and tap OPEN to access the document.
Created by: The name of the user who created the issue, and the date and time the issue was created.
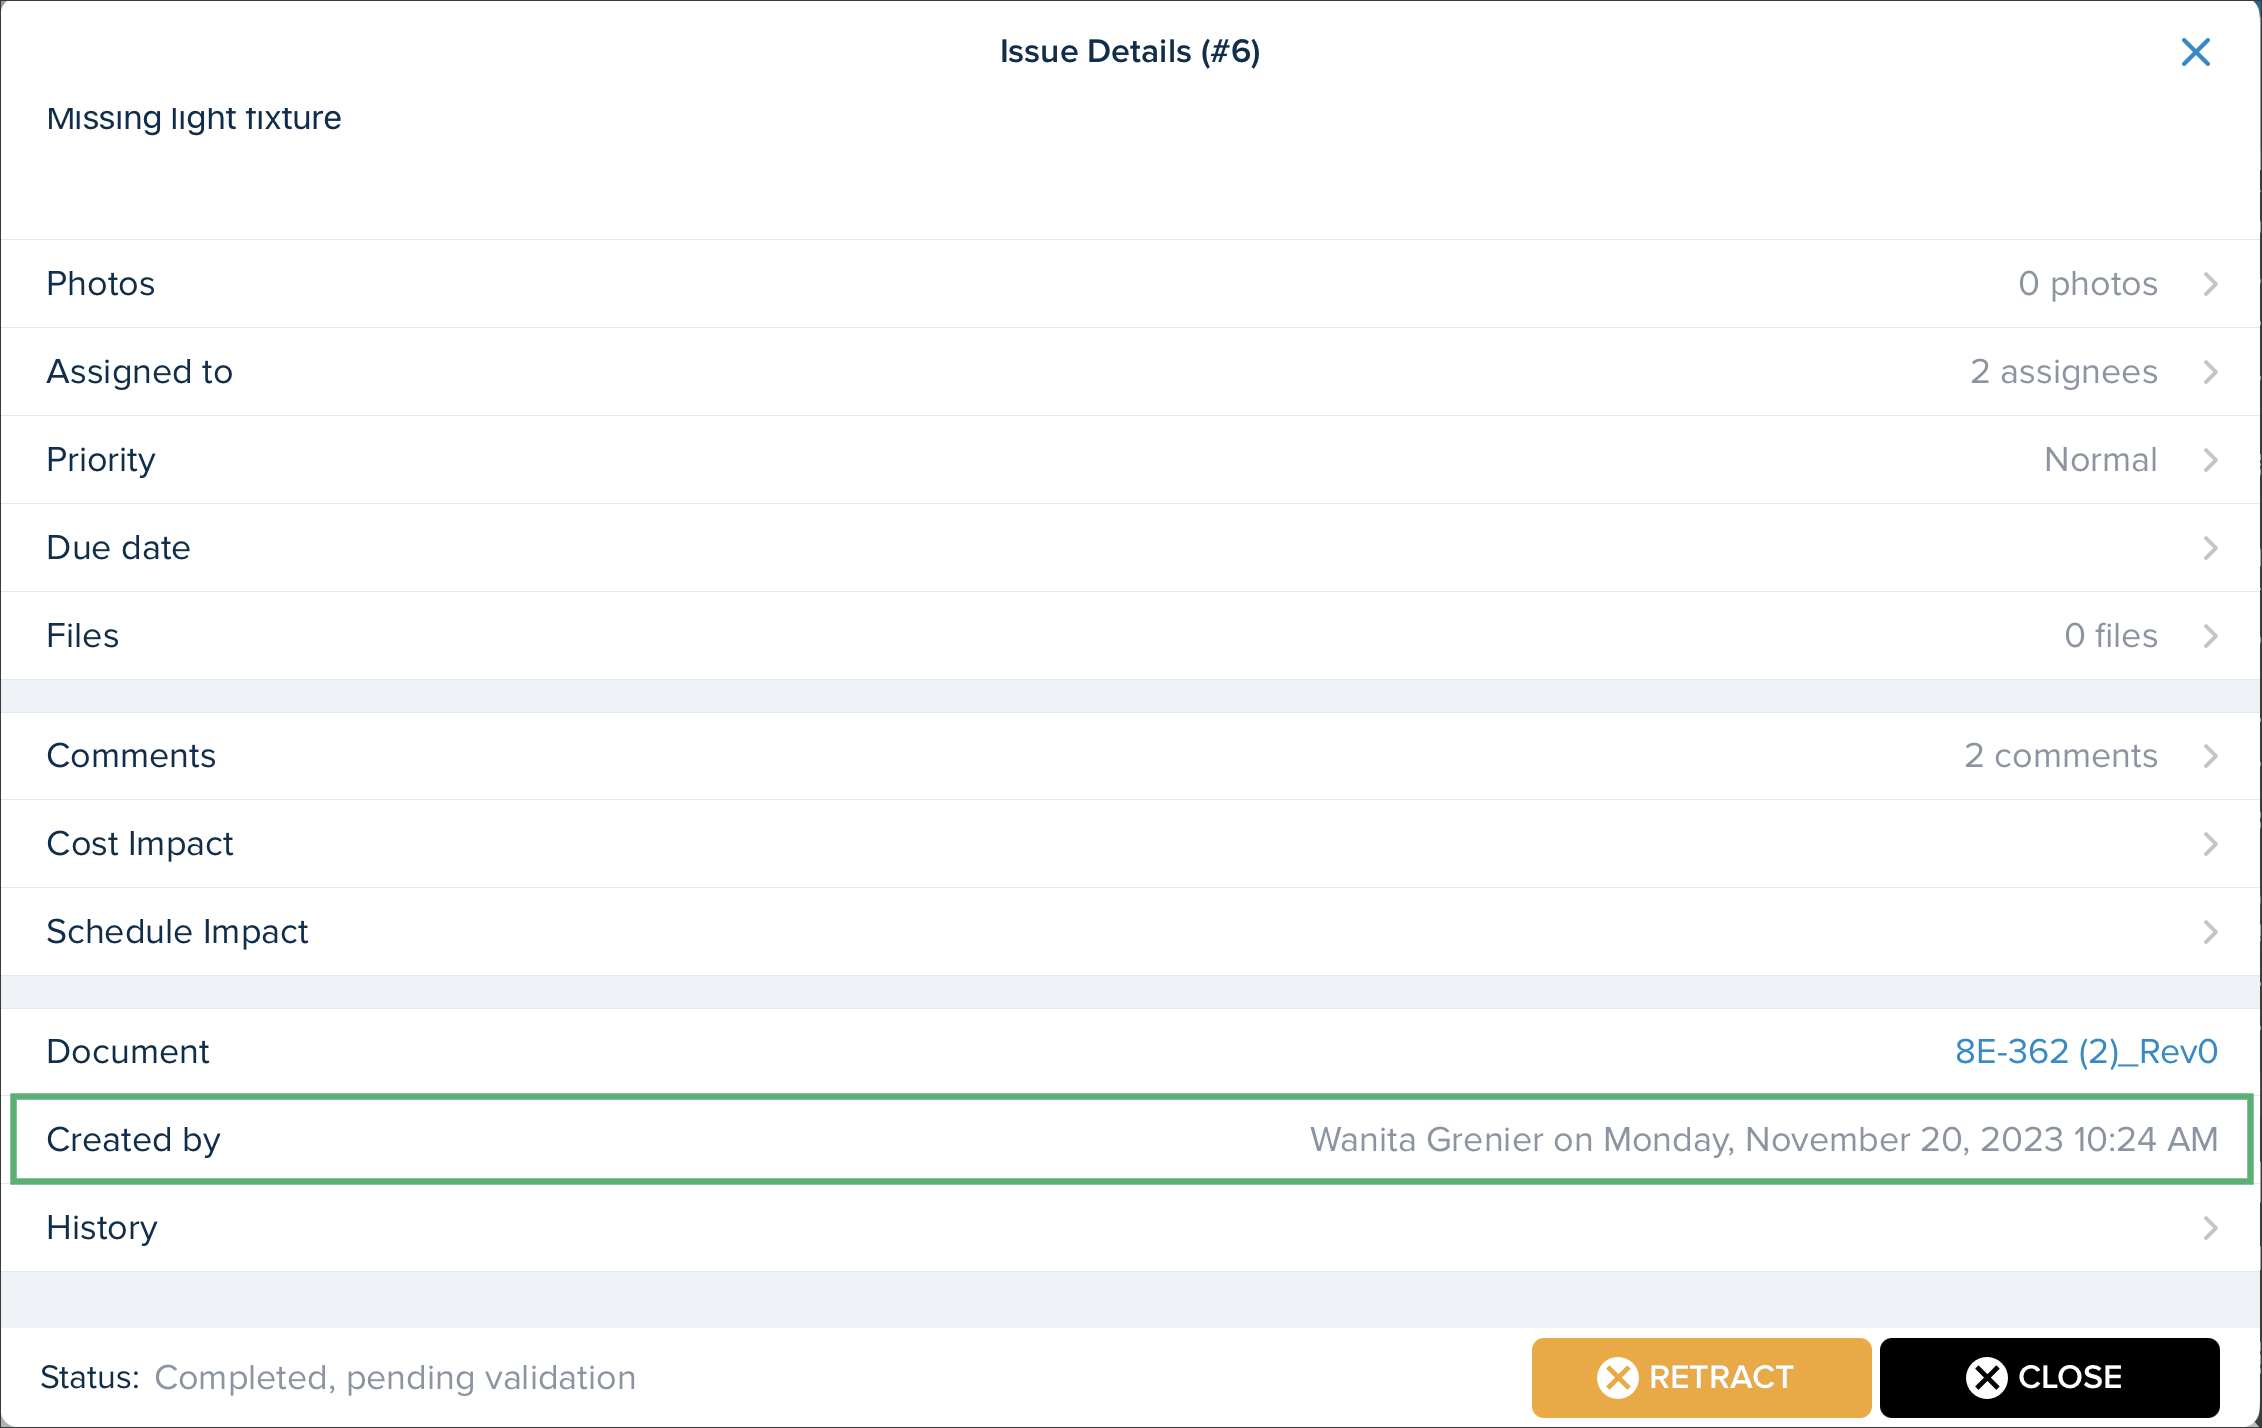
History: History of any changes to the issue, including user, date and time.
.png)
Tap Create.
An icon showing where the issue will be displayed on the plan with the initials of the Issue category.
Editing an Issue

Tap the Issue icon on the plan.
Tap View.
Apply the required changes in any field of the Issue Details.
Tap OK.
Tap the X to close.
Copying an Issue

Tap the Issue icon on the plan.
Tap Copy.
You can copy an issue to the same plan or to a different plan. On the plan where you want to copy, tap and hold on the location where you want to copy the issue.
Select Paste.
Tap anywhere on the plan to exit.
Closing an Issue

Tap the issue icon on the plan.
Tap View.
Tap the X CLOSE button on the bottom right.
Done, completed successfully
Not an issue
Duplicate
Other: Add a comment to explain why you are closing the issue.
Answer the "Why are you closing this issue?" question.
Tap DONE.
The Issue Details will display a REOPEN button if you ever want to reopen the issue.
Tap the X to close.
The Issue icon will then be displayed in black on the plan.
Assigning an Issue

Tap the issue for which you want to assign users.
Tap View.
Tap Assigned to.
Select the users to whom you want to assign the issue.
NOTE
Only users who have been added to the project can be assigned an issue. To add more users to the list, add them to the project.
Tap OK.
Tap the X to close.
The assigned user will receive an email letting them know that they have been assigned to an issue.
Bulk Assigning Issues

Select the project for which you want to bulk assign issues.
On the selected project or on a specific folder, tap the hamburger menu on the top right.
Select Issues.
Tap Select.
Deselect the issues you don't want to assign.
Tap Multiple user Assign.
Select the users to whom you want to assign the issues.
Tap OK.
The assigned users will receive an email letting them know that they have been assigned issues.
Issue Statuses
Status | Issue Progress & User Type | ||||
|---|---|---|---|---|---|
Created but not Assigned | Created and Assigned to you | Created and Assigned to you | Complete and Assigned to you | Completed and Assigned to you | |
Close | X | X | X | ||
Accept | X | X | |||
Decline | X | ||||
Complete | X | ||||
Retract | X | ||||
Reopen | X | ||||
Tracking Statuses
The Issue tracking status can be viewed at the bottom left of the issue and the buttons on the right.
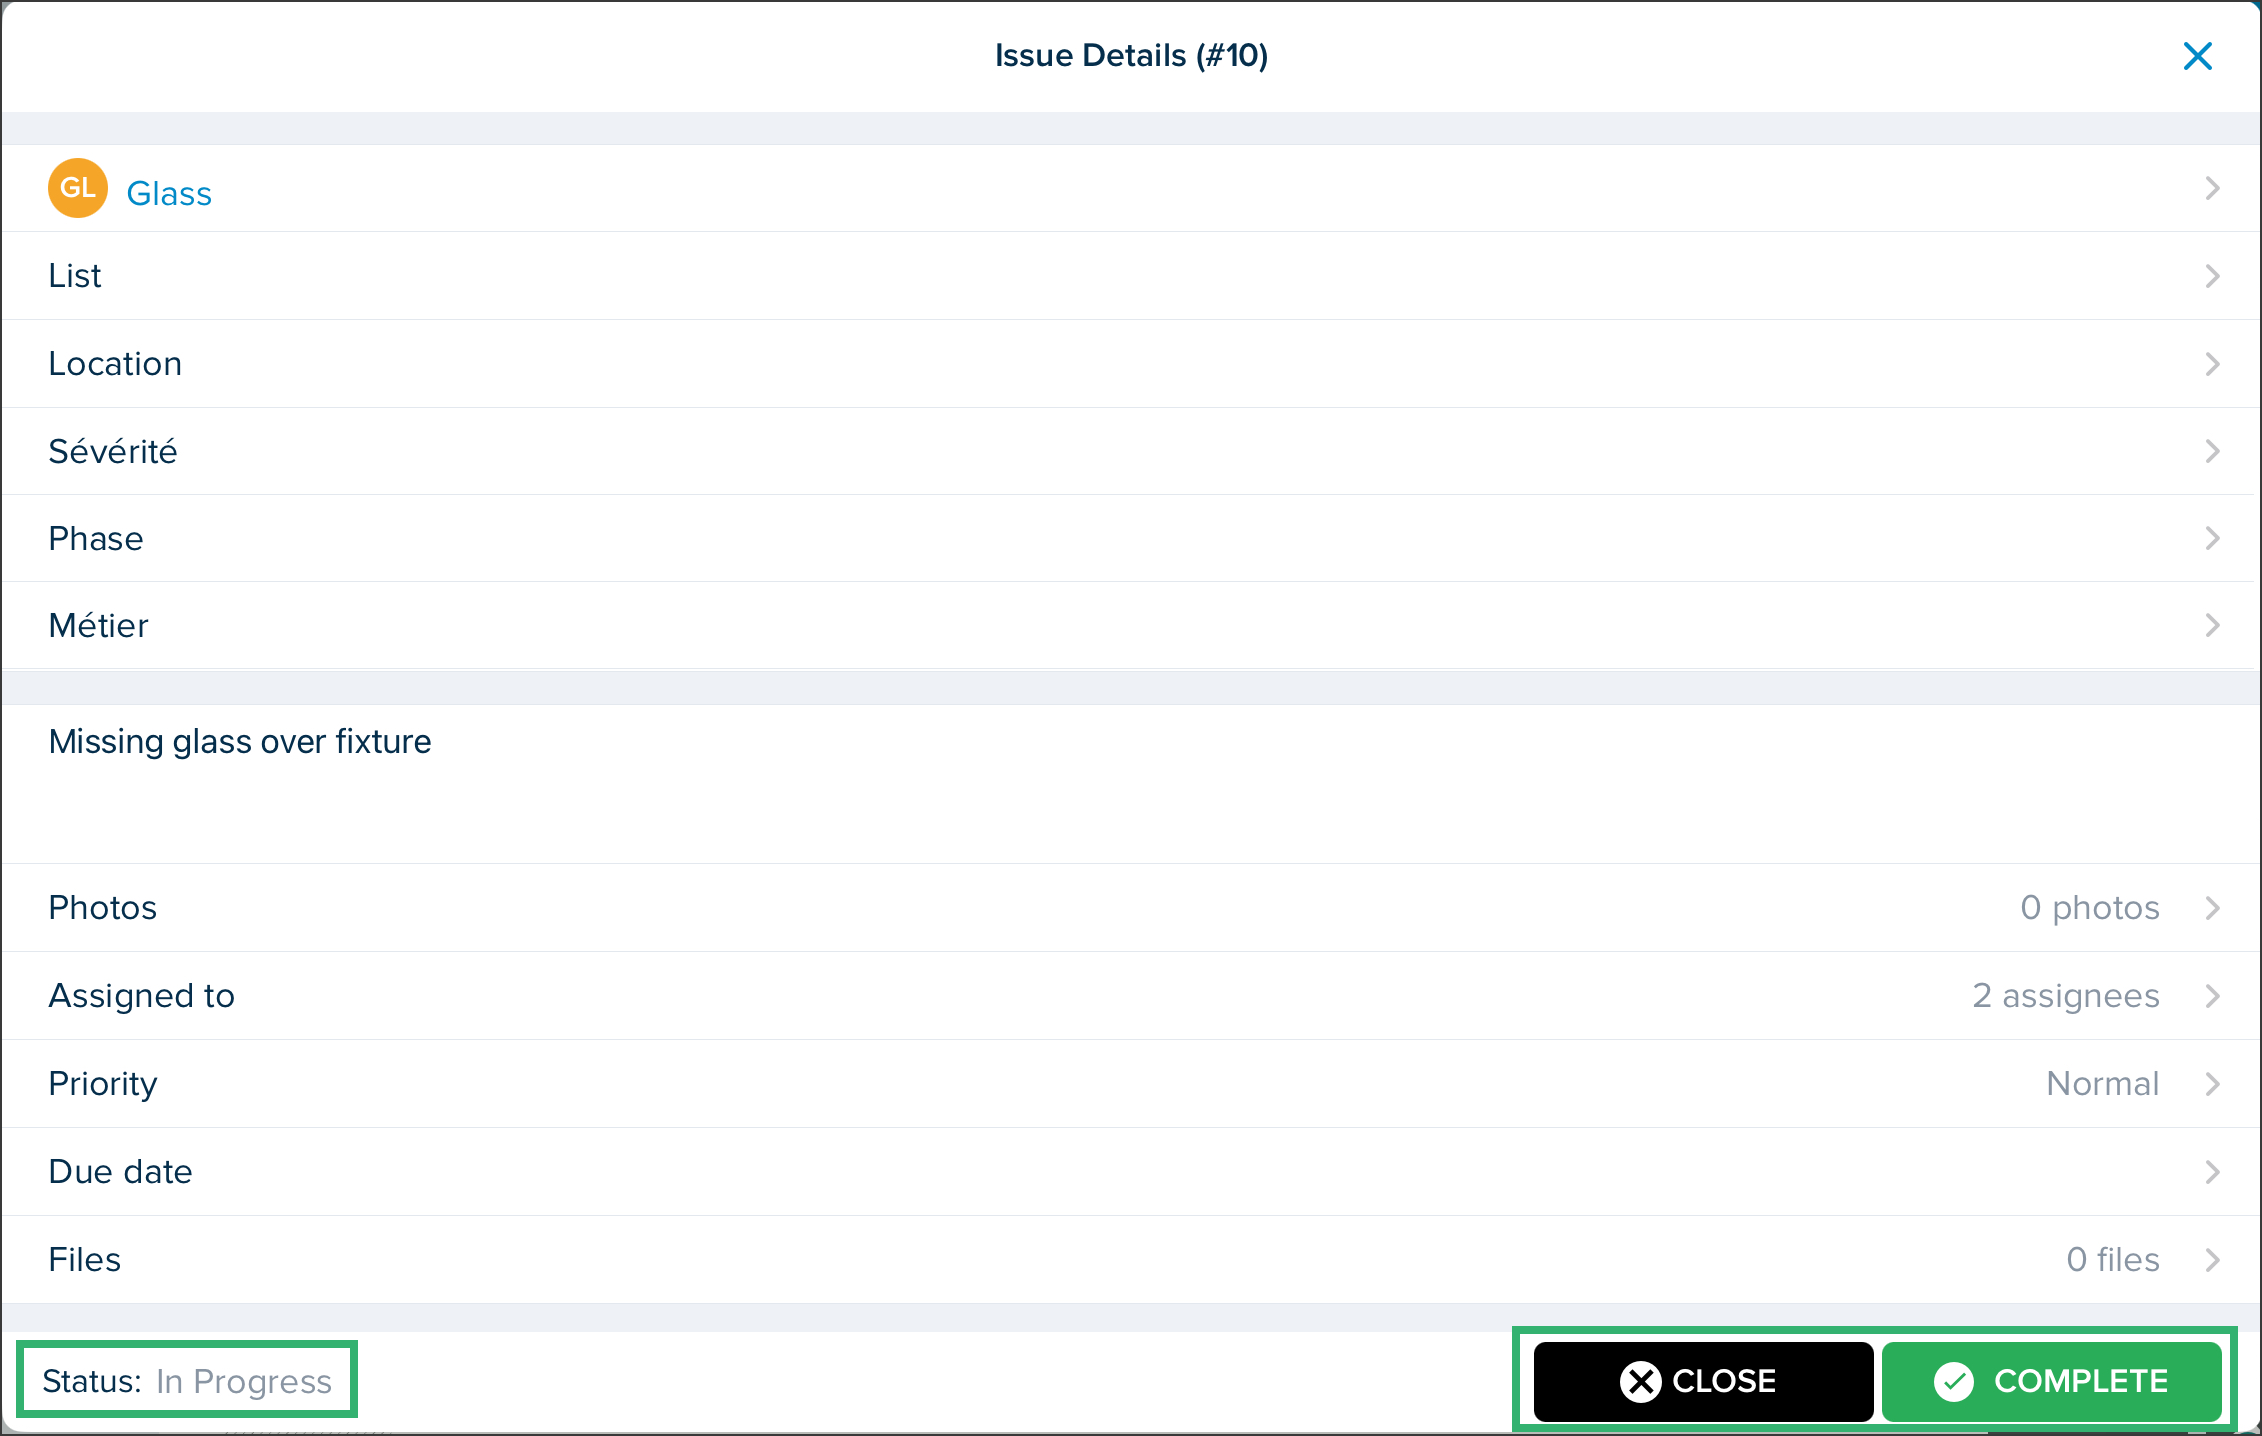
Open
In Progress
Pending Validation
Complete

.png)


The issue icons will also apply the colour to reflect the status.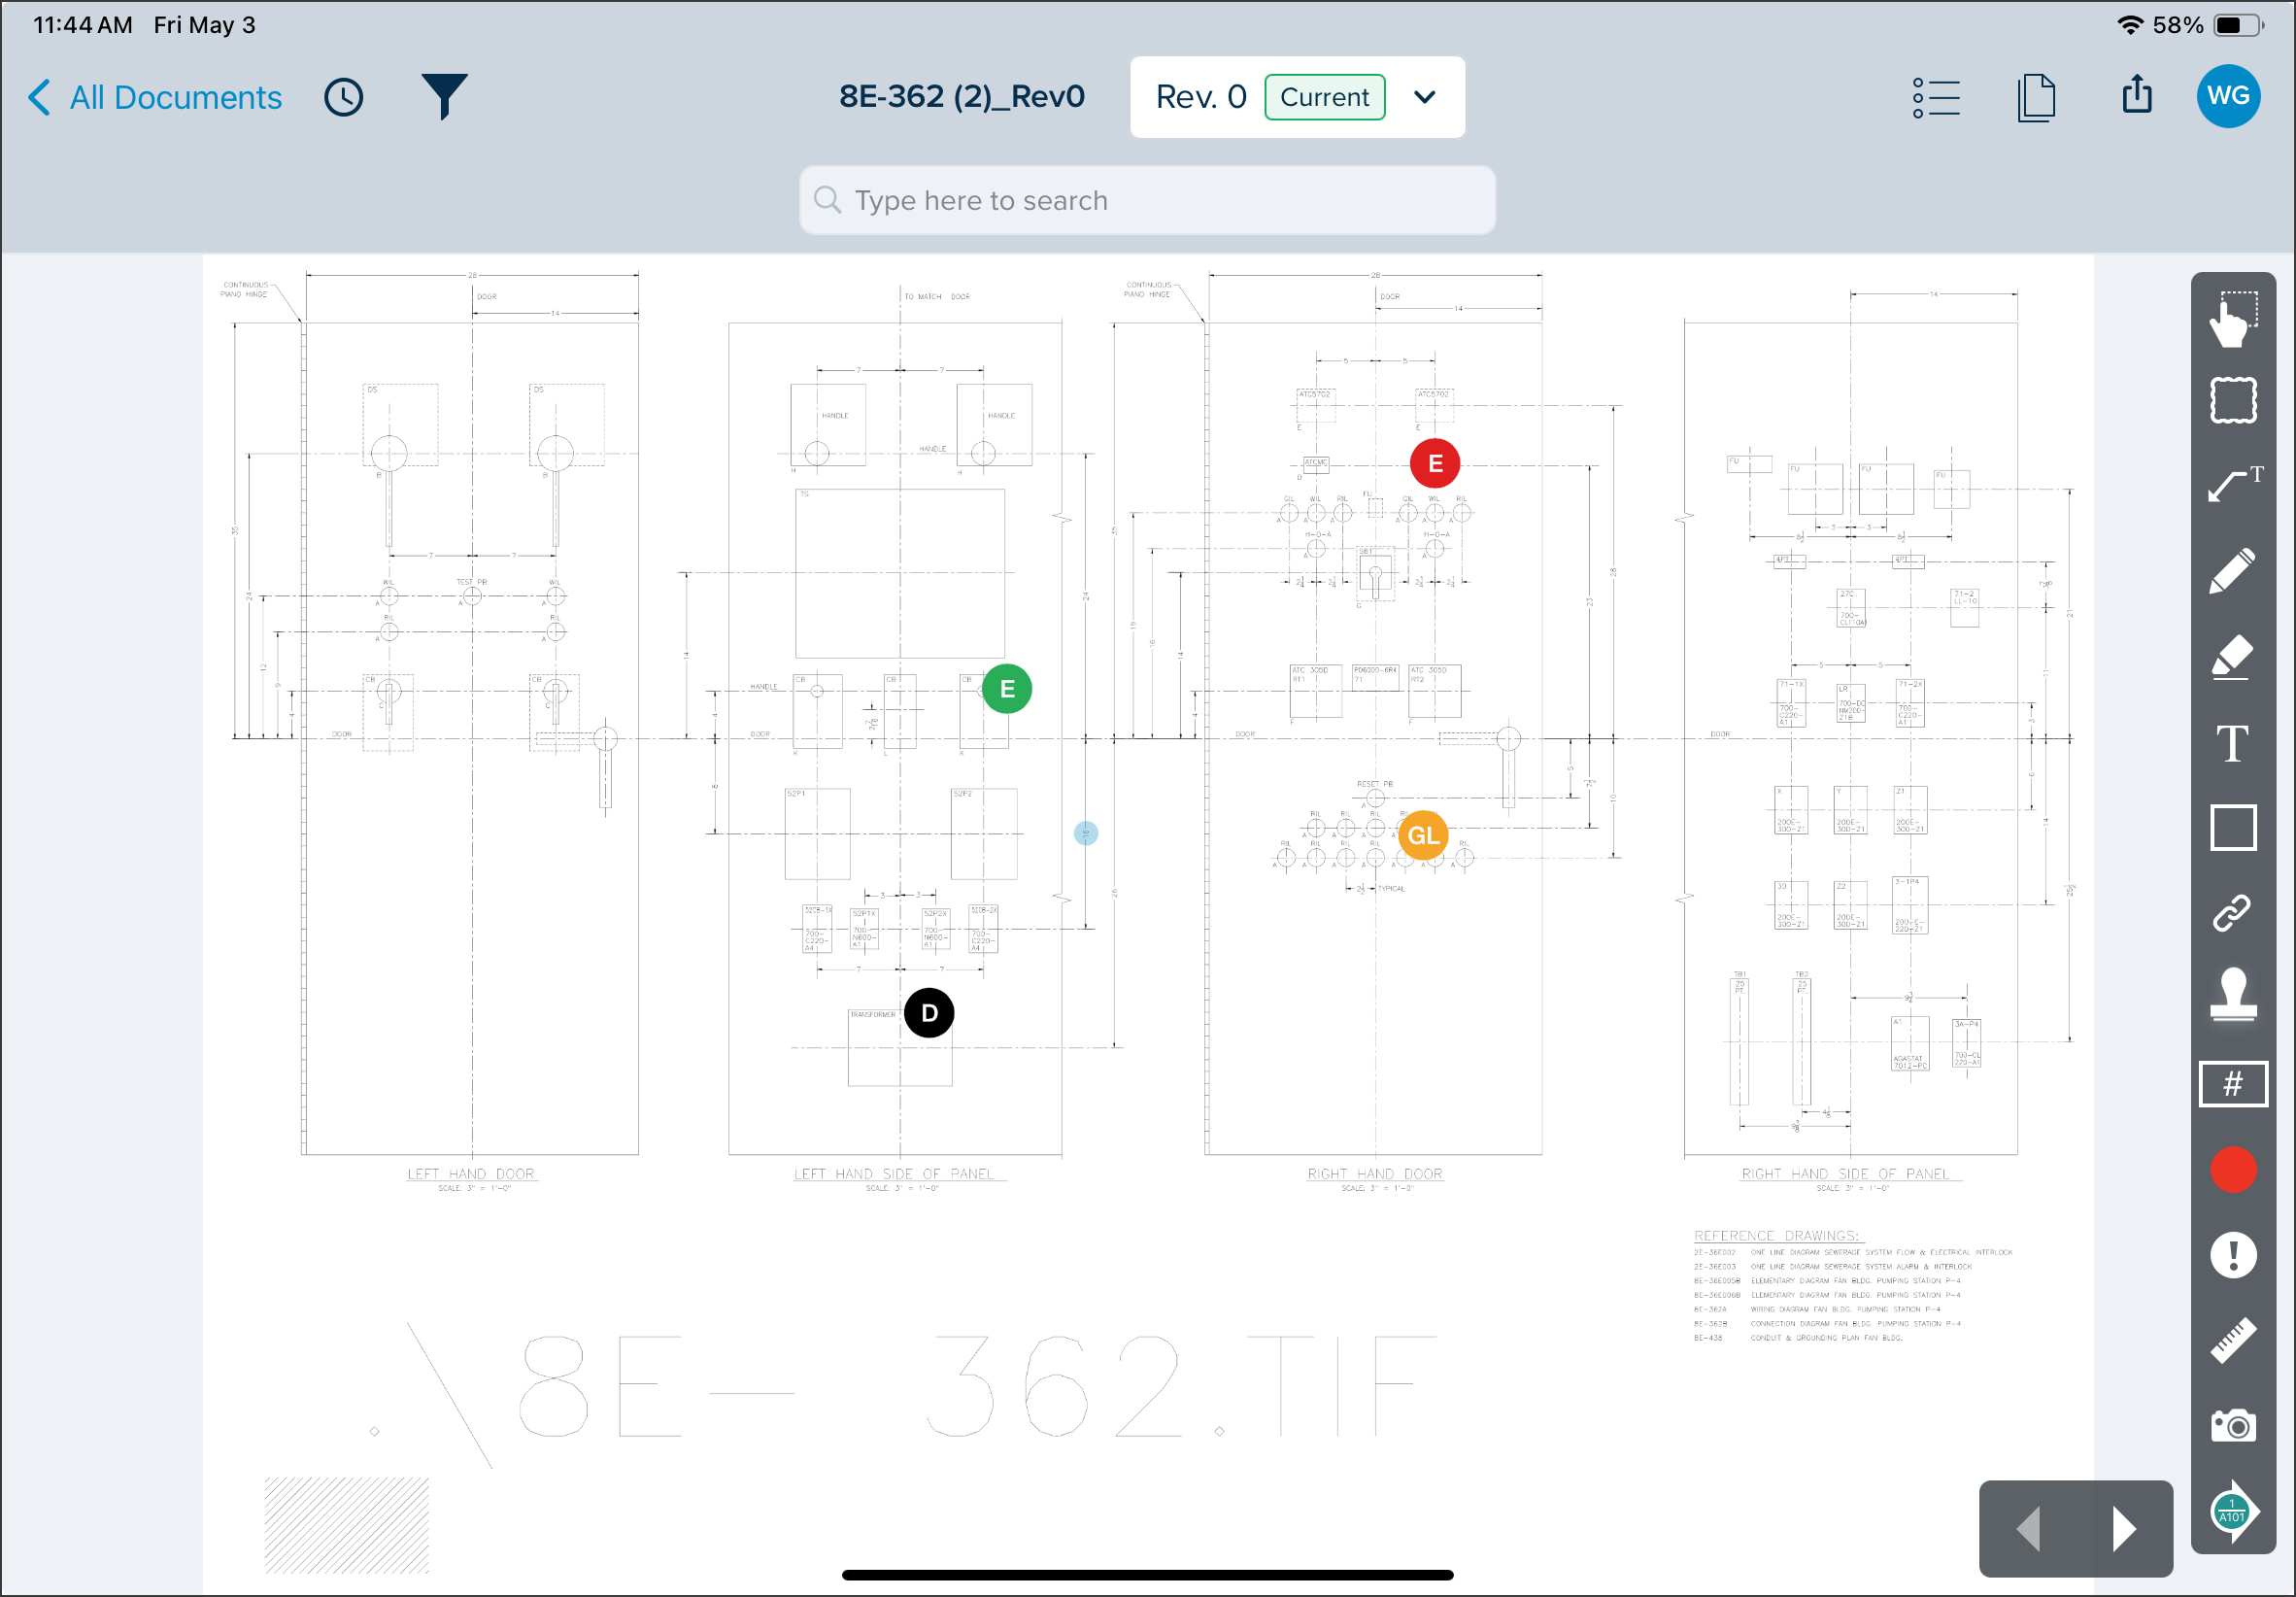
Attaching a File to an Issue
Only users who can edit an issue can attach a file to an issue.
Files must be less than 100MB and must be a file type that is on the supported file list (See below).

NOTE
Attached files appear as an icon on the issue, but are not displayed in the issues filters or reports yet.
When creating a new issue or when opening the issue details to edit it, select Files.
Tap +ADD.
Select the file(s) that you want to attach to the issue. One or multiple files can be attached. Tap Open.
The files will be attached. Use the +ADD button to add more files if required or close the windows with the X.
You can always remove a file from the attached list by using Select, picking files, and taping DELETE FILES.
An icon of the file including its name and file size will appear with the issue.
Tap the Download icon next to the name of the document to save it to your computer.
Tap the Open With icon to open with your device's default programs.
Accepted File Types
File Type | Category | File Extension |
|---|---|---|
Office |
| |
Drawing | AutoCAD |
|
Universal |
| |
Revit |
| |
Navisworks |
| |
Archicad |
| |
Images |
| |
Video |
| |
Scheduling | .mpp (Microsoft) | |
Design | .vsdx (Visio) |
Export Issues
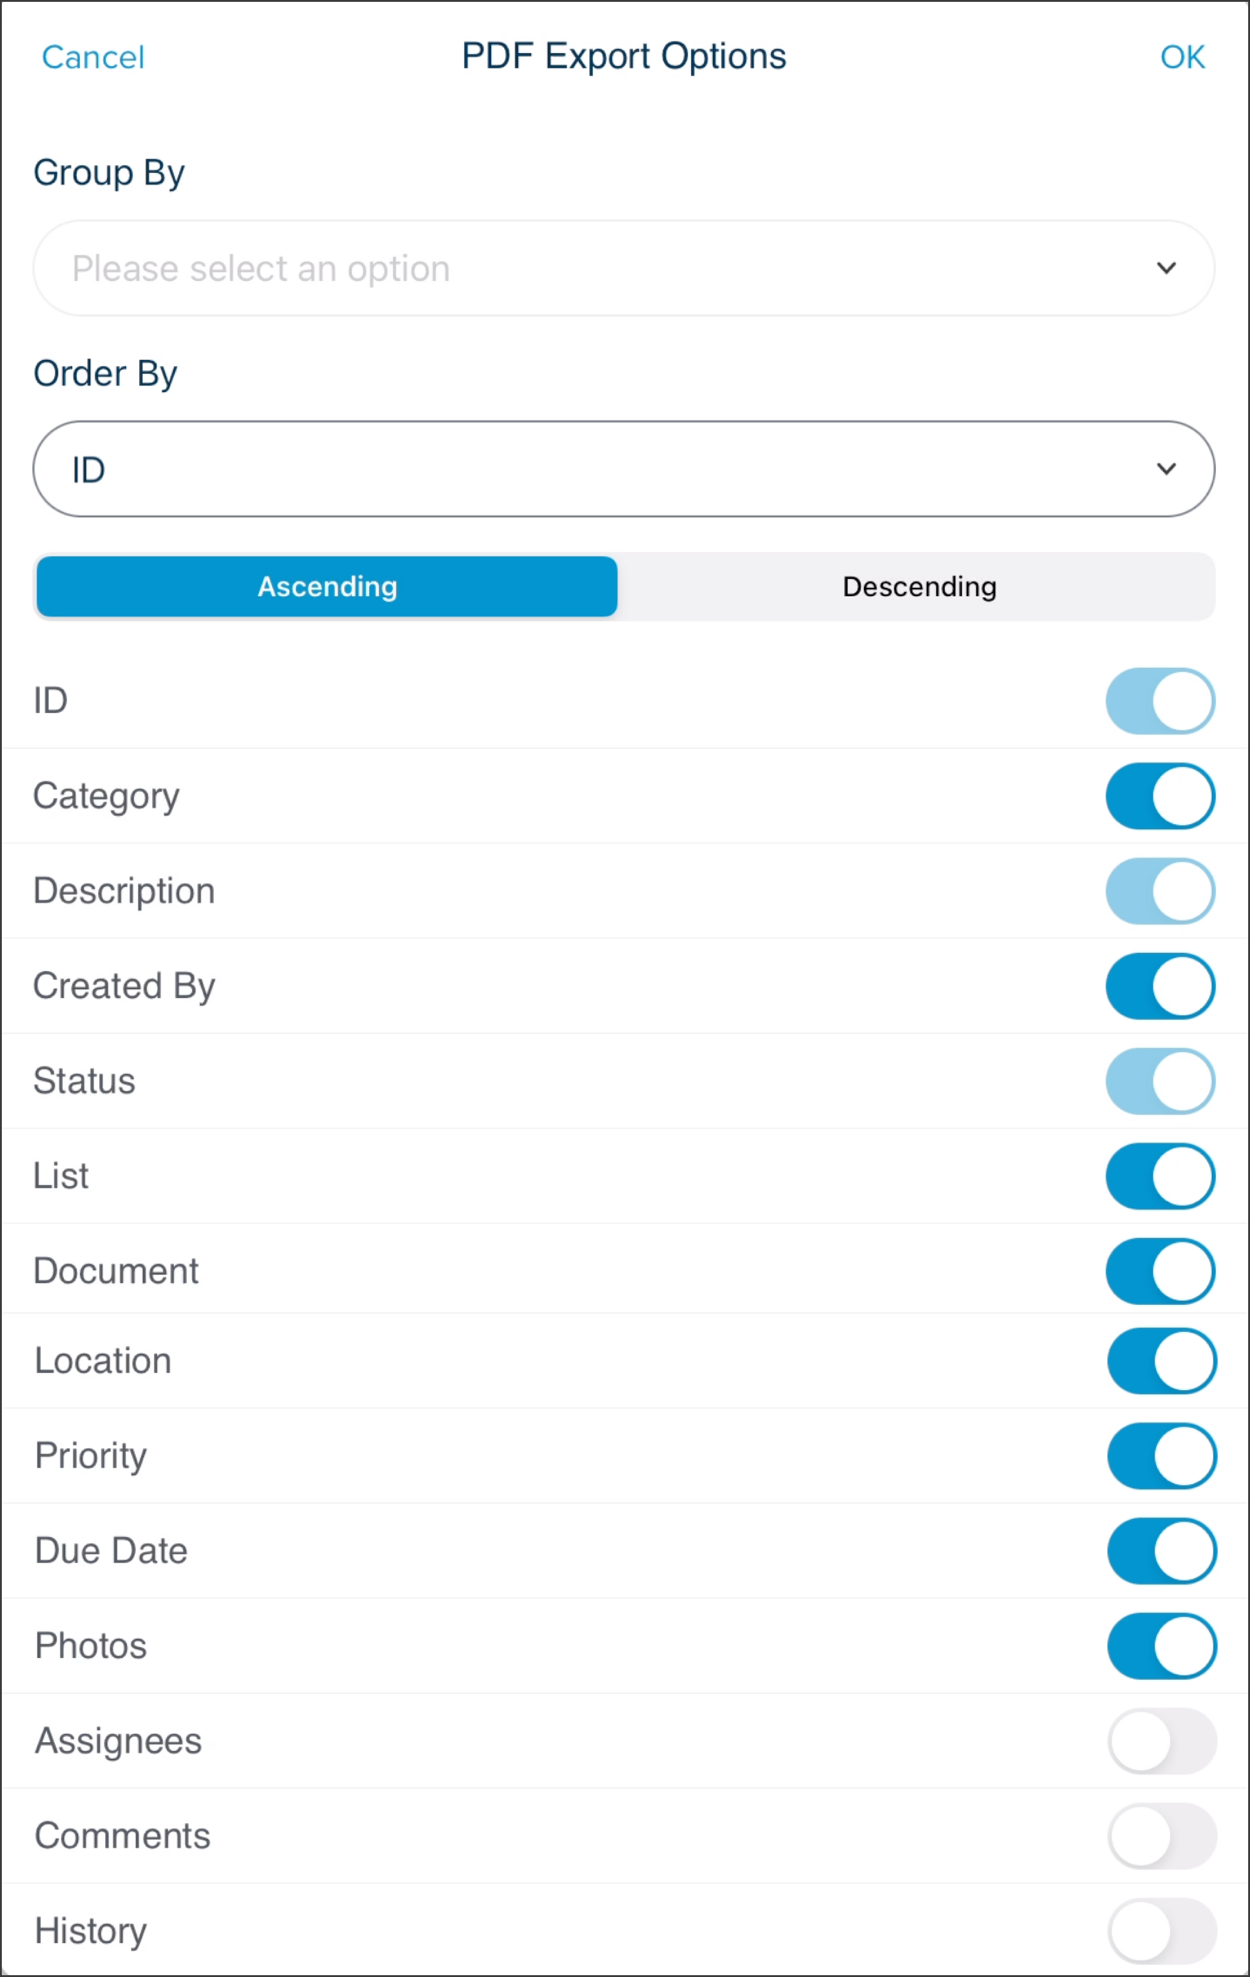
Exports are sent by email. For CSV, you will need to enter the email(s) of the users you are sending the report to, as for Word and PDF, they will be sent to your own email address.
The export of issues may be customized to include only the information that fits your needs when choosing the PDF option.
Select the project from which you want to export issues.
Tap the navigation menu icon at the top right.
Select Issues.
Tap Select. This will make check boxes appear on the left side of each issue. By default, they are all checked.
Unselect the ones you do not wish to export or use the Unselect All button and then choose the ones you want.
Choose to export in CSV, Word, or PDF. If you select CSV, enter the email addresses of the users you want to send the issues to and tap OK. When choosing Word and PDF, an email containing a link to download the Issues will be sent to you. For PDF, you have the option to Have a Custom or Detailed Report. If you choose Detailed, tap OK. For Custom, fill in the following popup window and tap OK to only have what is necessary to you in the report:
If you selected Word or PDF, you will receive an email containing a link to download the report.
Click Download Report.
Open your Downloads folder to find the Issues Report.
Related Articles
Issue Multiple Assignee Matrix
If you need additional assistance, please Contact Us.
¿Fue útil este artículo?