Toolbar
- Print
- DarkLight
- PDF
Toolbar
- Print
- DarkLight
- PDF
Article summary
Did you find this summary helpful?
Thank you for your feedback!
Key Information
The Toolbar is used to create annotations and raise issues on documents.
Layers can be added on which permissions can be added in order to control who sees and who can edit the annotations.
Annotations can't be seen by all users. What other users will see of the annotations you create depends on the role you occupy on the project in STACK. (See Annotation Layer Permission by Role)
Toolbar Overview
NOTE
The Layers and Colours annotations are explained first, even if not in same order as in the STACK Field App, because they are the first steps in adding an annotation on a plan.
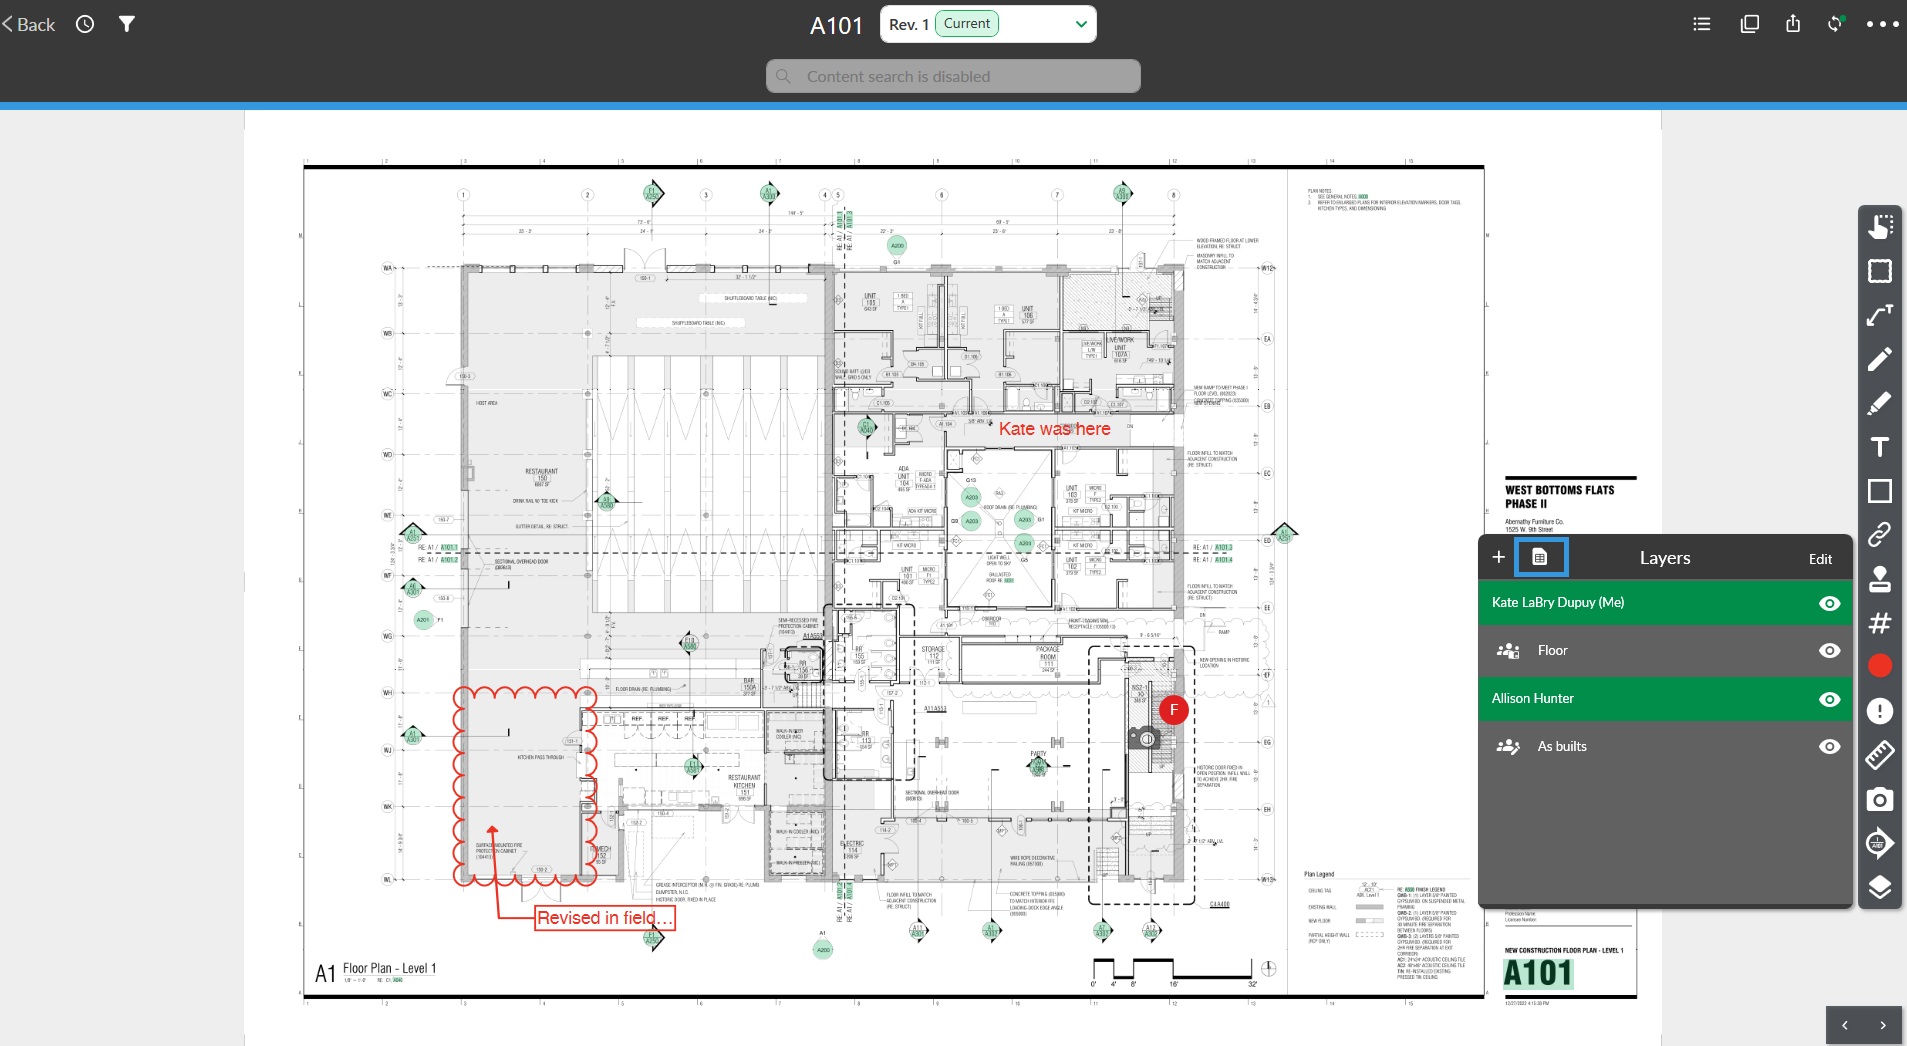
Layers

Allows creating layers on plans to prevent having too many annotations on one plan when multiple users are working on the same plan, and to add permissions on the layers in order to share annotations with other specific users.
Creating a Layer

Tap the Layer tool.
Tap the + sign.
Enter a name for the layer.
Tap OK.
Editing Layers
When editing layers, you can grant permissions to other users to either Read or Write on the layer, and you can make the layer Private or share it with a Group.
A created layer can be edited to be made available to all drawings in the current folder so that this layer does not have to be created again on other drawings.

Tap the Layer tool.
Tap Edit.
Tap which level of access you want to give other users:
Public Read: Share with all users on the project with read access only.
Public Write: Share with all users on the project where others can create annotations on the layer.
Private: Only you can see the layer.
Group: Share the layer with specific users and give them either Read or Write access.
To make the layer available to other drawings, tap the document folder icon.
To delete the layer, tap the trash can icon.
Adding an Annotation on a Layer

Tap the Layer tool.
Tap the layer on which you want to add the annotation.
Tap the Layer tool.
Tap the Colour tool and select the colour you want.
Create an annotation.
Tap the layer tool and select another layer to add annotations on that layer and so on.
Hiding and Showing Layers

Tap the Layer tool.
Tap the eye icon next to the layer you want to hide. The layer tool will show the number of layers that are hidden when they are not all visible.
Tap the Layer tool.
Sharing Layers
Tap the Layer tool.
Tap the email icon.
Enter the email(s) of the users to whom you want to send the layers, separated by commas.
Tap OK.
The recipient(s) will receive an email containing a .csv file of the layers.

STACK | Takeoff & Estimate Takeoff Layer
For complete information on projects sent from STACK | Takeoff & Estimate to STACK | Build & Operate, refer here.
Annotation Layer Permission by Role
The following table shows the access permissions for each Role:
STACK | BUILD & OPERATE LAYER RIGHTS | OWNER | ADMINISTRATOR | POWER COLLABORATOR (+DOCS +USERS) | COLLABORATOR | RESTRICTED COLLABORATOR | REVIEWER | VIEWER |
|---|---|---|---|---|---|---|---|
Create a layer | Y | Y | Y | Y | |||
View public layers | Y | Y | Y | Y | |||
Share layers | Y | Y | Y | Y | |||
Can be added to a group shared layer | Y | Y | Y | Y | |||
See a shared layer | Y | Y | Y | Y | |||
Add markups on shared layer with write rights | Y | Y | Y | Y | |||
Edit existing markups on a shared layer with write rights | Y | Y | Y | ||||
Edit own markups on a shared layer with write rights | Y | Y | Y | Y | |||
Delete own layer | Y | Y | Y | Y | |||
Delete a shared layer with write rights (no matter what rights are given) | Y | Y | Y | ||||
Export and generate shared folder layer report in CSV | Y | Y | Y | Y | Y | Y | |
Default access to STACK | Takeoff & Estimate layers | Y | Y | Y | ||||
Delete STACK | Takeoff & Estimate layers | Y | Y | Y | ||||
Share STACK | Takeoff & Estimate layers with others | Y | Y | Y | ||||
See shared STACK | Takeoff & Estimate layers | Y | Y | Y | Y | Y | Y | |
Add, edit, or delete Takeoffs or Annotations on STACK | Takeoff & Estimate layers |
Color

Allows selecting the colour of the next annotation that you will add on the plan.
Tap the Colour tool.
Select the colour you want to apply to your next annotation.
Tap the annotation tool that you want to use.
The selected colour will be applied.
To change colour, click the Colour annotation tool again.
Multi-Select

Allows selecting multiple annotations by tracing a zone around them.
Tap the Multi-select tool.
In the blue bar tap SELECT ALL, or with you finger or stylus pen trace around the annotations that you want to select.
The popup bar options will vary depending on the annotations that you selected:
Layer: Move the selected annotation(s) to a layer.
Make it public: Make the annotation visible to all project users.
Lock: Lock the annotation so it cannot be copied and pasted in the next revision of the document.
Copy: Copy the annotation so it can be pasted somewhere else.
Cut: Cut the annotation so it can be pasted somewhere else.
Delete: Remove the annotation from the plan.
Fill: When the annotation is a shape, fill it with a colour.
Count: When selecting two count annotations, displays the numbers so only one can be selected.
Proceed with any action required.
Cloud
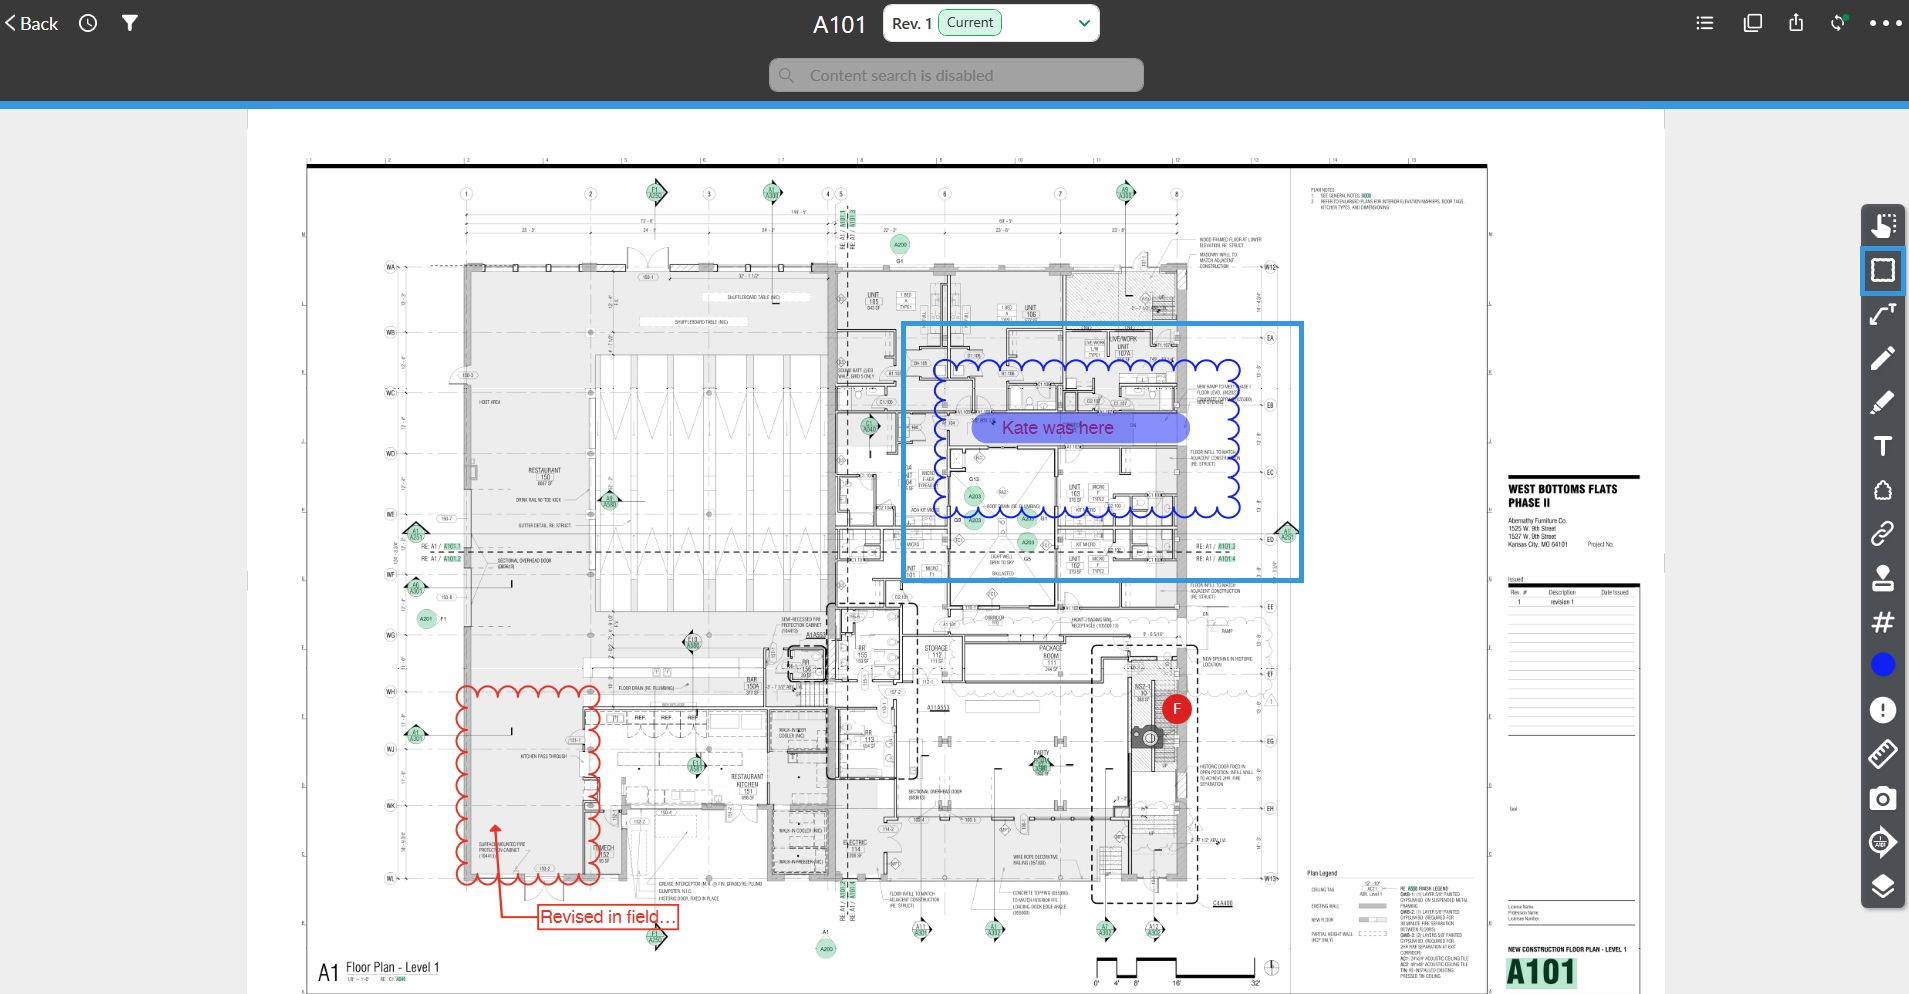
Allows creating an annotation in the shape of a cloud.
Tap the Colour tool and select the colour you want to apply to the cloud.
Tap the Cloud tool.
Tap and swipe your finger to trace the cloud from one to the opposite corner.
Tap the cloud to perform actions on it.
Layer
Make it public
Lock
Copy
Cut
Delete
Fill
To rotate the cloud, place your finger in the arrow circle and drag.
To resize the cloud, tap one of the square handles and drag it to achieve the size you want.
Text and Arrow
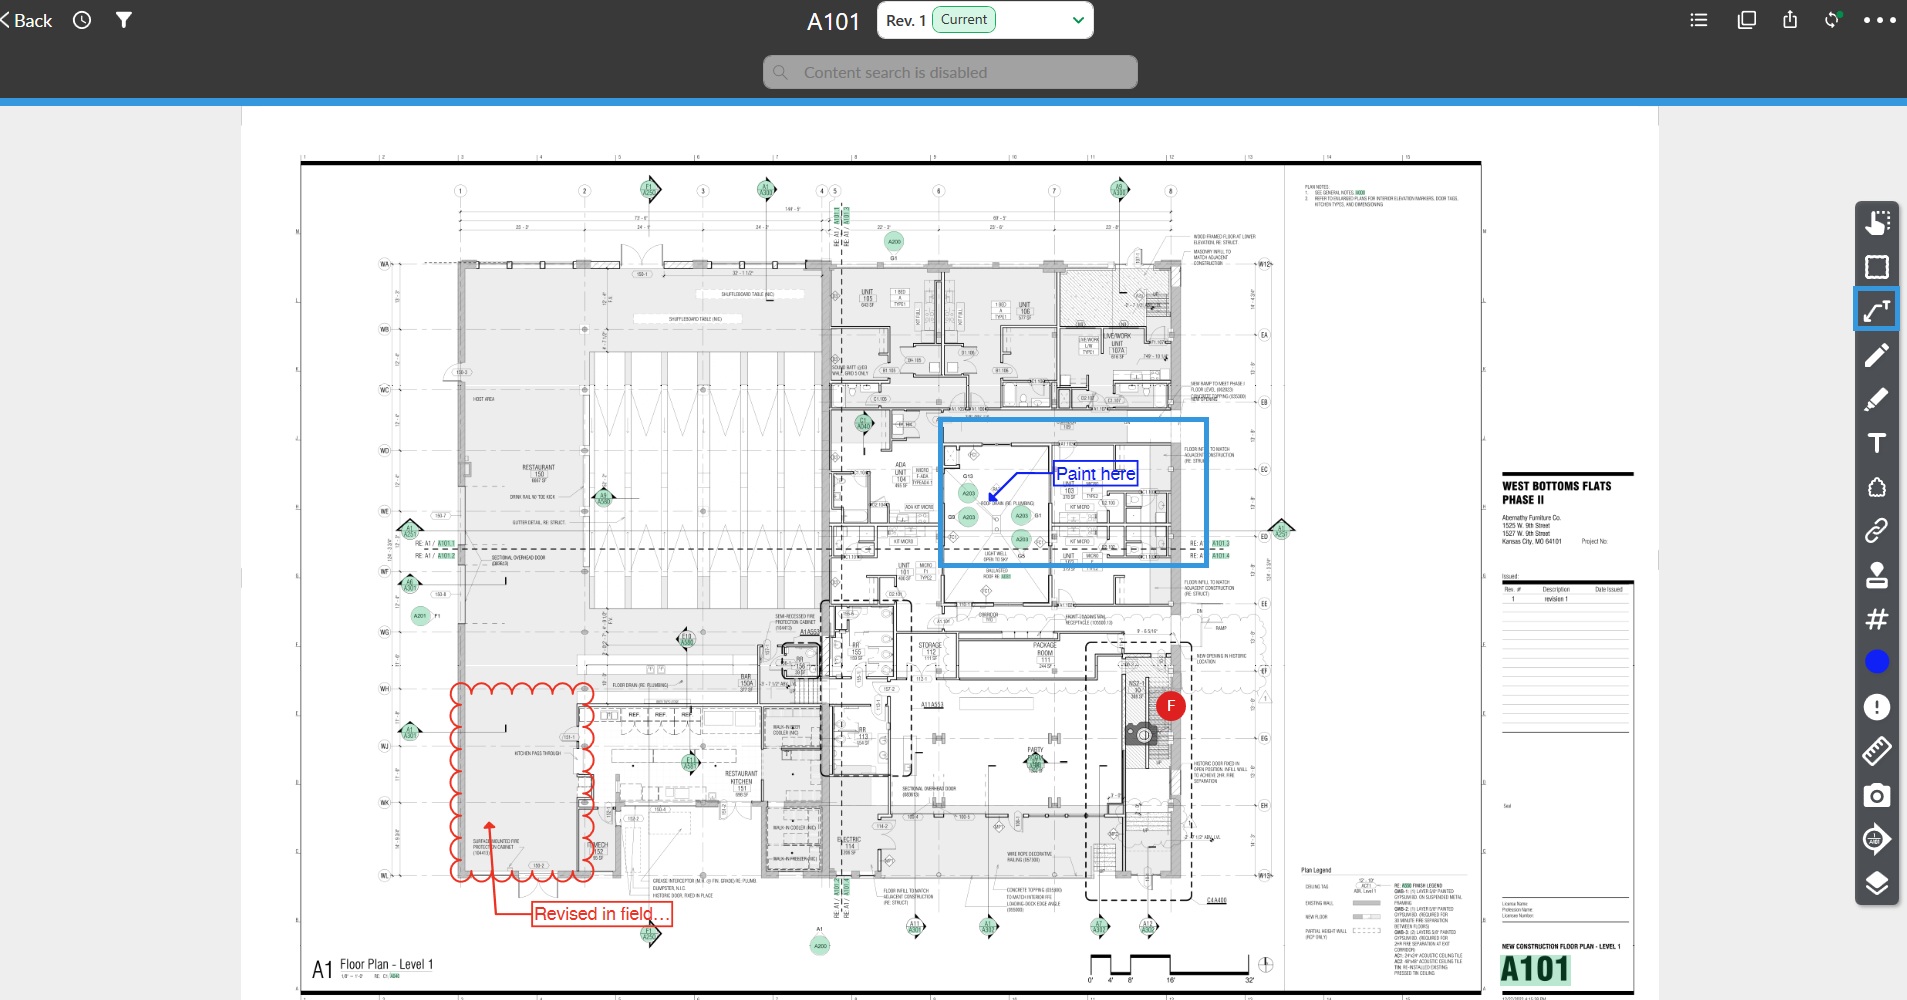
Allows adding text with an arrow pointing to a specific area on the plan.
Tap the Text & Arrow tool.
Tap the location on the plan where you want the text to appear.
Type in the text.
Select your text configuration:
Border: A border is added around the text. (Active by default)
Background: Adds a white background to your text.
Text size: Select from the three text size (32, 64, 128), or scroll to select another size.
Add in any Additional notes. Text with notes will be identified with an inverted exclamation point. To view the notes, tap the inverted exclamation point.
Tap Done.
To adjust the location of the arrow, tap on the circle handle and swipe to where you want to arrow to be.
To move the text, tap the circle handle near the text and swipe to where you want the text to be.
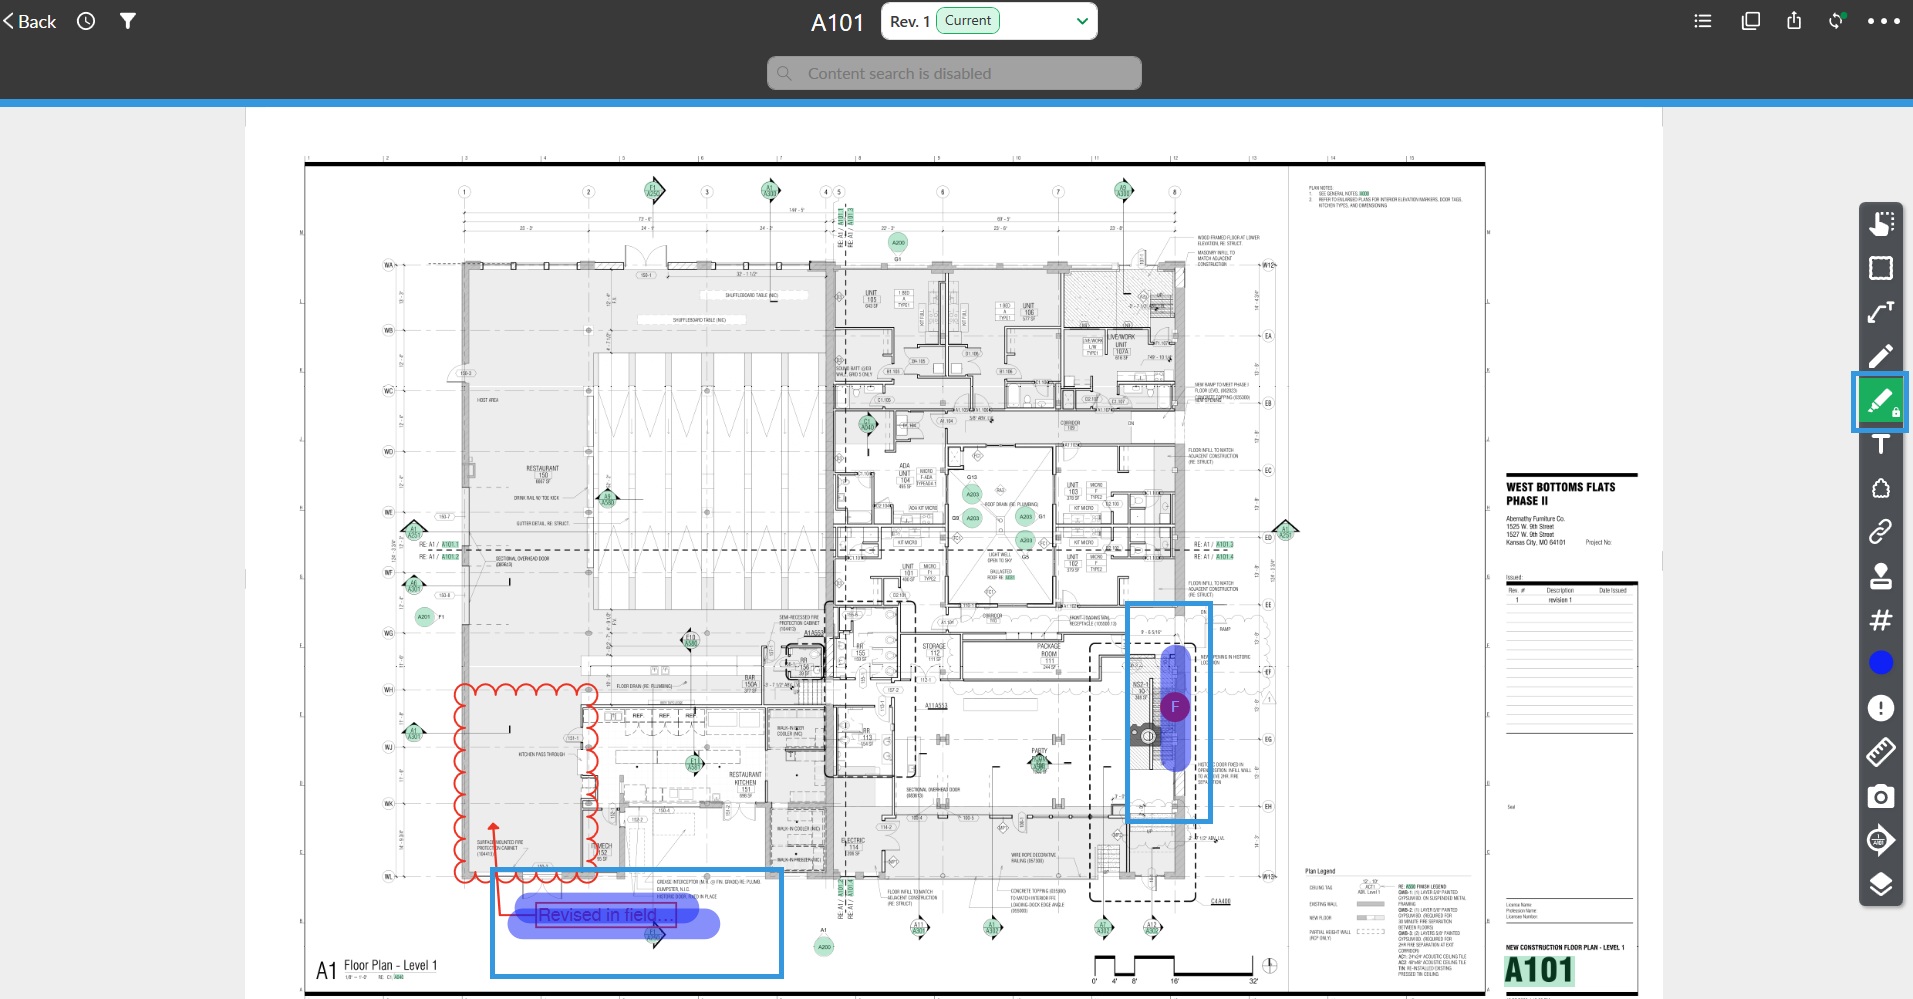
Pencil
Allows directly drawing on the plan with the use of your finger or a stylus pen.
NOTE
When using the pencil tool, it displays a padlock icon, which means that you will need to tap it gain to unselect it before moving on to another tool.
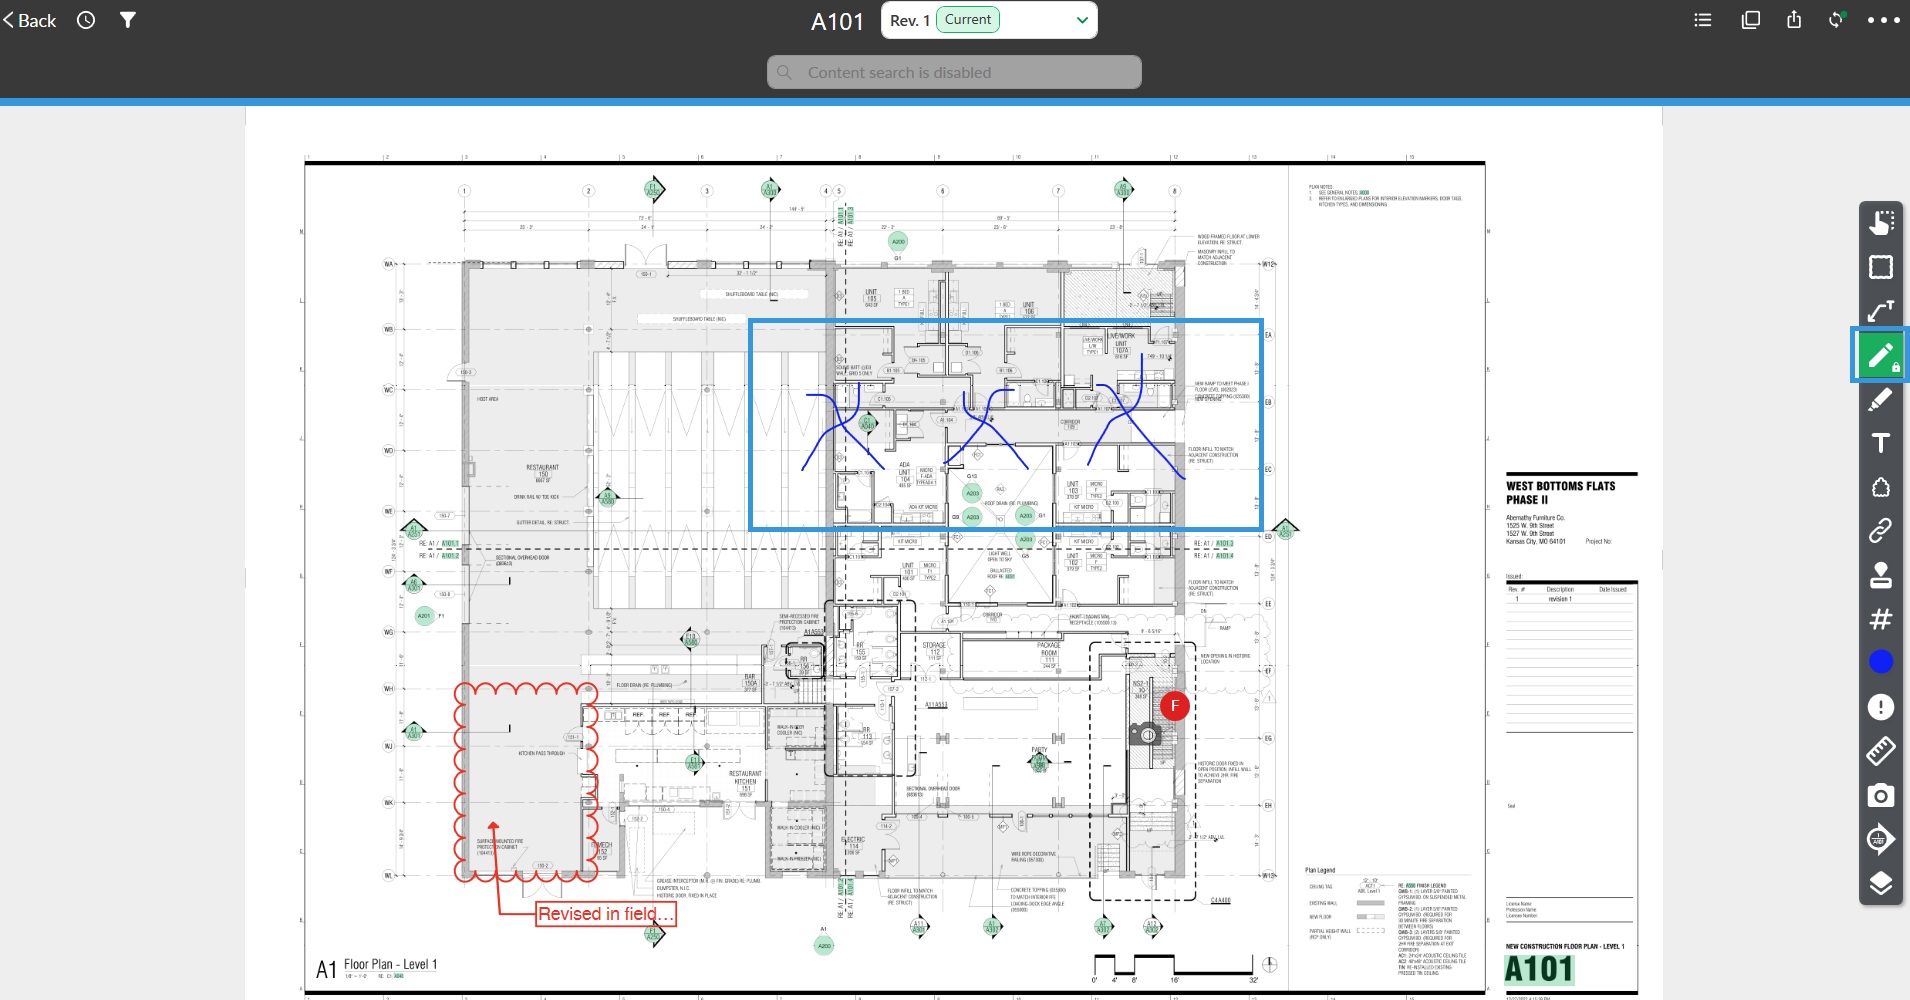
Tap the Pencil tool.
Using your finger or a stylus pen, trace on the plan.
Highlighter
Allows highlighting an area on the plan.
NOTE
When using the Highlighter tool, it displays a padlock icon, which means that you will need to tap it gain to unselect it before moving on to another tool.
Tap the Pencil tool.
Drag your finger or a stylus pen across the plan to highlight the area.
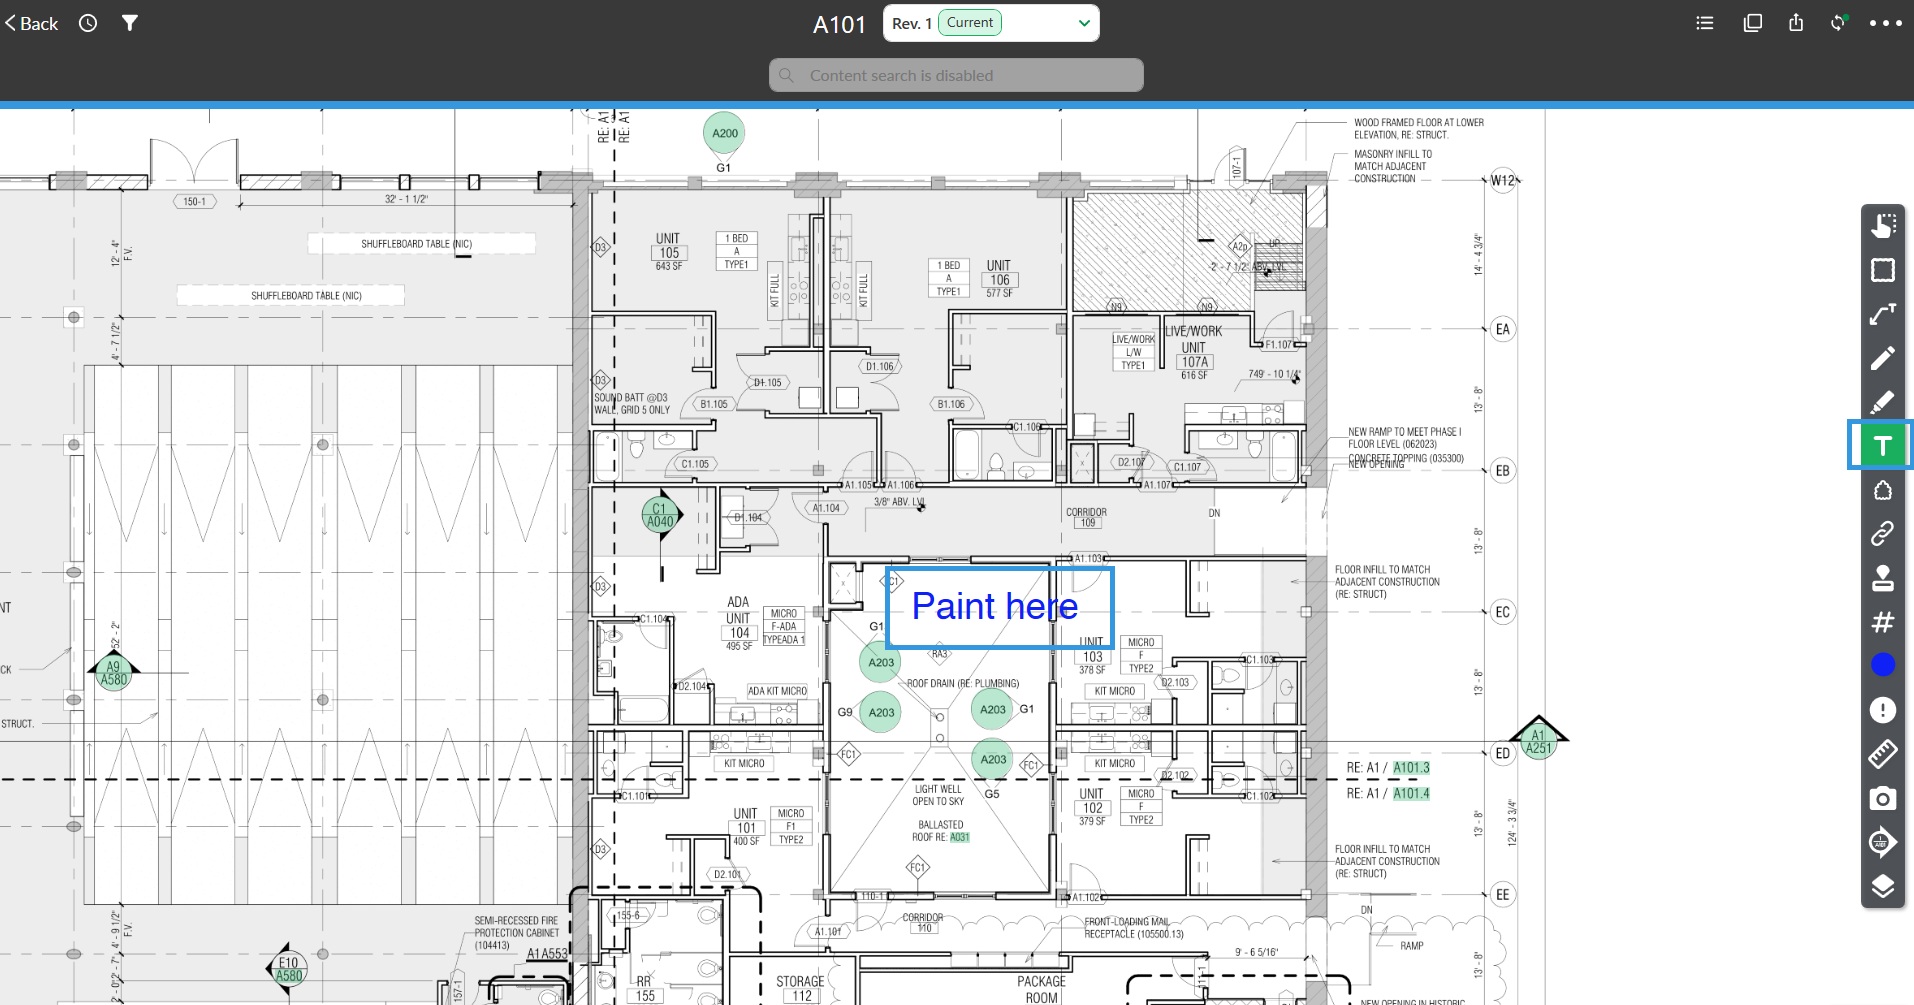
Text
Allows adding text to the plan or a document.
Tap the Text tool.
Tap the location where you want the text to appear.
Type in the text.
Select your text configuration:
Border: A border is added around the text. (Active by default)
Background: Adds a white background to your text.
Text size: Select from the three text size (32, 64, 128), or scroll to select another size.
Add in any Additional notes. Text with notes will be identified with an inverted exclamation point. To view the notes, tap the inverted exclamation point.
Tap Done.
To rotate the Text, place your finger in the arrow circle and drag.
Tap on the text to perform actions on it:
Edit Text
View Notes
Layer
Make it public
Lock
Copy
Cut
Delete
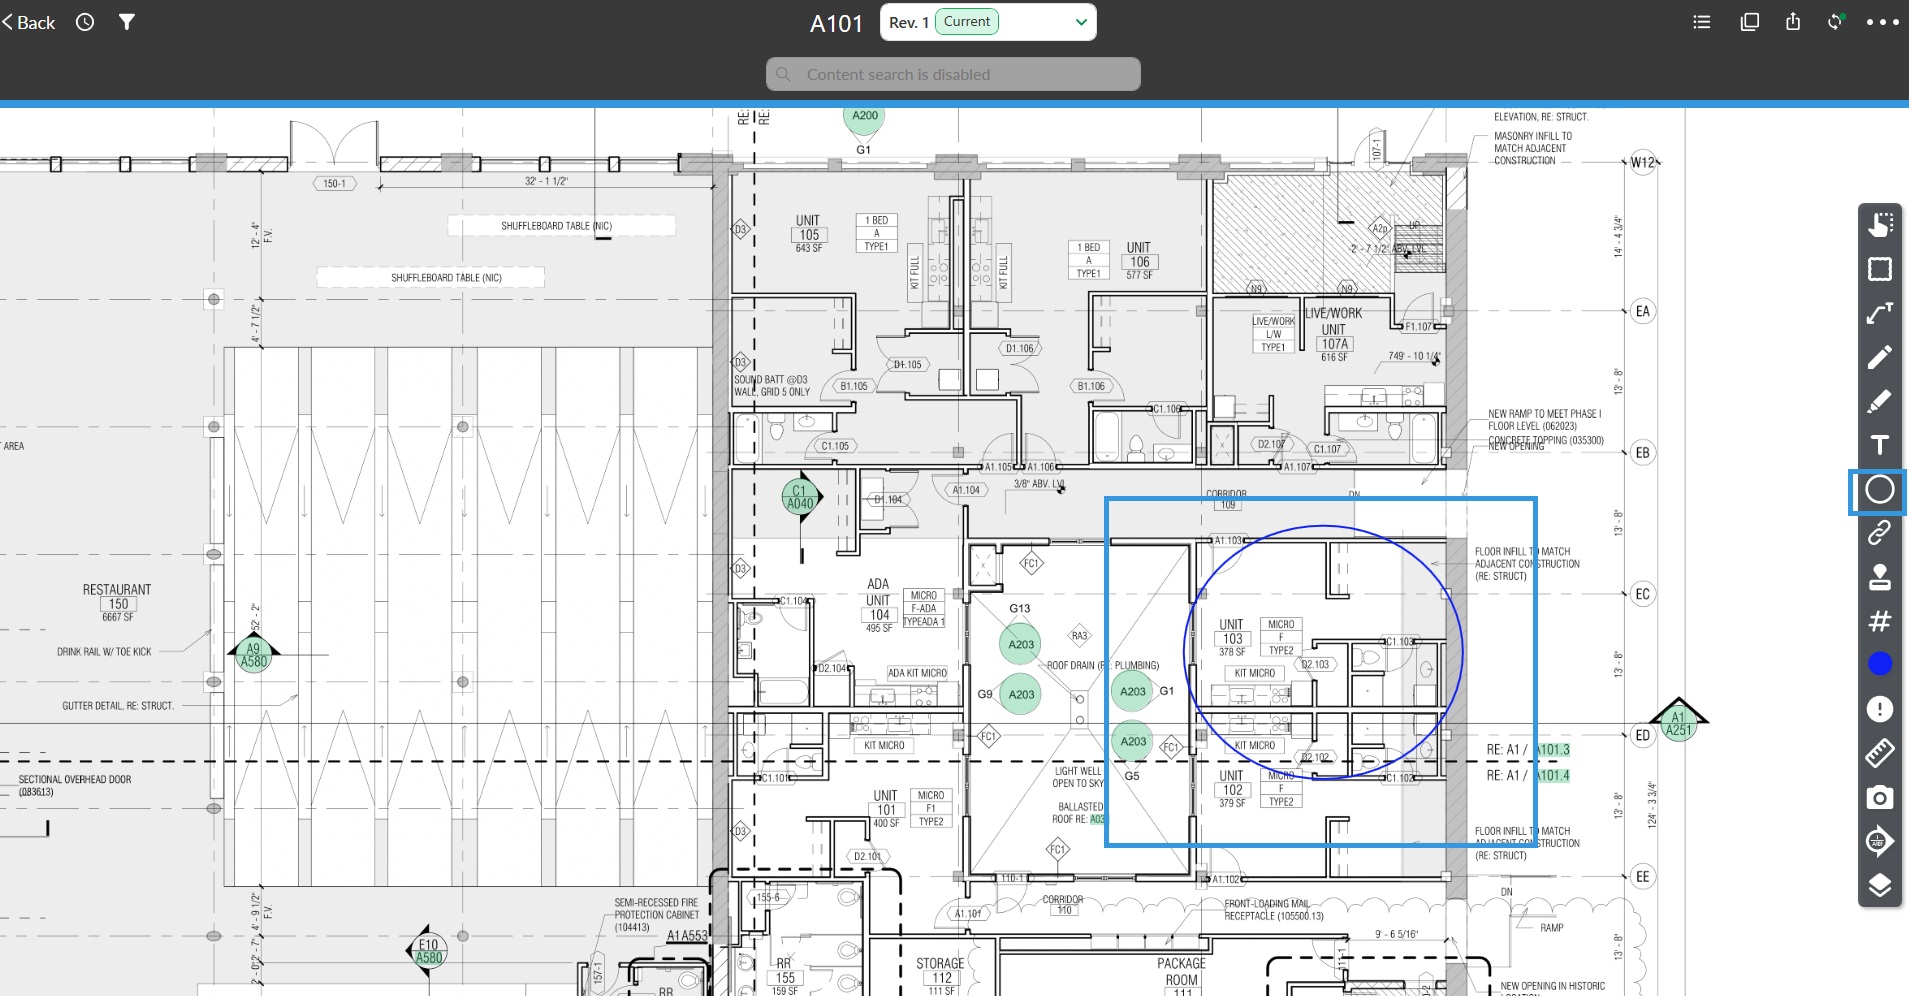
Shapes
Allows adding a shape on the plan.
Tap the Shape tool.
Select from the following shapes:

Draw the shape on the plan:
Polygon: Tap the plan to trace each corner of the shape
Polycloud: Drag your finger to trace
Broken line: Tap the plan to trace the end of each line
Line: Drag your finger to trace
X: Swipe your finger from one corner of the X to the opposite corner
Checkmark: Swipe your finger to trace from the bottom of the checkmark to the top
Circle: Swipe your finger diagonally to trace a circle or oval
Square: Swipe your finger diagonally to trace a square or rectangle
Tap on the shape to perform an action on it:
Layer
Make it public
Lock
Copy
Cut
Delete
Fill (available for closed shapes only)
To rotate the shape, place your finger in the arrow circle and drag.
Tap anywhere on the plan.
Hyperlink
Allows adding a link to another document within the project or to a URL.
Tap the Hyperlink tool.
Tap on the plan where you want to attach a hyperlink.
Enter a URL address or navigate the folder structure to link the document needed. Use the Search bar to search by document name.
Tap Untitled Hyperlink to name it.
Please enter a name for your hyperlink.
Tap OK.
Tap CREATE HYPERLINK.
Tap the Hyperlink to perform action on it:
View
Layer
Make it public
Lock
Copy
Cut
Delete
To link to an area instead of a point, tap the hyperlink and drag one of the square handles to outline the area.
.png)
To rotate the area, tap the area and place your finger in the arrow circle and drag.
Stamp
Allows adding a stamp on the plan. There are already predefined stamps in STACK available to use or you can upload your own.
Tap the Stamp tool.
Select either of the stamp options:
Predefined Stamp

Import an image from Files

Import an image from Photos

If you choose Predefined Stamp:
Choose one of the STACK PREDEFINED STAMPS or add CUSTOM STAMPS.
In the PREDEFINED STAMPS tab, scroll to select a stamp and tap on it.
In the CUSTOM STAMPS tab, tap IMPORT STAMP and select either Select from files or Select from photo library.
For stamps imported from files, choose:
Include the date
Include my name
Transparent
Tap the desired stamp to add it on the plan.
NOTE
Stamps imported as CUSTOM STAMPS will remain in Predefined stamps > Custom Stamps tab so you can select them again in the future.
If you choose to import an image from Files:
Navigate to find the image you want.
Tap Open.
If you choose to import an image from Photos:
Select the Album where the image is located.
Tap the photo.
Tap Done.
To resize the stamp, tap one of the square handles and drag it to achieve the desired size.
To rotate the stamp, place your finger in the arrow circle and drag.
Tap anywhere on the plan.
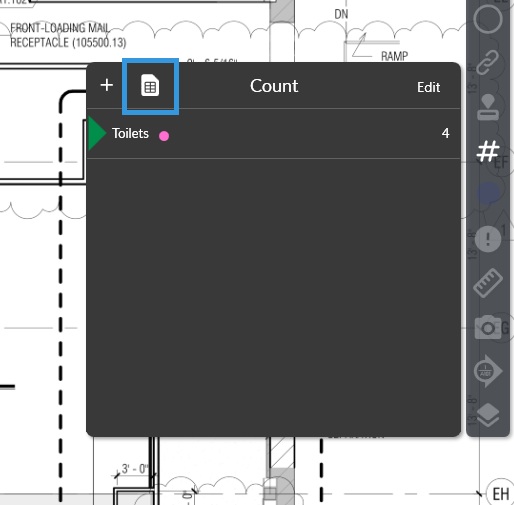
Count
Allows counting a group of elements on the plan.

Tap the Count tool.
Tap the plus sign to add a New Count Group.
Type in the name of the group.
Tap OK.
Tap the Count Group for the elements you want to count.
On the plan, tap each location where the elements are located.
To pan or to zoom in from one area to another, use the Pause Count option and then once you are in new area Resume Count to continue counting elements.
Tap Exit Count when done.
Editing a Count Group

Tap the Count tool.
Tap Edit.
Apply any edit required:
Count Group name: Tap the name, edit and tap OK.
Colour: Tap the colour circle and select another colour.
Layers: Tap the Layer icon, select another layer and tap Done. Click the plus sign to create a new one.
Delete: Tap the Delete icon to remove the Count Group.
Tap Exit Count.
Sharing a Count Group
Tap the Count tool.
Tap the document icon.
Type in the email of the user(s) with who you want to share the Count Groups.
Tap OK.
Tap Exit Count.
Issues
Allows rising an issue on a location on the plan. For more information, see the Issues article.
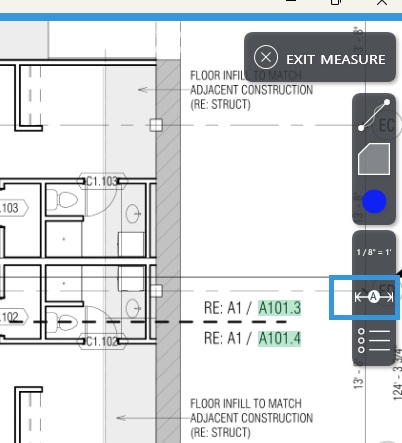
Measure
Allows measuring a segment or an area on the plan.
Tap the Measure tool.
Tap the 1:1.
Select either Imperial or Metric.
Tap to select a predefined scale or if required tap Calibrate Sheet.
Tap on the plan to select the start and endpoints of a know distance.
Place the handles at the start and endpoints.
In either ft or in, type the distance.
Tap OK.
Tap anywhere on the plan.
Proceed to measure:
A Vector:
Tap the vector icon.
Select a colour.
Tap a start point and an endpoint or drag your finger along the line you want to measure.
Tap OK.
An Area:
Tap the Area icon.
Select a colour.
Tap the areas on the plans which will be the corners or the area.
Tap OK.
Establish Unit of Measure
Tap the Measure tool.
Tap the Unit tool icon.
Select between meters, feet, a label, or no unit at all. The default measure is feet.
Create a Measure Group
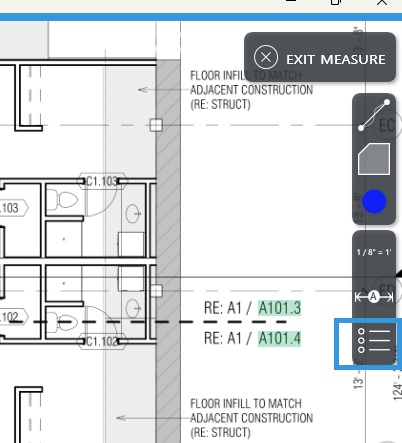
Tap the Measure tool.
Tap the Measures Group icon.
Tap the plus sign.
Type in the name of the group.
Tap OK.
To make changes, tap Edit.
Measures Group name: Tap the name, edit and tap OK.
Colour: Tap the colour circle and select another colour.
Layers: Tap the Layer icon, select another layer and tap Done. Click the plus sign to create a new one.
Delete: Tap the Delete icon to remove the Measures Group.
To share with another user, tap the document icon.
Type in the email of the user(s) with who you want to share the Measures Groups.
Tap OK.
To subtract or add measures, tap the drop down arrow next to the measure group and tap either the + or - sign.
Tap Exit Measure.
Photos
Allows taking or attaching an existing photo.
Tap the Photos tool.
Tap the location on the plan where you want to attach a photo.
Tap +ADD.
Choose to add a photo with:
NOTE
Multiple photos can be added for one location and they can be added with either of the three options.
Select from files:
Navigate to find the photo needed.
Tap the photo.
Tap Open.
Select from photo library:
Navigate your photo albums to find the photo needed.
Tap the photo.
Tap Done.
Take new photo:
Tap the circle to take a photo or tap the pencil icon to take a photo and edit the Details. When in details, you can add annotations using the tool bar.
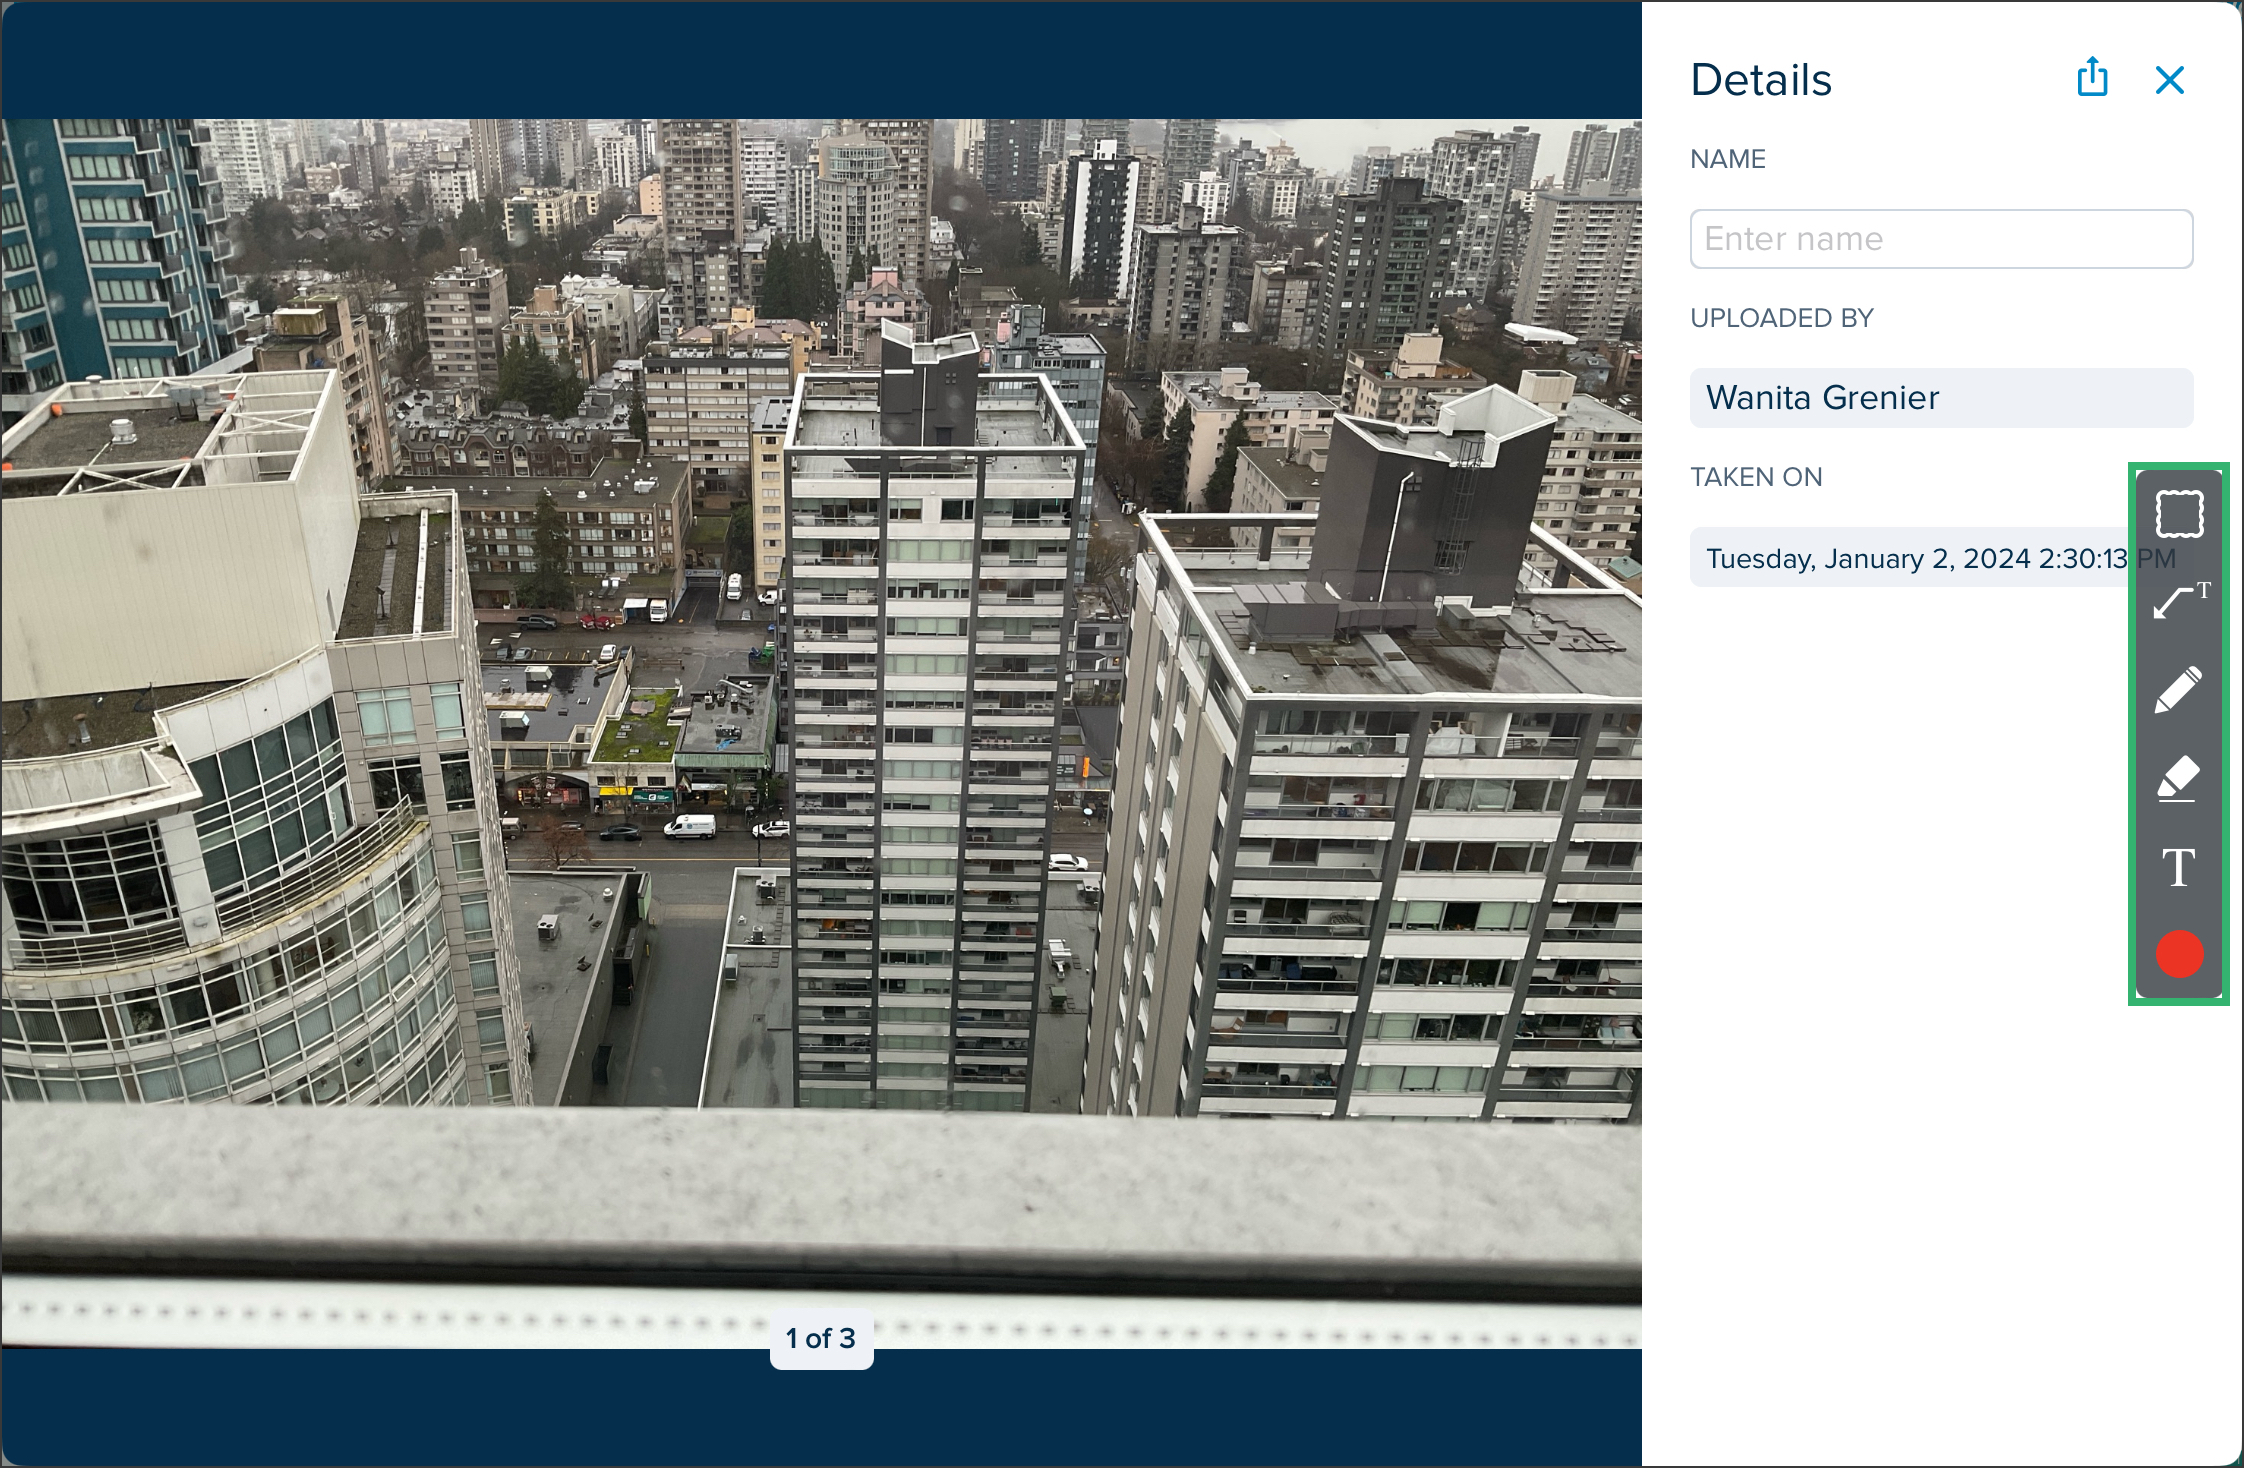
To edit the Details, tap the photo thumbnail. The following information can be edited:
NAME: Give descriptive name to the photo.
Share the photo with another user by tapping the send icon.
Edit the Photo Group name by tapping Untitled Photo Group.
Tap Select to delete photos from the group.
Tap the X to close.
Smartlink
Allows adding a link to another drawing within the project.
NOTE
This tool is only available to the Administrator role.
Existing Smartlinks
When a plan is imported that already includes Smartlinks, STACK will detect them and have them appear in blue in the plan viewer. Those existing Smartlinks can be opened, edited or deleted similarly to the ones added in STACK by a user.
Potential Smartlinks

When a plan is imported, STACK will detect other Potential Smartlinks, other than the ones that are already displayed, which may help in knowing where to link existing documents.
Tap the Smartlink tool.
Tap the Potential Smartlink icon.

A list of Potential Smartlinks will be displayed.
To view where the Potential Smartlink is located, tap it in the list.
From there, you can Select an existing document to link it to by selecting it from the list and clicking UPDATE. Tap the X to close.
To delete a Potential Smartlink, tap the trash can next to it, or alternatively, use Delete All if you don't need any of them.
New Smartlinks
It is possible to add a new Smartlink that was not detected as an already existing Smartlink or as a Potential Smartlink.

Tap the Smartlink tool.
Tap the New Smartlink icon.
Place the Smartlink icon where needed.
To resize the Smartlink icon, drag one of the handles and stretch the circle to the required size.
Tap DONE.
Select an existing document to link to.
Tap + CREATE.
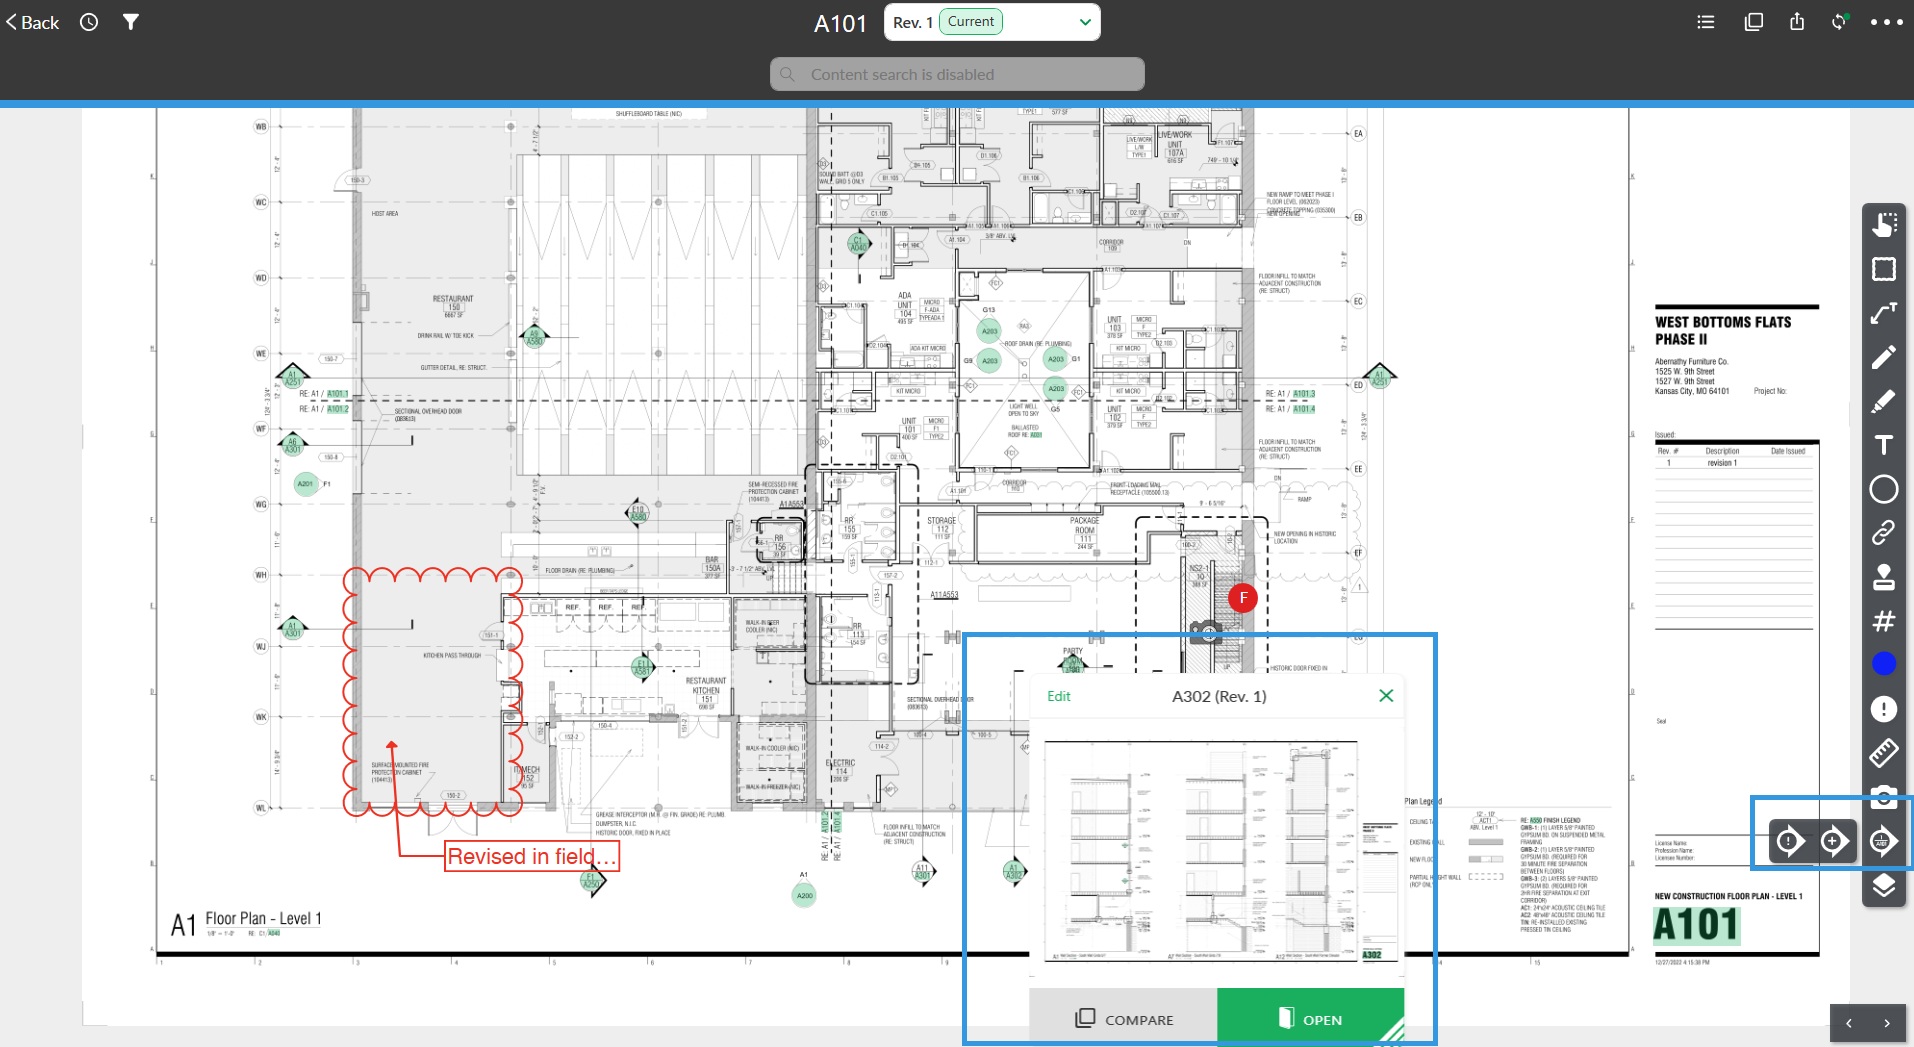
Edit, Compare, Open & Delete a Smartlink
Tap the Smartlink in the plan.
Tap Edit.
To delete the Smartlink, tap DELETE.
To change the document to which the Smartlink is linked to, select another document from the list and tap UPDATE.
Tap Back.
To compare the current plan with the Smartlink document, tap COMPARE. Documents can be compared side-by-side or overlapped.
Tap Exit Compare to return to the previous plan.
Tap the Smartlink icon in the plan.
To view the document to which it is linked to, tap OPEN.
Tap Back to return to the document list viewer.
Related Articles
Annotation Layer Permission by Role
Was this article helpful?